Watch Ben Rainey’s tutorial above (2.4M views on YouTube).
If you want to know how to DJ but feel stuck at the first step, this is for you. In this tutorial you will mix two tracks from start to finish. You will match their BPM, align the beats, and make one smooth transition without guessing.
Brand new and still deciding what to buy, where to get music, or how long it all takes? Start with the beginner DJ roadmap, then come back here for your first hands-on mix.
The goal is not tricks. It is control. By the end, you should be able to load two extended mixes, match their BPM, cue the incoming track in headphones, and make a basic transition that sounds smooth.
This page is pure execution. It shows you how to do the mix at the gear. New and deciding where to start, or still figuring out whether DJing is for you? Read how can I be a DJ first, then come back here for the hands-on walkthrough. If you need a foundation on phrase structure, review beatmatching basics and counting bars in dance music.
DJ Workflow: What You Are Actually Doing
A beginner usually thinks DJing means touching lots of controls quickly. It does not. The real job is simpler. You are managing timing, energy, and overlap.
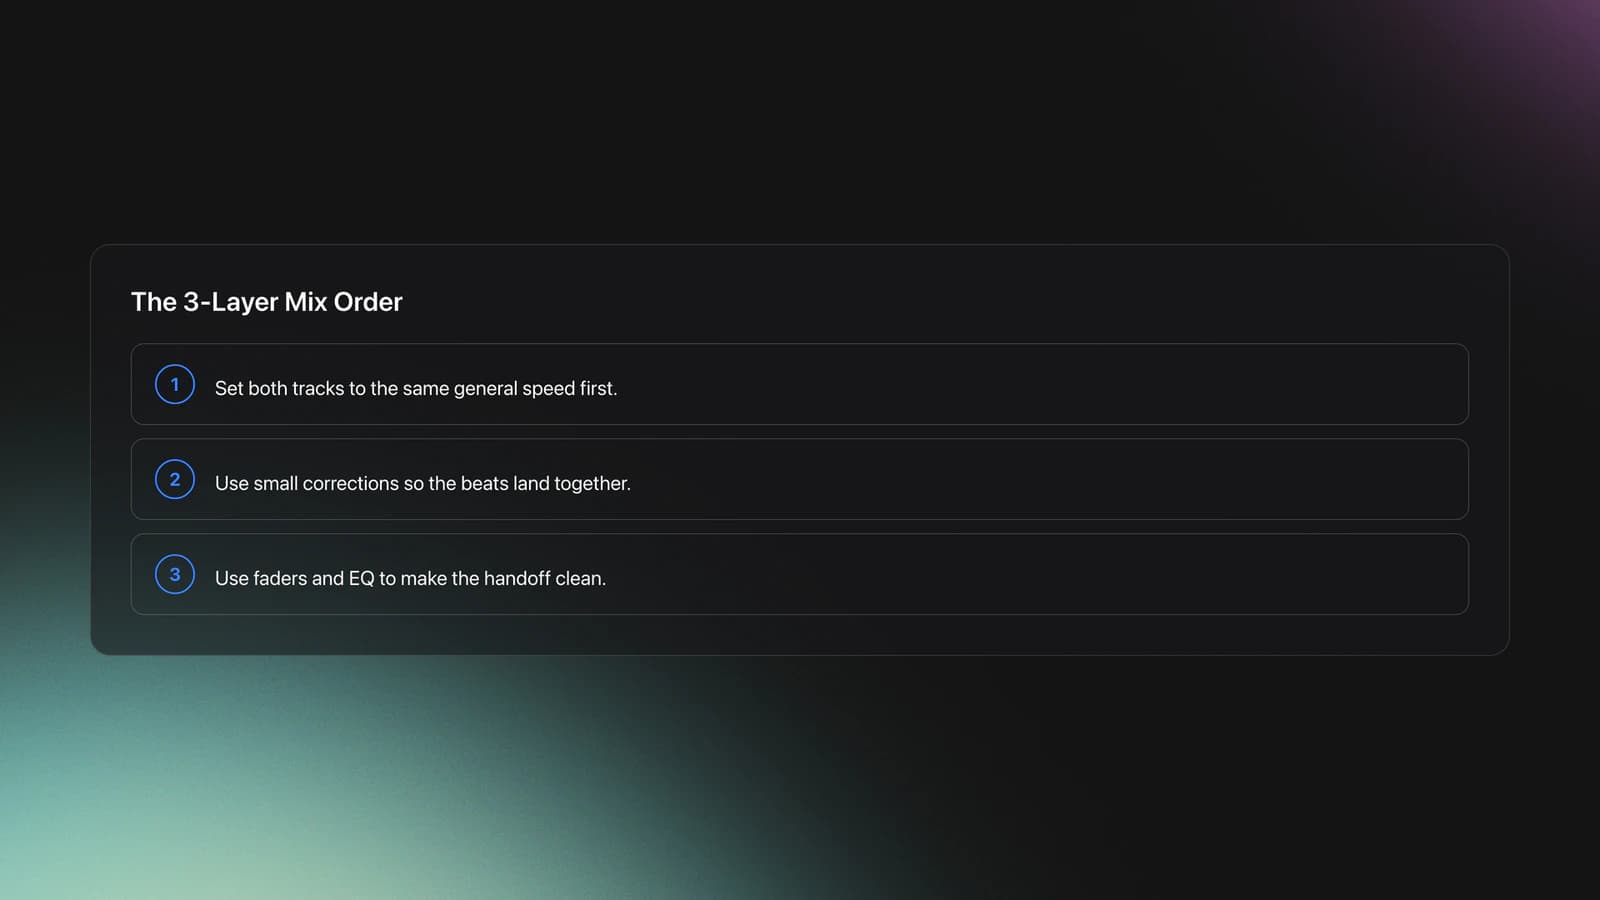
That gives you a useful mental model. I call it the three-layer mix. First, match speed. Second, align timing. Third, manage what the audience hears during the overlap.
If layer one fails, the tracks drift apart. If layer two fails, the beats feel late or early. If layer three fails, the transition gets muddy, weak, or harsh.
This matters because most beginner mistakes are not random. They come from fixing the wrong layer. Many people reach for EQ before they have matched tempo. Others stare at waveforms before they can count a bar.
So keep the order fixed. Match BPM. Nudge timing. Then shape the handoff. That is how to start DJ mixing without getting overwhelmed.
Choose Beginner Gear That Lets You Practice
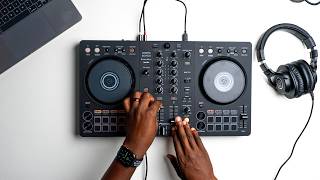
If you are asking how to DJ for beginners, ignore the myth that you need an expensive club setup first. You do not. A basic two-channel controller, headphones, a laptop, and DJ software are enough to learn the core skills.
The transcript uses a Pioneer DDJ-400 with Rekordbox. That still teaches the right fundamentals, but the DDJ-400 has been replaced by the newer DDJ-FLX4. AlphaTheta still supports current Rekordbox environments, and official help documents list current system requirements for recent versions of the software. According to AlphaTheta help documentation, current Rekordbox support includes modern Windows and macOS versions. support.alphatheta.com
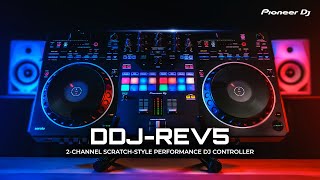
The bigger point is not the exact model. It is the feature set. You need two decks, a mixer section, tempo faders, cue buttons, jog wheels, and headphone cueing.
For underground gigs and home practice, the specs that actually matter are practical. Can you cue clearly in dim light? Are the jog wheels responsive? Is the controller portable enough that you will keep using it? Standalone units can reduce laptop dependence, but a laptop-based controller is still the most efficient beginner path.
- A two-channel controller
- DJ software such as Rekordbox
- Closed-back headphones
- Local music files you can practice with
- Optional speakers for room playback
Keep setup simple. Controller to laptop by USB. Headphones into the controller. Speakers into the main outputs if you have them. AlphaTheta's Rekordbox support pages document current software requirements, so check those before you buy an older laptop for practice. support.alphatheta.com
Wire It Up and Verify
You need one reliable signal path. Wire it in this order and verify each step before moving on.
- USB from controller to laptop. Launch your DJ software.
- Headphones into the controller. Set the cue mix toward cue so you can pre-listen.
- Speakers into the controller’s master outputs. Start with the volume low.
- Select the controller as the audio device in your software. Route Master to outputs 1/2 and Headphones to 3/4.
Press play on a deck. Confirm the meters move and you hear it in headphones, then raise the master to taste. If you hear nothing, check the audio device routing before touching cables. Software routing is the usual culprit.
Worked example one. A bus-powered controller into a laptop at a house party. Run powered speakers from the controller’s RCA or 1/4" outputs, keep laptop volume at 100%, and control gain from the controller only.
Worked example two. A club booth with a spare line input on the house mixer. Run your controller’s master into a free line channel, set your master around noon, and let the booth mixer handle gain staging from there.
You will know the wiring is correct when cueing a deck in headphones does not change what the room hears.
You also need a clean way to organize practice music. Once your library grows, finding the right intro, outro, or energy level becomes the real bottleneck. Group your tracks by mood, function, or energy so quick selection is possible during a mix, whether you do that with playlists in your DJ software or a dedicated library tool like Vibes. The method matters more than the tool.
You will know your setup is good enough when you can load tracks fast, hear cue and master clearly, and practice for 20 minutes without technical friction.
Use DJ Music, Not Consumer Edits
A lot of people trying to learn how to DJ get blocked by the wrong music. The issue is not skill. It is track structure.
Most consumer versions are short edits built for listening. DJ versions are built for mixing. They usually include a beat-led intro, a longer body, and an outro you can mix out of.
That is why extended mixes matter. They give you room to cue, count, and blend. A short radio edit often removes the exact sections you need.
Beatport's beginner DJ materials and support pages explain that its DJ-focused ecosystem is built around finding and testing tracks for mixing, not just casual listening. How do I begin using the DJ App
For practice, use two tracks in the same broad style and similar BPM. House music is ideal because the phrasing is usually predictable. A 124 BPM track into a 126 BPM track is much easier than forcing two unrelated songs together.
- Pick extended mixes, not radio edits
- Stay within a narrow BPM range
- Choose tracks with clean intros and outros
- Avoid busy vocals in both tracks at once
This is where musical storytelling starts. Experienced DJs do not just stack compatible BPM values. They look for energy progression, texture, and emotional direction. That is true whether the set leans downtempo, minimal, dub house, tech house, or techno.
Learn the Controls You Actually Need
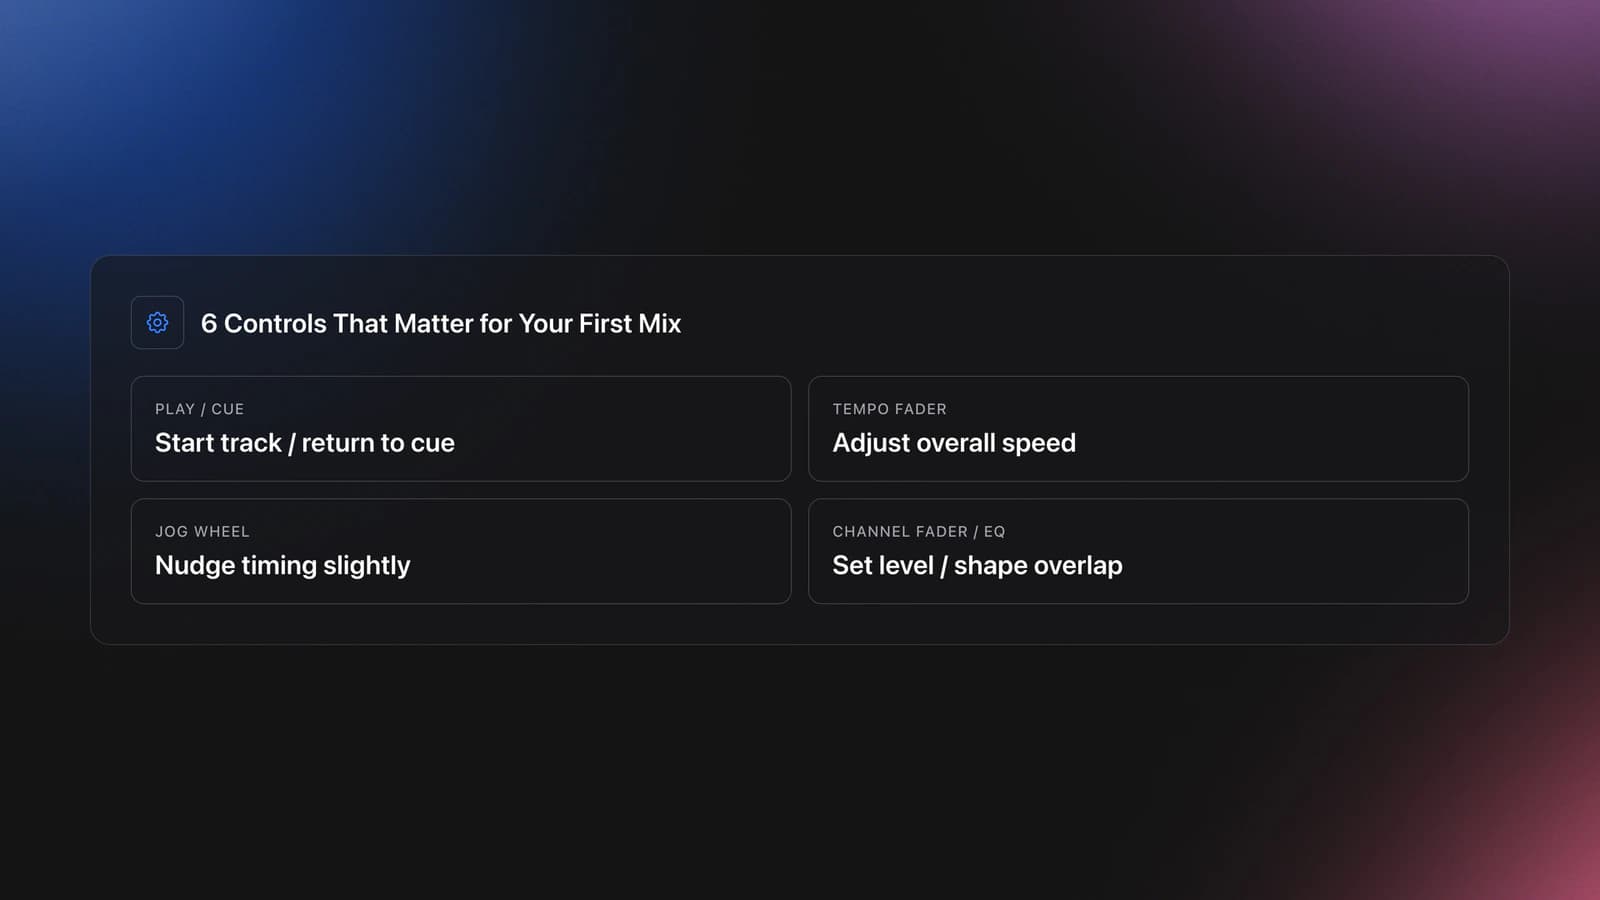
You do not need every button to make your first mix. You need six control groups.
- Play starts the track.
- Cue stops playback and returns to the cue point.
- Tempo fader speeds up or slows down the track.
- [Jog wheel](/learn/techniques/jog-wheel) nudges timing forward or backward.
- Channel fader raises or lowers one deck in the mix.
- EQ knobs shape highs, mids, and lows during overlap.
There is also the crossfader. For this workflow, keep it in the middle. That removes one variable and prevents a very common failure where the incoming deck is fine in headphones but silent to the room.
Think of tempo fader and jog wheel as different tools. The tempo fader is for the general speed match. The jog wheel is for small timing correction after the tracks are already close.
EQ is not a rescue tool for bad timing. It is a spacing tool. It helps two tracks share the same few bars without fighting for the same frequency space.
A common symptom here is panic-twisting. You hear clutter, then touch every knob. The result is usually worse. One correction at a time works better.
You will know you understand the controls when you can explain, without touching the gear, which control fixes speed, which fixes timing, and which shapes the overlap.
Set Up Headphones and Cueing First
Before you mix anything, learn the cue path. This is the private channel that lets you prepare the next track before the crowd hears it.
One track plays through the master. The next track plays only in your headphones. Your job is to line them up in private, then bring the new track in when it is ready.
Set the cue for the incoming deck. Leave the playing track on the master. Then adjust the cue/master blend in your headphones so you can hear both at once.
This feels strange at first. That is normal. You are listening in two layers and counting at the same time.
If your headphone workflow feels chaotic, simplify it. Lower room volume. Cue only one incoming track. Count bars out loud. Do not try to fix timing after the audience can already hear the mistake.
Build a repeatable private-check process in headphones, then repeat it until it becomes automatic. That single habit is what makes every transition below reliable.
Match BPM Before You Touch Anything Else
This is the first technical habit to build. Match the BPM values before you attempt the transition.
BPM means beats per minute. It is the track's playback speed. House music often sits in a narrow range, which makes it ideal for early practice.
Example one. Track A is 125 BPM. Track B is 128 BPM. Move Track A up to 128, rather than dragging Track B down hard. Small increases often feel cleaner than large slowdowns.
Example two. Track A is 124 BPM. Track B is 126 BPM. Move one track until both read 125 or 126, then decide by ear which version feels more natural.
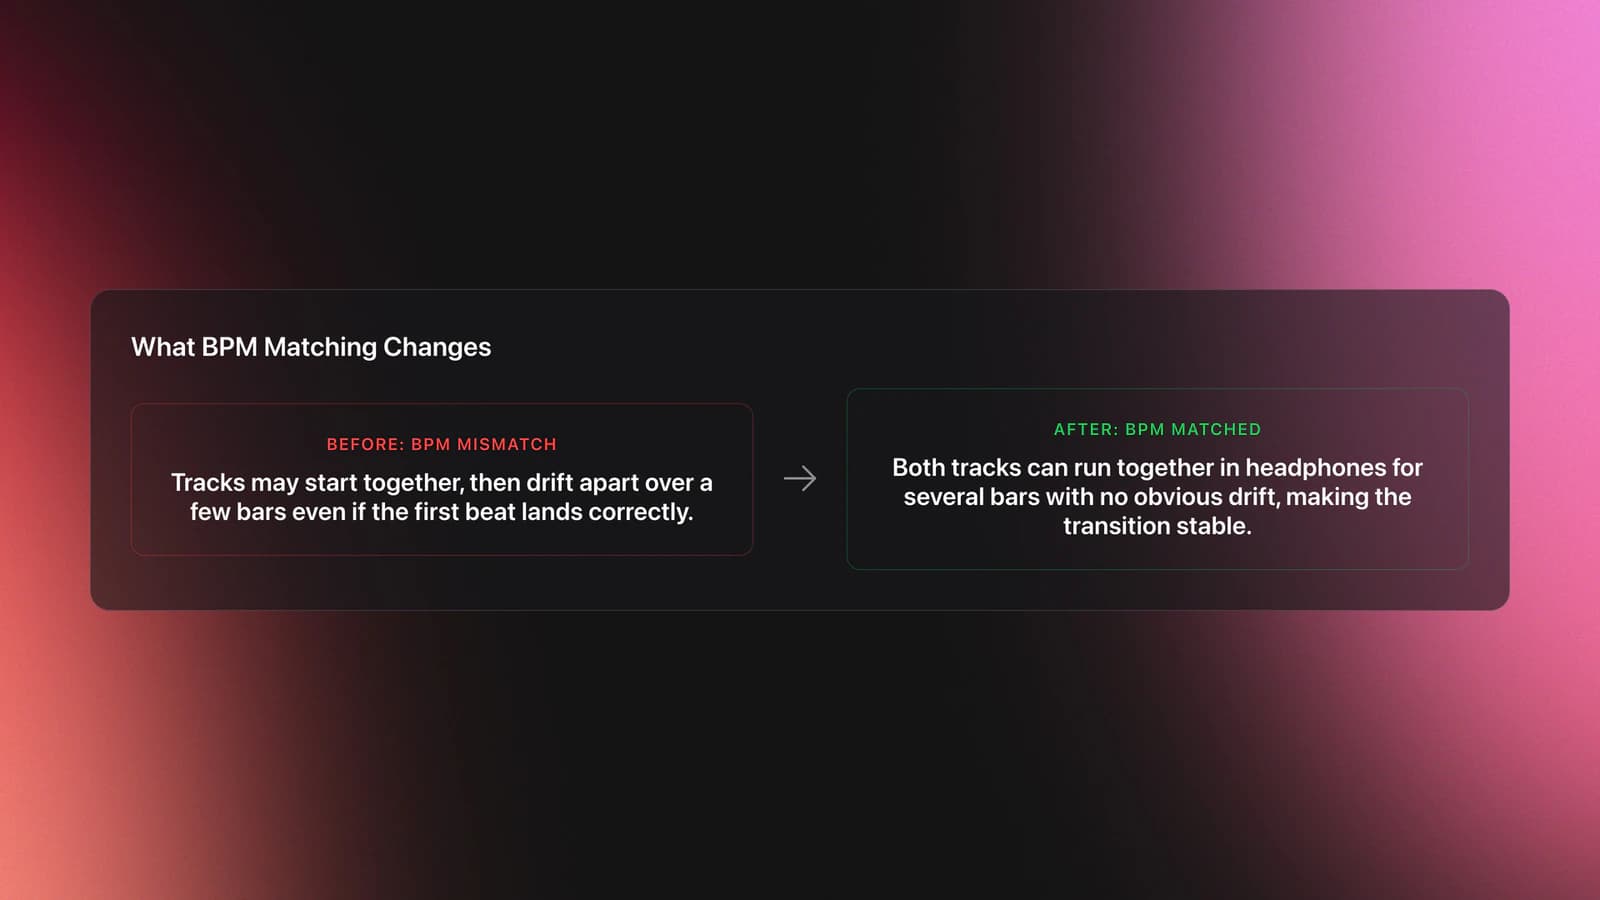
This is description before prescription. What happens first? If BPM is mismatched, the tracks gradually separate even if your first beat lands correctly. What should you do? Close the speed gap before you care about EQ or phrasing.
A failure mode is easy to spot. The mix starts okay, then falls apart over a few bars. That usually means your timing was close but your BPM was not.
Do not chase the visual readout alone. Software analysis helps, and Rekordbox's documentation supports modern systems built around track analysis and playback prep, but your ear still has to confirm the match. support.alphatheta.com
Validation Check
Align Beats With Jog Wheels and Counting
Once BPM is close, align the beat grid in real time. This is where jog wheels matter. This is also how to beatmatch by ear, not just by readout.
Start the incoming track on a counted phrase. For beginners, count four beats per bar. Then line up the first kick of the new track with the first strong beat of the outgoing track.
If the incoming track sounds late, nudge it forward. If it sounds early, slow it slightly with the jog wheel. Small moves are enough.
Example one. You count: one, two, three, four. Hit play on the next phrase start. In headphones, the second track drags behind. Push the jog wheel gently forward to tighten the alignment.
Example two. You launch on the right count, but the hats on track two feel rushed. Touch the jog wheel to slow it a fraction, then listen again over the next bar.
This is also where the rule of 32 in DJing matters. In a lot of dance music, phrases often resolve every 32 beats, or eight bars of 4/4. That is not a law. It is a useful planning pattern.
Use the pattern like this. Count eight bars in the outgoing track's outro. Start the incoming intro on the phrase start. Then listen for the next structural change. Drops, bass returns, and breakdown exits often land there.
A common beginner symptom is over-correcting. You nudge too hard, then compensate the other way, then lose the phrase entirely. The fix is to wait one beat after each correction and assess again.
You will know your beat alignment is improving when the kicks feel like one rhythm, not two separate rhythms fighting each other.
Do not become dependent on the waveform. Visuals can show where sections change, and that is useful. But if you cannot count the bar structure with the laptop partly ignored, your timing will collapse under pressure.
For many DJs, this is the hardest early stage. It is also the most important. Once you can hear late versus early cleanly, every other beginner skill develops faster.
Make Your First Transition With the Bass Swap
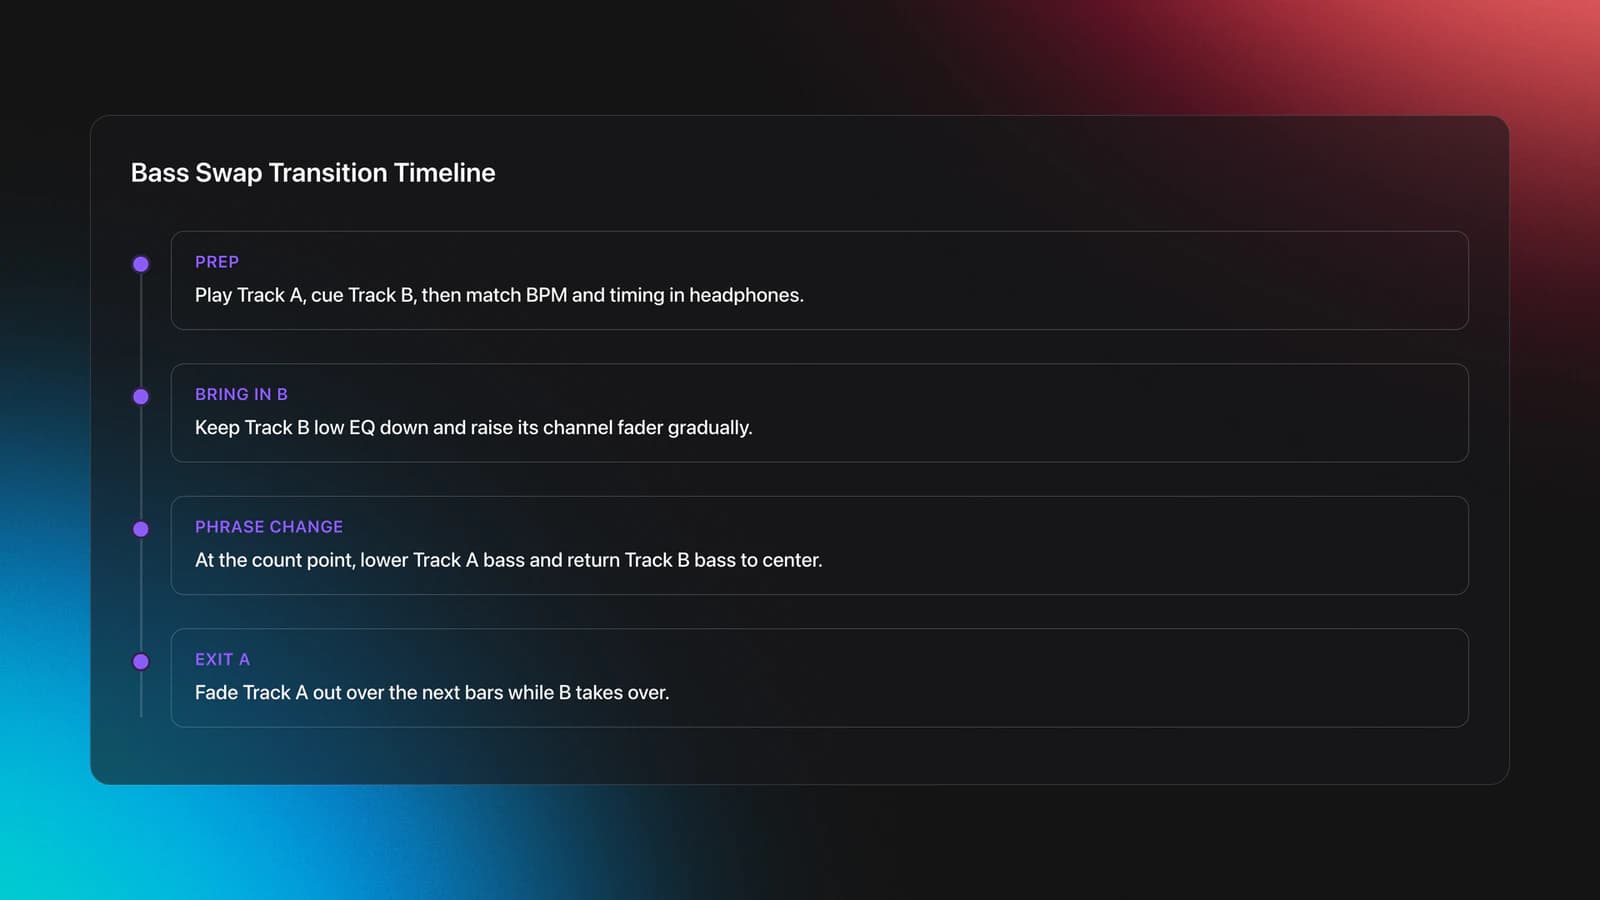
Now you are ready to mix. The simplest reliable transition for beginners is the bass swap. Some people call it an EQ flip. It is the easiest way to mix two songs without the low end turning to mud.
The logic is simple. Two full basslines playing together often sound bloated or distorted. So you bring in the new track with its low EQ reduced, then swap the bass from the old track to the new one at the right moment.
Step one. Play Track A to its outro.
Step two. Cue Track B at its intro in your headphones.
Step three. Match BPM and nudge timing until both tracks lock.
Step four. Keep Track B's low EQ down. Bring its channel fader up gradually.
Step five. Count into the phrase change. Then swap the lows. Lower Track A's bass. Return Track B's bass to center.
Step six. Fade Track A out over the next bars.
Worked example one. Track A is at bar 57 of its outro. Track B is ready at bar 1 of its intro. You launch B on the phrase start, hold its bass out for eight bars, then swap lows right before B's fuller groove arrives.
Worked example two. Track A has a busier outro vocal. Track B has percussion only in the intro. You still launch B on the phrase, but you trim some mids as well so the vocal space stays clearer before the bass swap.
Transitions get easier when tracks are already grouped by role, energy, and compatibility. Keep your likely next track ready before the current one reaches its outro, so you are choosing the move, not scrambling for it.
The failure mode is obvious. If both basslines are fully open, the room gets muddy. If you swap too early, the new track feels weak. If you swap too late, the mix feels crowded.
You will know the transition worked when the energy continues without a hole, the low end stays controlled, and the audience would struggle to say exactly when one track replaced the other.
Avoid These Beginner DJ Mistakes
Most first-mix problems come from a short list of predictable errors. Fix these and your progress speeds up.
| Mistake | Why It Happens | How to Avoid |
|---|---|---|
| Using radio edits | They lack clean intros and outros for blending | Practice with extended mixes only |
| Ignoring the crossfader | It gets left to one side and mutes a deck | Check crossfader centered before every mix |
| Matching visually only | Waveforms feel easier than listening | Count bars and confirm alignment by ear |
| Leaving both basslines in | Beginners fear touching EQ | Bring in the new track with low EQ reduced |
| Over-correcting jog wheel timing | Panic causes big nudges | Make one small correction, then listen one bar |
Common beginner errors during a first DJ transition
Build a Practice Routine That Actually Works
Vague practice is what makes a first mix feel hard. Narrow practice is what makes it click.
Repeat one narrow workflow until it becomes boring. That is usually a good sign. It means the process is turning into muscle memory.
I learned this the same way, by playing rather than studying: just do it, and only ever practice with music you genuinely want to hear, because you will put in far more reps on tracks you love. When I started in 2018 it was a friend's controller balanced on an old fridge, and the only reason it worked was the reps, not the gear. You get good by doing it badly first, not by waiting for the perfect room.
Use a four-week drill loop.
- Week 1: Load tracks, cue in headphones, and center every control before play.
- Week 2: Match BPM on pairs of similar house tracks for 15-20 minutes a day.
- Week 3: Start incoming tracks on phrase starts and correct timing with jog wheels.
- Week 4: Practice full bass-swap transitions and record five in a row.
Record short sessions. Then listen back for one thing only. Did the tracks drift, clash, or lose energy? Choose one fault and fix that in the next session.
Organize your practice collection too. Keep one folder or playlist of known-good transition pairs. That removes choice overload and lets you compare progress on the same material over time.
Validation Check
Set Your Levels Before You Record
Once your transitions hold together, the next thing that separates a usable practice mix from an unlistenable one is level control. This is the step most beginners skip, and it is why a recording that felt great in the room comes back distorted on playback.
Gain, sometimes labeled trim, is the small knob at the top of each channel. It is not your volume fader. It sets how hot the signal enters the mixer before the fader shapes it in the blend. If you crank the gain, the channel can clip and distort even when the fader looks low.
Aim for channel peaks around -6 dB and keep the master out of the red. The red zone is not a target to push into. It is a warning that you are clipping, which sounds harsh through speakers and bakes permanent distortion into any recording. If a track from a quiet source reads low, bring its gain up to match the others so your blend stays even.
A quick level routine before you record:
- Set every channel gain so a solo track peaks near -6 dB, not into the red.
- Confirm the master output sits just below clipping, not buried in the red.
- Match the perceived loudness of both decks so neither jumps when you swap.
- Watch the meters during the bass swap, since two basslines briefly stack.
When you do record, most DJ software can capture the master internally, so you do not need extra hardware to start. Record to an uncompressed format like WAV at 44.1 kHz if your software offers it, then convert to a smaller file only when you share. Trim the silence off both ends afterward. If you see red peaks on playback, lower the offending channel's gain and run it again rather than trying to fix distortion after the fact.
You will know your levels are right when the recording sounds as loud and clean as the live monitor, with no crackle on the louder sections.
The Mix in One Pass
Here is the whole transition condensed, so you can run it without scrolling. Load two extended mixes within a few BPM of each other. Match the tempo faders. Cue Track B in headphones just before its first kick. Launch B on a phrase start with its low EQ down. Bring its channel fader up, count into the phrase change, swap the lows, then fade A out. That order matters because each step depends on the one before it.
Closing Mixdown: What Matters Most
If you came here to learn how to DJ, focus on the fundamentals that survive every setup. Gear changes. Software changes. The core workflow does not.
Start with tracks that are easy to mix. Match BPM first. Use headphones to align timing. Then make the transition with intent, not panic.
- Match speed before you fix timing.
- Use phrase starts and count your bars.
- Control the low end during overlap.
From there, keep your library organized, keep your practice narrow, and keep recording short sessions. When you are ready for the next step, build on this with phrase mixing techniques, DJ set preparation, and music library organization for DJs.
The visual way to organize your DJ library
Tag tracks by vibe. See everything at once. Export to rekordbox, Serato, Traktor or Engine DJ.
14-day free trial. Full access, no strings attached.
or see how it works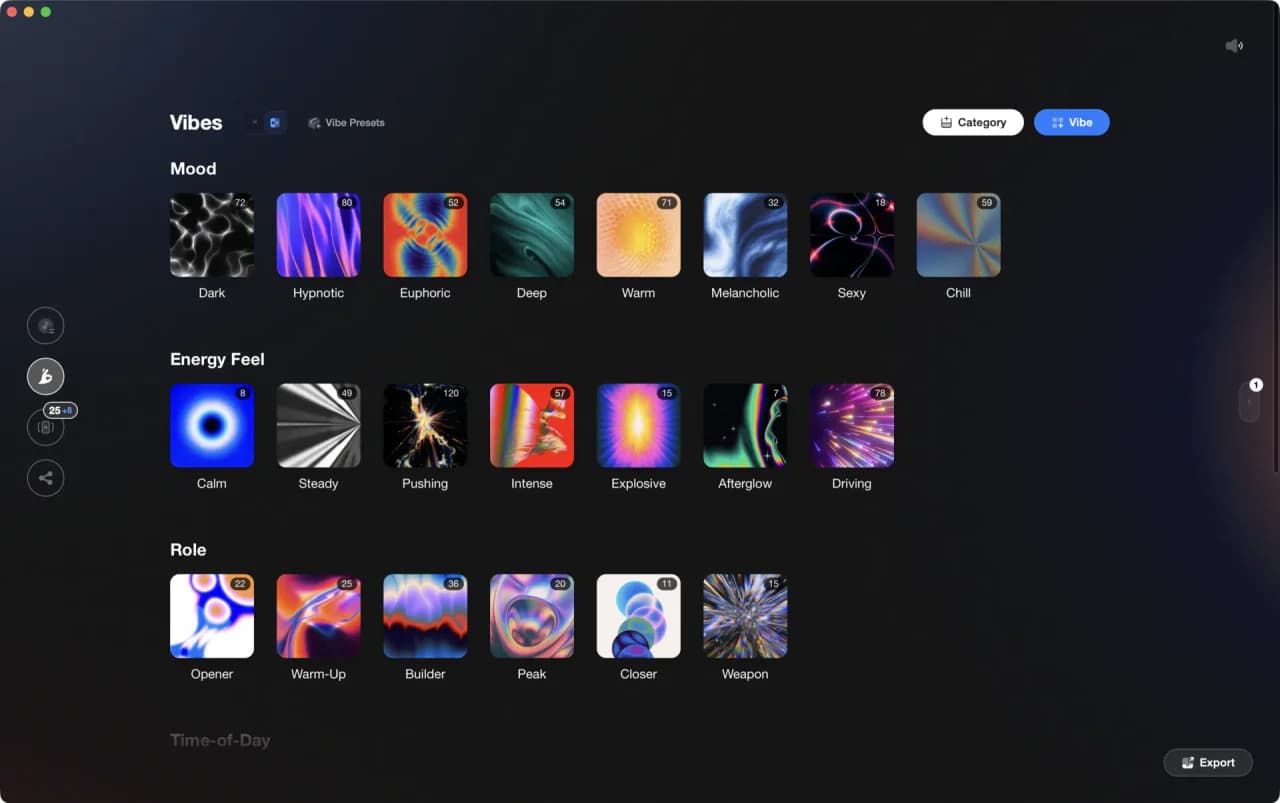
Techniques Covered
Track Selection
EQ Adjustments

DJ Rig Setup
Auto BPM Transitions Across Genres
Cue Button Usage
Phrase Mixing
Camelot Wheel Guide for DJs
DJ System Configuration
Crossfader Use
Master Tempo Adjustment
Equipment & Software
Featured Gear
Continue Your Learning Journey
Start Here First
Frequently Asked Questions

Hey, it's Ben Modigell 👋
I DJ and produce as so I so: downtempo, minimal, dub house, tech house, and techno (releases on Spotify and SoundCloud, links above). Everything I write here comes from my own gigs, studio sessions, and library cleanups: the rules I follow, the failure modes I have actually hit, and the workflow I use when nobody is watching. If a technique did not earn its place in my own sets, it does not make it into a tutorial.