EQ Adjustments
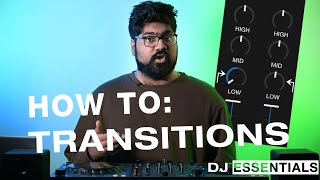
EQ adjustments shape low, mid, and high frequencies so DJs can blend tracks cleanly and control energy during transitions.
EQ Adjustments Tutorials

EQ Adjustments are the small moves DJs make to the low, mid, and high bands of each channel to blend two tracks without mud, harshness, or energy loss. If your mixes sound crowded, boomy, or thin, EQ adjustments usually explain why. Learn this well and your transitions start sounding intentional instead of lucky.
For most DJs, EQ adjustments are the bridge between simple beatmatching and professional-sounding mixing. You can line up tempos perfectly, but if both basslines hit at full strength or both vocals fight in the mids, the blend still feels messy. That is why EQ mixing becomes essential as soon as you move beyond basic fades.
This guide focuses on EQ adjustments in a DJ context, not studio mixing. You will learn what each band usually controls, when to cut or restore frequencies, how to practice the move, and how to avoid the common mistake of turning every knob at once. If you still need timing control, start by learning to build solid beat matching control before pushing deeper.
What Is EQ Adjustments?
EQ adjustments are deliberate changes to a mixer’s frequency bands so one track makes room for another during a transition. In DJ practice, that usually means reducing low, mid, or high content on one channel, then restoring it as the new track takes over.
Most DJ mixers split the signal into three bands: low, mid, and high. Some mixers use isolator-style EQ, which can fully remove a band, while others reduce it only partway. AlphaTheta documentation for the DJM line describes three-band EQ isolators that control high, mid, and low independently, and some mixers also offer an EQ versus isolator curve choice.
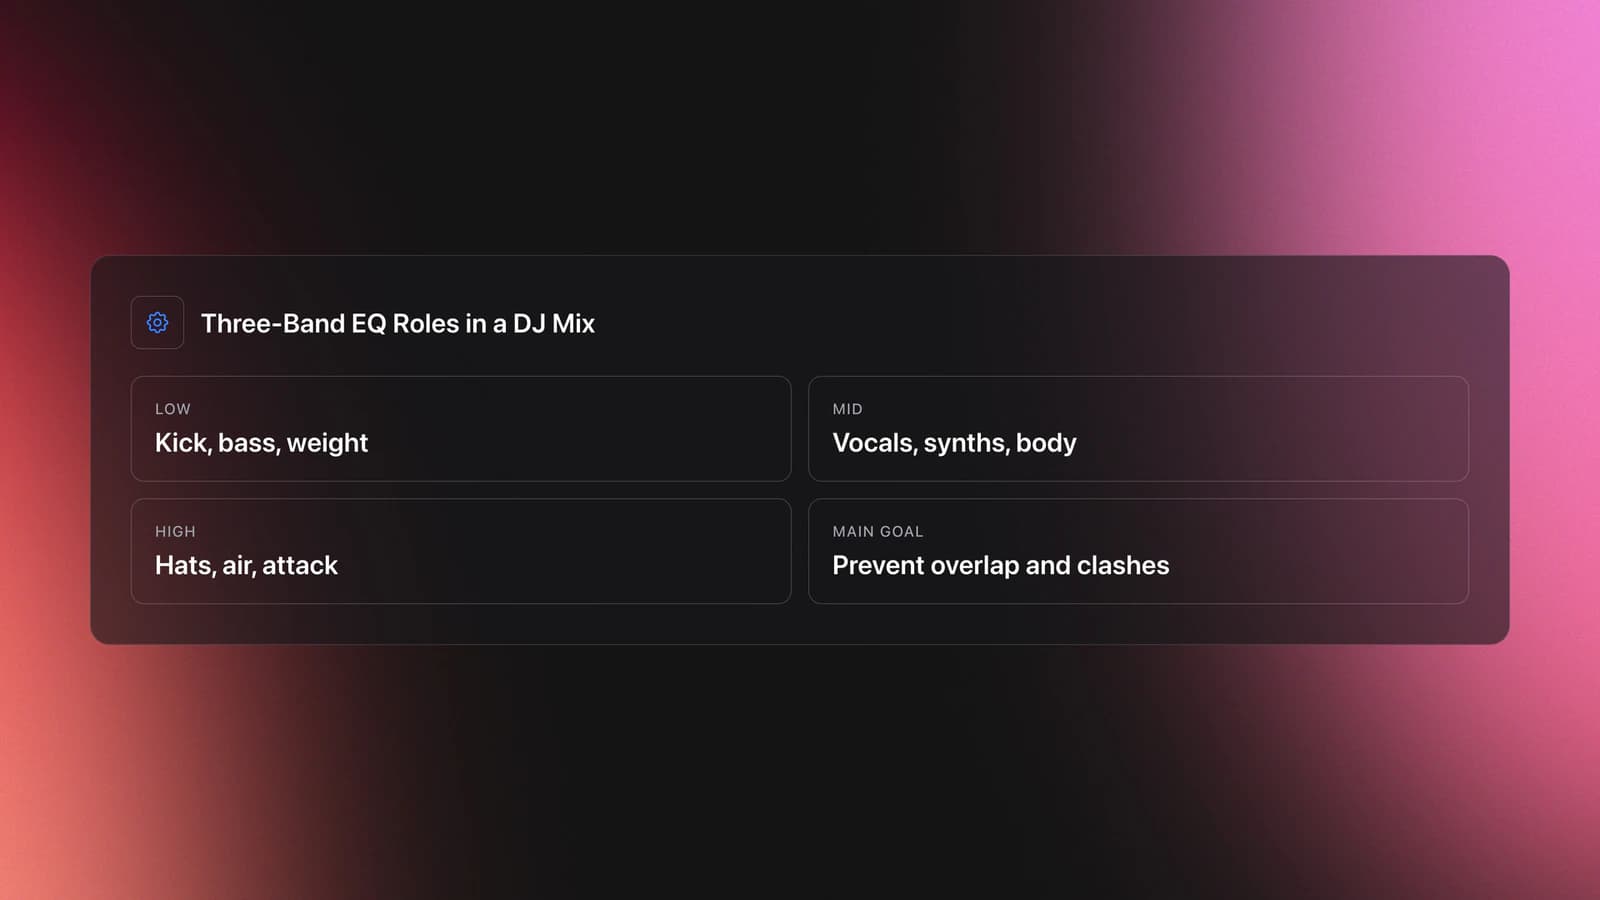
In practical terms, lows carry kick drums and bass weight. Mids hold much of the musical body, including synth stabs, vocals, and percussion detail. Highs shape brightness, hats, air, and attack. Sweetwater’s frequency overview gives broad ranges for low, mid, and high bands, but each mixer maps those bands differently, so your ears matter more than exact numbers.
The goal is not to make dramatic changes all the time. The goal is to control overlap. Educational DJ guides from DJcity, Crossfader, and MusicRadar all frame EQ work as a way to prevent clashing frequencies and create cleaner transitions.
Why EQ Adjustments Matter
EQ adjustments matter because two full tracks often occupy the same sonic space. If you let both play unshaped, low-end collisions cloud the mix, mids mask each other, and the transition loses impact.
This is especially obvious in house, techno, and drum and bass, where the bassline and kick drive the room. A basic low swap can make the handoff between tracks feel smooth and powerful. A poor low swap makes the room feel muddy or weak.
Mids are the next challenge. Many beginners only touch the bass knob, but mids often hold the vocal, chord stab, clap body, and synth hook. If both tracks are busy in the mids, the mix sounds crowded even when the bass is under control.
Highs matter for texture and perceived brightness. Too much high overlap can sound brittle. Too little can flatten the transition. That is why skilled DJs use EQ adjustments to manage contrast, not just remove bass.
Once this clicks, your whole workflow improves. It also connects naturally to learn phrase mixing timing, because the cleanest EQ swaps usually happen at phrase boundaries where the arrangement already supports a change.
Equipment for EQ Adjustments
You need very little to practice EQ adjustments. A basic controller or mixer with channel EQ, two playable decks, and reliable headphones are enough to build the skill.
What matters most is knowing how your mixer behaves. Some mixers use full-kill isolators, which let you remove a band almost completely. Others use gentler EQ curves. Pioneer DJ specifications for mixers like the DJM-250 show isolator-style ranges, while other models offer switchable EQ and isolator behavior.
That difference changes your technique. On a full-kill isolator, cutting the low band can remove the bassline cleanly. On a softer EQ, the same knob position may still leave some low energy behind. So practice on the mixer you actually perform on.
Headphones are essential because cue monitoring lets you hear whether the incoming track still has too much bass or too much vocal information before the audience does. If you practice in loud spaces, use ear protection and monitor conservatively. CDC guidance recommends turning the volume down, taking breaks from noise, and using hearing protection when you cannot avoid loud sound.
How to Make EQ Adjustments
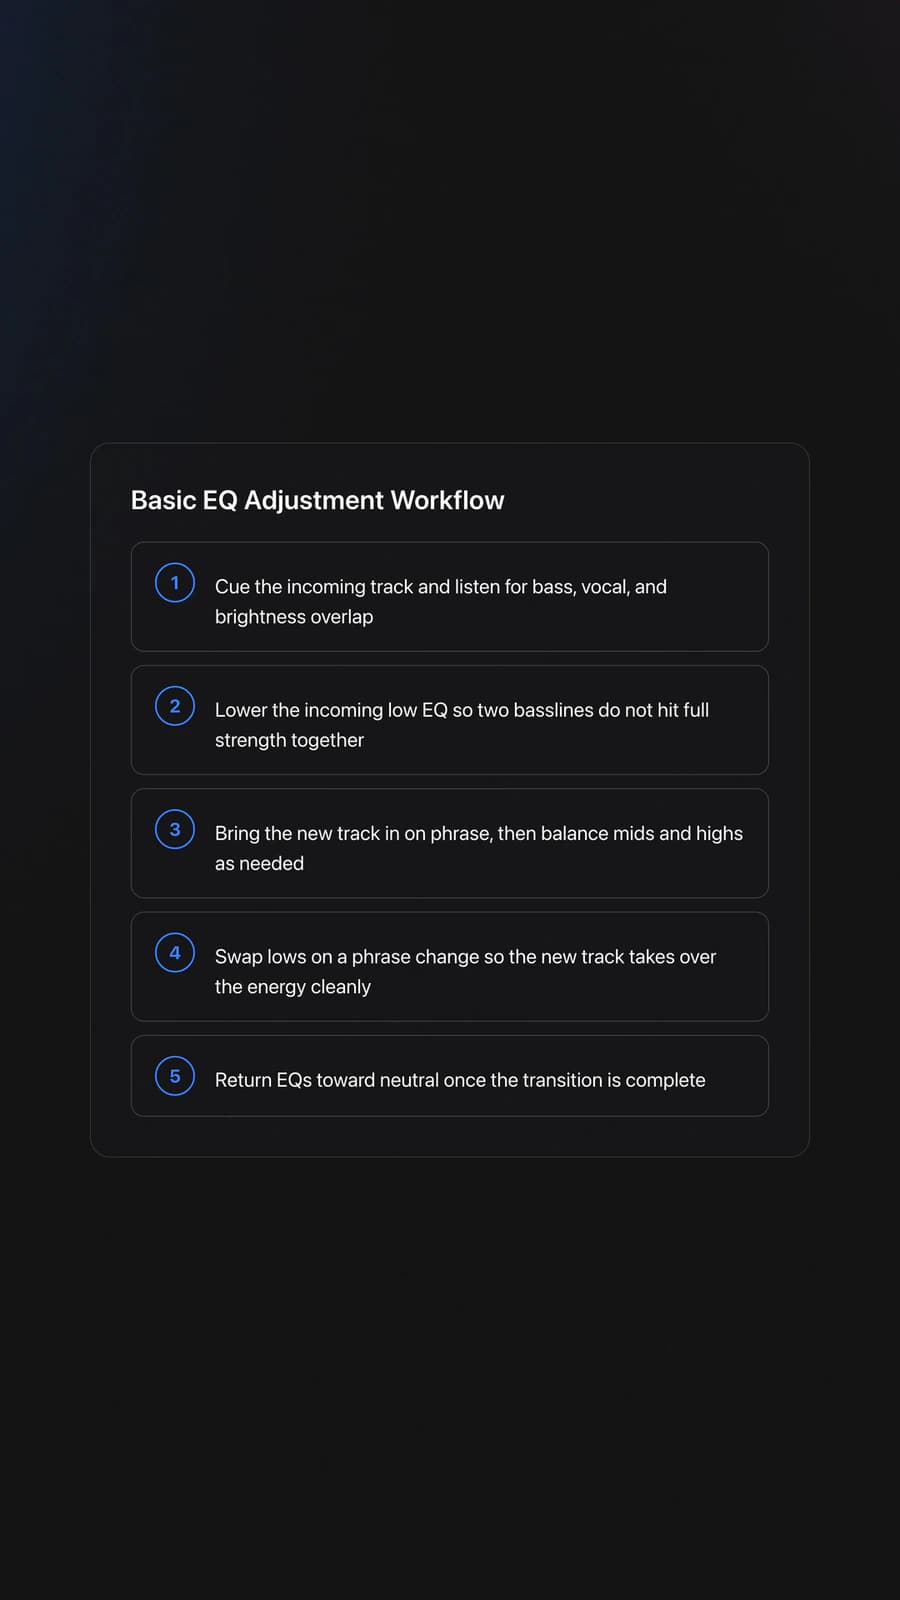
To make EQ adjustments well, start simple: identify the frequency conflict, reduce that band on one track, then restore balance as the transition completes. Most clean DJ blends come from a few deliberate moves, not constant knob activity.
| Step | Action | Key Point |
|---|---|---|
| 1 | Cue the incoming track | Listen for bass, vocal, and brightness overlap |
| 2 | Lower the incoming low EQ | Avoid two full basslines at once |
| 3 | Bring the new track in | Use phrase timing, not random entry |
| 4 | Balance mids and highs | Make space for vocals, stabs, and hats |
| 5 | Swap lows on a phrase change | Hand the energy to the new track cleanly |
| 6 | Return EQs toward neutral | Do not leave the new channel permanently thinned out |
The most common beginner pattern is the bass swap. Keep the outgoing track full. Cut or heavily reduce the low band on the incoming track. Start the blend. When the phrase turns over, reduce the outgoing low and restore the incoming low.
That one move teaches the core idea: only one track should usually own the sub-heavy low end at a time. DJcity and Crossfader both teach this as a foundation for cleaner transitions, especially in dance music.
After that, start listening to the mids. If the incoming track has a strong vocal, lead synth, or clap body, you may need a partial mid cut while it enters. Then bring the mids back as the outgoing track fades or its mid content drops out.
High EQ is usually the lightest touch. Small reductions can soften a crowded top end or keep a new hi-hat pattern from sounding harsh too early. Heavy high cuts can work creatively, but they also make tracks feel distant fast.
In practice, think in roles. Which track owns the bass right now? Which track owns the vocal or hook? Which track supplies the sparkle? Answer those three questions and your EQ adjustments become much easier.
Some DJs prefer filters for smoother sweeps, and MusicRadar notes that filters can create blended frequency handoffs that standard three-band EQ cannot. Still, EQ adjustments remain the cleaner starting point because they teach frequency ownership directly. Once this feels natural, explore filter mixing options for another layer of control.
Practice Drills for EQ Adjustments
The fastest way to learn EQ adjustments is to repeat the same type of transition on controlled material. In practice, short focused drills build better instincts than long unfocused sessions. You start hearing clashes sooner, and your hands stop making random corrections.
Drill one is the low-end handoff. Pick two tracks with steady drum intros. Mix them for 16 or 32 bars. Keep the incoming low cut until the phrase change, then swap the lows in one smooth move.
Drill two is the midrange conflict drill. Choose tracks with vocals, chord stabs, or busy synth hooks. Practice entering the new track with a partial mid cut, then restoring mids only when the outgoing hook clears.
Drill three is the bright-top control drill. Use tracks with active hi-hats or rides. Bring in the new track with slightly reduced highs, then open them gradually so the top end grows instead of splashing all at once.
For organized repetition, it helps to build small practice crates by transition type. In Vibes, you could tag tracks by bass-heavy intros, vocal mids, or bright percussion so each session targets one problem instead of ten. That kind of structure makes A/B comparison much faster.
Use short sessions. Most practitioners improve faster with 15 to 30 minutes a day over 2 to 4 weeks than with one marathon weekend. The skill is mostly ear training plus timing.
As you improve, add variation. Practice the same drill in house, techno, and open-format sets. Then combine EQ work with practice harmonic mixing for cleaner blends, because key-friendly tracks often need less aggressive mid shaping.
Common Mistakes With EQ Adjustments
Most EQ mistakes come from doing too much, too late, or without a clear listening goal. Good EQ adjustments solve one conflict at a time.
| Mistake | Why It Happens | Fix |
|---|---|---|
| Turning all three knobs constantly | The DJ reacts without identifying the real clash | Choose one problem band and solve that first |
| Leaving both basslines active | The incoming track enters with full low end | Cut or reduce incoming lows until the handoff point |
| Ignoring the mids | Beginners focus only on kick and bass | Listen for vocals, synths, and clap body in the mids |
| Forgetting to reset EQ to neutral | The transition ends but the channel stays thinned out | Return toward center after the new track takes over |
Why do most beginners struggle here? Because EQ adjustments are easy to touch but hard to hear. The knobs invite action. Your ears need a slower, more selective process.
Another mistake is over-cutting. A full kill can sound clean, but it can also remove too much body if the track needs some support in that range. Start with the smallest move that solves the clash.
Also watch your gain staging. If one track is much louder, you may think the problem is EQ when the real issue is level imbalance. Clean EQ decisions depend on matched channel levels.
Troubleshooting Muddy or Thin Mixes
If your EQ Mixing sounds muddy, check the low end first. Two kicks and two basslines are the fastest route to a blurred transition. Shorten the overlap and exchange lows earlier.
If the mix sounds thin, you probably removed too much mid content or cut highs too aggressively. Restore one band at a time and listen for body before brightness. Thin mixes often come from fear of clash rather than actual clash.
If everything looks aligned but still sounds wrong, the problem may be arrangement or harmony. Busy vocal phrases, layered synth hooks, or incompatible keys can sound crowded even when the EQ is technically correct. That is where use harmonic mixing for cleaner blends and better track selection become more important than more knob movement.
EQ Adjustments vs Filters
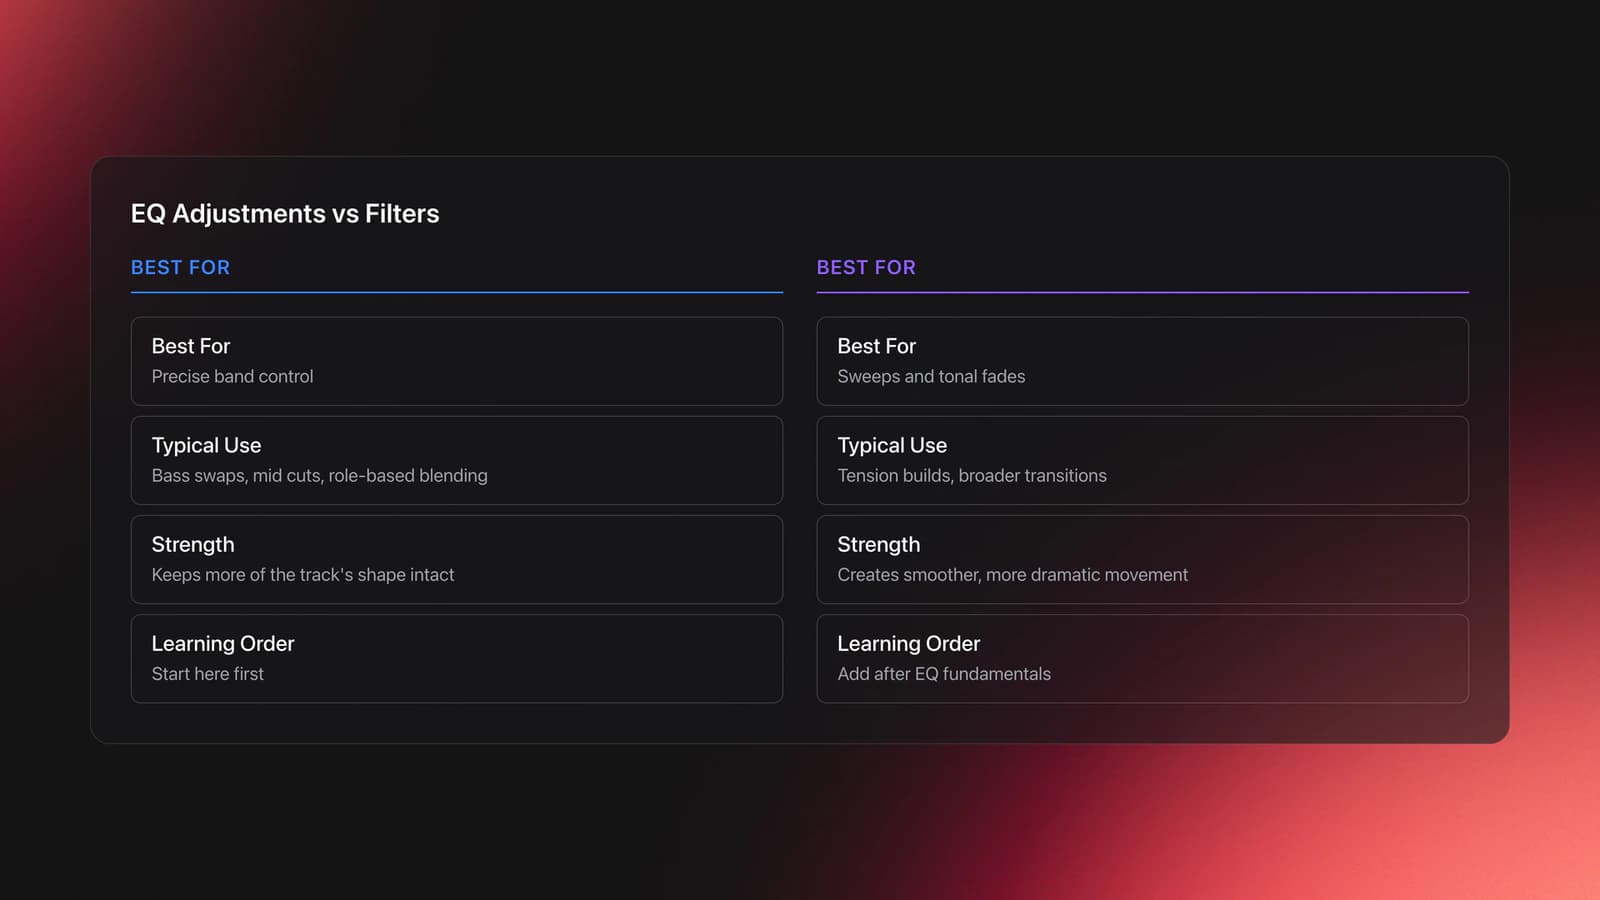
EQ adjustments and filters both shape frequency content, but they solve different problems. EQ is precise and role-based. Filters are broader and often more dramatic.
Use EQ when you want one track to keep its highs while losing bass, or when you need a partial mid reduction without changing the whole tonal shape. Use filters when you want a sweep, a tension build, or a wider tonal fade.
Many DJs blend the two approaches. Crossfader and MusicRadar both teach EQ and filter work together, while DJ-focused hardware increasingly gives each channel both tools. The key is sequence: learn controlled EQ first, then layer filters on top rather than using filters to hide weak fundamentals.
Applying EQ Adjustments in Real Sets
In real sets, EQ adjustments should follow the musical moment. A long progressive transition may need slow bass management and careful mids. A quick hip-hop mix may need a faster low swap and minimal high shaping.
Genre matters too. Techno often rewards patient low-end handoffs and subtle mid control. Open-format sets can demand much faster decisions because vocals and arrangement changes arrive sooner. There is no single knob position that works for every track.
This means prep matters. When you know which tracks are bass-heavy, vocal-forward, or top-end bright, you can anticipate the move before the transition starts. That preparation does not replace ear training, but it reduces guesswork.
Experienced practitioners typically find that the best EQ adjustments are almost invisible to the crowd. The mix just feels natural. If the audience notices the EQ move itself, the move may be too large unless you are using it as an intentional effect.
Safety and Monitoring
Safe monitoring is part of good EQ mixing because tired ears make poor tonal decisions. The CDC NIOSH noise exposure guidance states that 85 dBA averaged over 8 hours is the recommended exposure limit for workplace noise, and it notes that bars and nightclubs can reach levels around 95 dBA or higher.
That means long practice sessions at loud booth levels can damage hearing and reduce mix judgment. Keep headphone cue volume as low as possible, take breaks, and use hearing protection in loud rooms. Clear ears make better EQ choices.
Key Takeaways
EQ adjustments are one of the core skills that make DJ transitions sound clean, controlled, and musical. You are not trying to twist knobs for show. You are deciding which track owns the lows, which one owns the mids, and when to hand that role over.
Focus on three things first. Practice low-end swaps at phrase changes. Learn to hear midrange conflicts, especially vocals and synth hooks. Reset to neutral when the transition is done.
- Let only one track dominate the bass at a time.
- Treat mids as the main source of hidden clashes.
- Practice short, repeatable drills before adding flair.
Start with two simple tracks today and repeat one clean low swap ten times. From there, add mid control, then combine the technique with phrasing and track selection. That progression turns EQ adjustments from a mystery into instinct.
The visual way to organize your DJ library
Tag tracks by vibe. See everything at once. Export to rekordbox, Serato, Traktor or Engine DJ.
14-day free trial. Full access, no strings attached.
or see how it works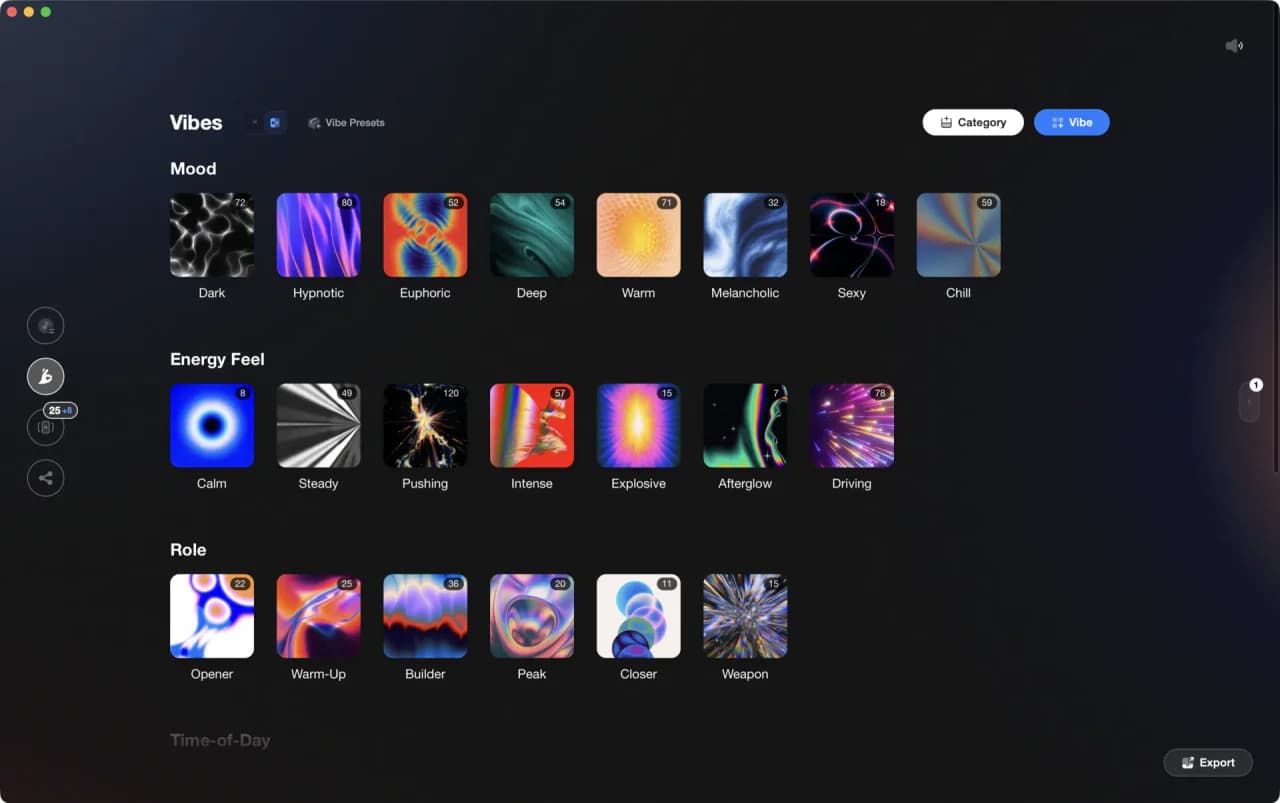
More Tutorials
Transition DJ Online: Browser Mixer Workflow
Mixed In Key Manual for DJs
House Trance: Sound, Structure, Mixing
Beginner DJ Equipment: What You Need
DJ Decks: 2 vs 4 Channel Buying Guide
Starter DJ Controller Buying Guide
How to DJ: First Mix, Step by Step
DJ Starter Equipment: What to Buy First (and What to Skip)
Virtual DJ Tutorial: Beatmatching Basics

What Is a House DJ?
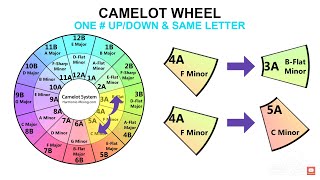
DJ Key Wheel Decision Framework: Four Safe Moves and Advanced Jumps
Best DJ Controller: How to Choose
DJ Library Organization System: Tags, Crates, Keys
Equipment You'll Need
Cockos REAPER
optionalA lightweight, deeply customizable digital audio workstation for recording, editing, mixing, MIDI production, and post work on Windows, macOS, and Linux.
Pioneer DJ DDJ-SB
optionalA compact 2-channel USB DJ controller designed for Serato DJ Intro and later supported with Serato DJ Lite and Serato DJ Pro.
Pioneer CDJ-400
optionalA discontinued digital DJ media player that plays CDs and MP3 files from USB storage, and can also work as a MIDI controller and USB audio interface.
Native Instruments Traktor Pro 4
optionalA professional 4-deck DJ software platform with stem separation, flexible beatgrids, effects, DVS support, and broad controller integration.
Numark Mixtrack Pro FX
optionalA 2-deck USB DJ controller with a built-in audio interface, capacitive jog wheels, performance pads, and Serato DJ Lite support.
DJControl Inpulse 200 MK2
optionalCompact 2‑deck USB DJ controller with built‑in audio, Beatmatch Guide LEDs, and Serato DJ Lite/DJUCED integration.
Pioneer CDJ-1000
optionalA discontinued professional CD-based DJ player that helped define the modern club-standard jog-wheel workflow.
Hercules DJControl Inpulse 500
optionalA 2-channel USB DJ controller with built-in audio interface, performance pads, and guided mixing features for home practice and small public sets.
Serato DJ Pro
optionalProfessional DJ software for mixing, performance, library management, recording, and hardware-integrated club workflows.
Pioneer DJ CDJ-3000
optionalProfessional flagship DJ media player with a 9-inch touchscreen, advanced MPU processing, and club-standard Pro DJ Link workflow.
VirtualDJ
optionalDJ software for Windows and macOS that handles audio mixing, video mixing, karaoke, stems, and broad hardware support.
Traktor MX2
optionalA 2-channel DJ controller with integrated audio interface and tight Traktor Pro 4 integration for mixing, stems, effects, and performance pads.
VirtualDJ 7
optionalA legacy DJ software platform for audio and video mixing, controller mapping, and DVS playback on Windows and Mac.
Platinum Notes 10
optionalPlatinum Notes 10 evens loudness, repairs clipped peaks, and prepares DJ files for more consistent playback in Serato, rekordbox, and Traktor.
Pioneer DJ DDJ-FLX4
optionalA compact 2-channel DJ controller with built-in audio interface, USB-C connectivity, and beginner-friendly smart mixing features.
Beatport
optionalBeatport is a DJ-focused electronic music store and streaming platform for discovering, buying, and streaming tracks into supported DJ software and hardware.
Pioneer DJ DDJ-1000
optionalA 4-channel rekordbox DJ controller with full-size jog wheels, onboard displays, and club-style mixer controls.
Mixed In Key 11
optionalStandalone harmonic-mixing and library-prep software that detects keys, energy levels, cue points, and tags for DJ sets.
rekordbox
optionalCloud-connected DJ software for music management, performance, export prep, and club-standard hardware integration.
Pioneer DJ DDJ-400
optionalA compact 2-channel USB DJ controller built for rekordbox with a club-style layout aimed at new and progressing DJs.
Numark Mixtrack Pro II
optionalA two-channel USB DJ controller with a built-in audio interface, touch-activated jog wheels, and performance pads for Serato-compatible mixing.
Traxsource
optionalTraxsource is a digital music download store focused on house and underground dance music for DJs.
Serato DJ Lite
optionalFree two-deck DJ software for Mac and Windows that introduces Serato’s workflow, controller support, and basic mixing tools.
Frequently Asked Questions

Hey, it's Ben Modigell 👋
I DJ and produce as so I so: downtempo, minimal, dub house, tech house, and techno (releases on Spotify and SoundCloud, links above). Everything I write here comes from my own gigs, studio sessions, and library cleanups: the rules I follow, the failure modes I have actually hit, and the workflow I use when nobody is watching. If a technique did not earn its place in my own sets, it does not make it into a tutorial.