How to Put Songs Together to Make One Song
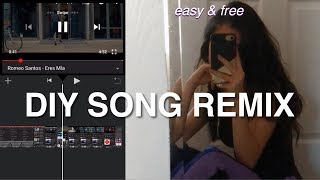
Watch Sonia Leilani’s tutorial above (530K views on YouTube).
This guide is for anyone trying to learn how to put songs together to make one song on an iPhone, for free, with no DJ gear and no paid software. If you are stuck choosing usable sections, lining them up, or making the handoff between songs feel less abrupt, this shows a practical workflow that runs entirely on free iPhone tools. By the end you will be able to capture song sections, arrange them in order, add a simple transition, and export one finished file.
- Choose the exact section of each song you want, by timestamp.
- Screen record each section on your iPhone.
- Import the clips into iMovie.
- Trim the edges so the timing feels clean.
- Use a cut, a dissolve, or a sound-effect transition.
- Export the finished mix as one file.
That is the short version of how to combine songs together on iPhone, with no software to buy. The rest of this article explains how to make the result sound tighter, where this free method breaks down, and what to change when you want a more seamless mix.
If you are making mixes regularly, it helps to separate editing from organization. A simple system for naming versions and tracking which sections you used makes repeated projects much easier, and once your source library grows past a folder of random files, Vibes keeps your tracks sorted by key, BPM, and mood so the right source song is easy to find before you start cutting. That habit carries over to broader DJ library organization, even though this specific method is just for quick phone edits.
If you actually want to blend two songs live on DJ decks, with beatmatching, cue points, and a crossfader, that is a different job that needs DJ software. See how to mix two songs together for the live two-deck workflow.
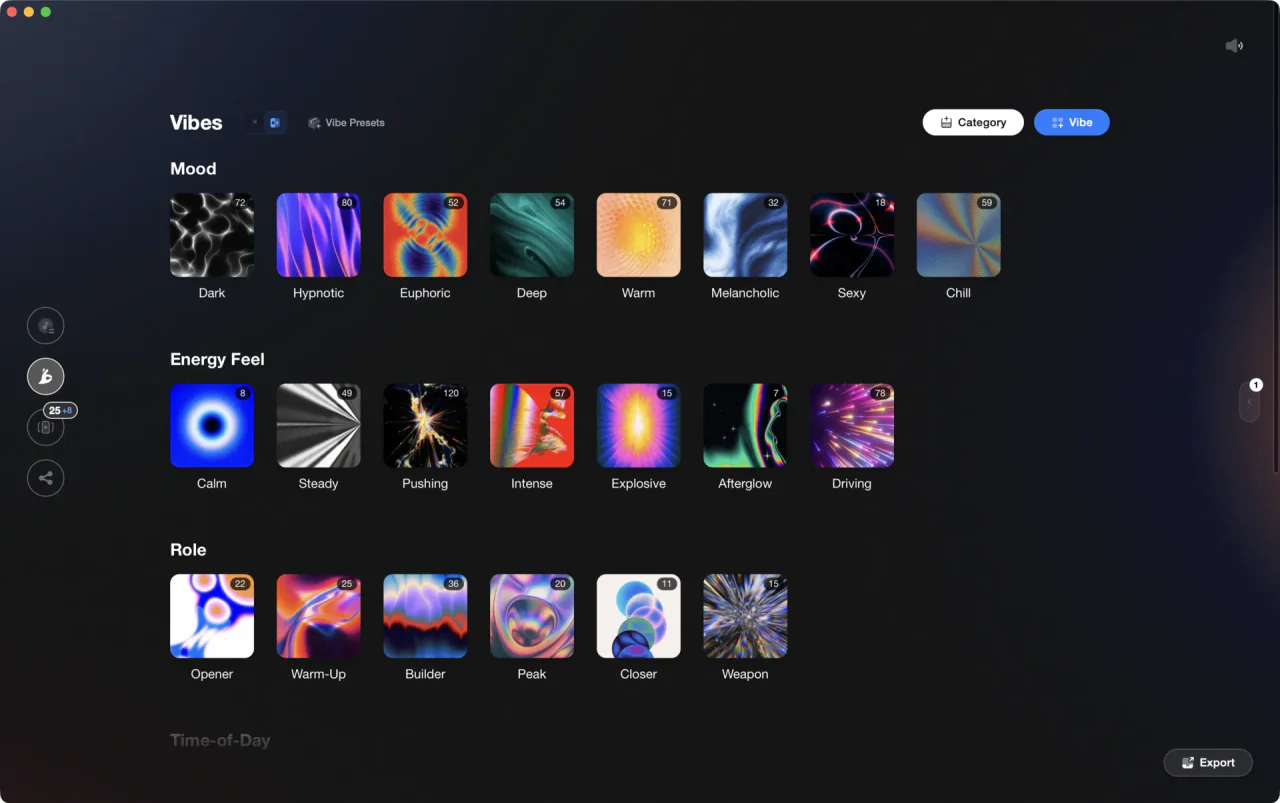
The visual way to organize your DJ library. Tag by vibe, export to any DJ app.
What This Free iPhone Method Actually Does
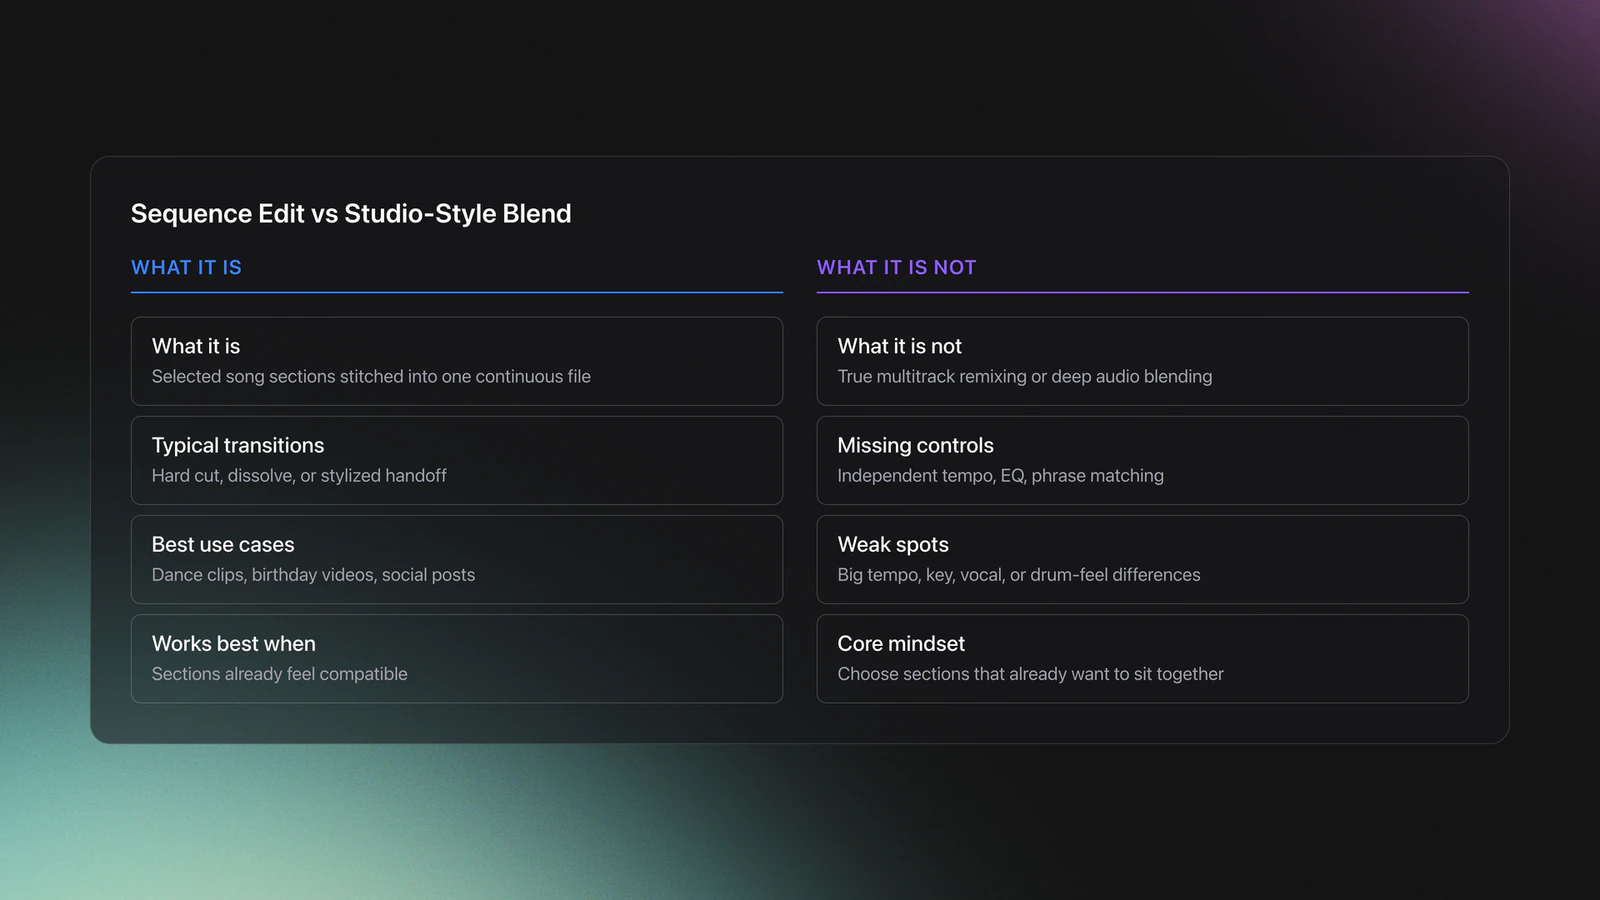
Before you start, be clear about the result. This method does not truly blend multitrack audio. It stitches selected sections from different songs into one continuous file, using only free apps already on your iPhone.
That matters because many people searching how to merge songs together expect studio-style remixing. On an iPhone with free apps, what you are really making is a sequence edit. You pick a usable section from Song A, then a section from Song B, then a section from Song C, and place them back to back.
In practice there are three levels of result:
- A hard cut, where one song stops and the next starts.
- A soft transition, usually a dissolve.
- A stylized handoff, such as a rewind effect.
If your goal is simply how to combine songs into one song for a dance clip, birthday video, or social post, this is enough. If your goal is a club-quality blend with independent tempo control, EQ, and phrase matching, this free method is limited.
Being honest about that limit matters. A cut-and-arrange workflow works best when the sections you picked already have clean boundaries that sit next to each other. It works less well when the sections you chose start or end mid-phrase, or when one section is far busier than the next.
So the first mental model is simple. You are not trying to force whole songs together. You are selecting sections by timestamp that already want to sit next to each other.
Choose Song Sections by Timestamp First
Most of the quality comes from which seconds you pick, not the app. If you want to know how to put songs together, start by choosing better sections.
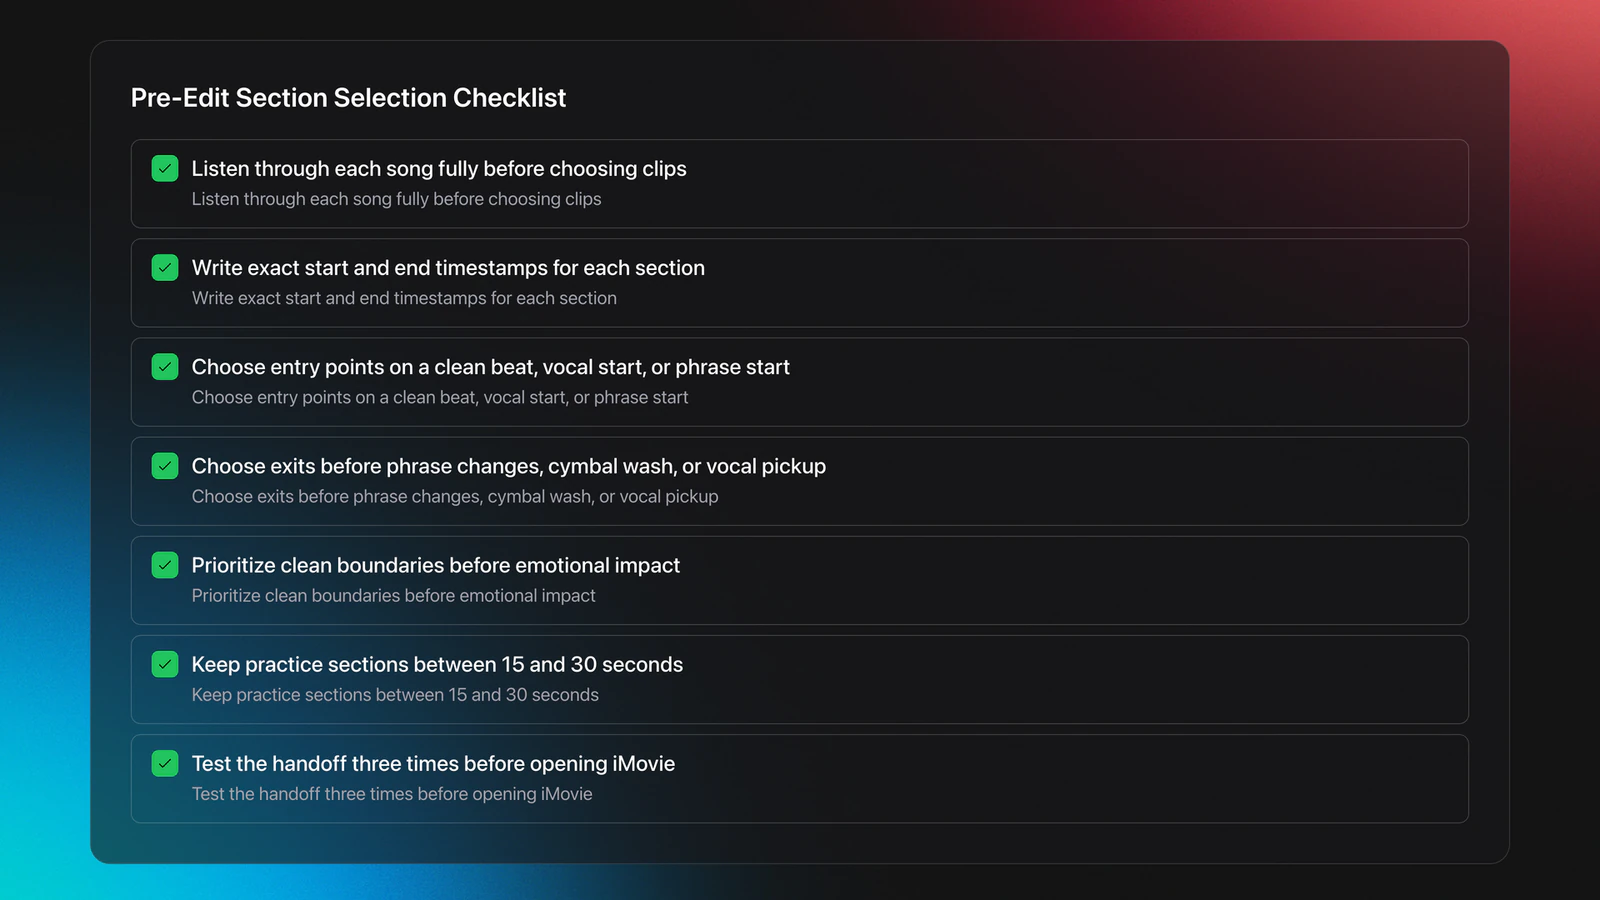
Listen to each song all the way through, then write down the exact minute and second where the part you want begins and ends. That small habit prevents random trimming later.
Use a simple note format like this:
- Song 1: 0:42 to 1:08
- Song 2: 1:15 to 1:46
- Song 3: 0:18 to 0:39
You are looking for entry points and exit points. Good entry points usually start on a clean beat, the start of a vocal line, or the start of a phrase. Good exit points usually end right before a phrase change, a cymbal wash, or a vocal pickup.
Here is a worked example. Suppose Song A has a chorus from 0:55 to 1:20, but the first two seconds contain a pickup vocal. If you cut from 0:55 exactly, the next edit may feel rushed. Starting at 0:57 may sound cleaner because the first downbeat lands with less clutter.
Second example. Song B might have a strong instrumental break from 1:10 to 1:34, but the last bar includes a crash and a vocal ad-lib. If you stop at 1:31 instead of 1:34, the next section will usually connect more cleanly.
This is where beginners lose quality. They choose sections for popularity, not structure. The better rule is this: choose sections for clean boundaries first, then emotional impact second.
That instinct for clean boundaries improves quickly with repetition. Play the last second of one chosen section and the first second of the next back to back. The more pairs you test this way, the faster you hear when a section starts late or ends awkwardly, no training required.
You will know your section choices are good when each clip can stand alone for a few seconds without sounding like it began late or ended too early.
Capture the Audio on iPhone for Free
Once your timestamps are ready, capture each section as its own screen recording. No app to install and nothing to pay for. Apple documents that screen recording can be started from Control Center and that the finished recording is saved to Photos, which matches the workflow this tutorial depends on. According to Apple Support's screen recording guide for iPhone, you tap Screen Recording in Control Center, record, then find the clip in the Photos app.
On newer iPhones, Apple says you open Control Center by swiping down from the top-right corner. On older iPhones with a Home button, you swipe up from the bottom edge, according to Apple's Control Center instructions.
The practical workflow is simple. Pause the song where your chosen section begins. Start screen recording. Press play. Let the section run. Then stop the recording right after the section ends.
Repeat that for every section you want. This is the fastest way to answer how to combine songs on a phone when you do not want to pay for or learn desktop editing.
A few capture rules make a big difference:
- Record each section separately.
- Leave a small buffer before and after the usable part.
- Use the best source audio you can access.
- Avoid notifications during recording.
- Do not multitask while the clip is recording.
That extra buffer matters because trimming is easier than rescuing a clipped start. If your target section starts at 0:42, begin recording a second or two early. That gives you room to trim in iMovie.
One failure mode shows up a lot here. You record the right section, but the very start includes the pause-play tap sound, a notification, or a visible seek jump. The symptom is a messy opening that cannot be hidden by a clean cut.
The fix is to re-record the section with more lead-in and fewer interruptions. Fast editing cannot rescue bad source capture.
Arrange Clips in iMovie, the Free App
Now move into iMovie, which is free on iPhone, and build the sequence. Create a new movie project, import all your screen recordings, and place them in the order you want.
Listen through each imported clip and check the selected section again before you commit to transitions. That is the right order. First confirm the section is accurate, then style the handoff.
Apple's iMovie guide for arranging clips on iPhone notes that clips can be added and duplicated in the timeline, and that iMovie inserts a None transition by default between clips. That default is useful because it lets you hear the raw cut clearly.
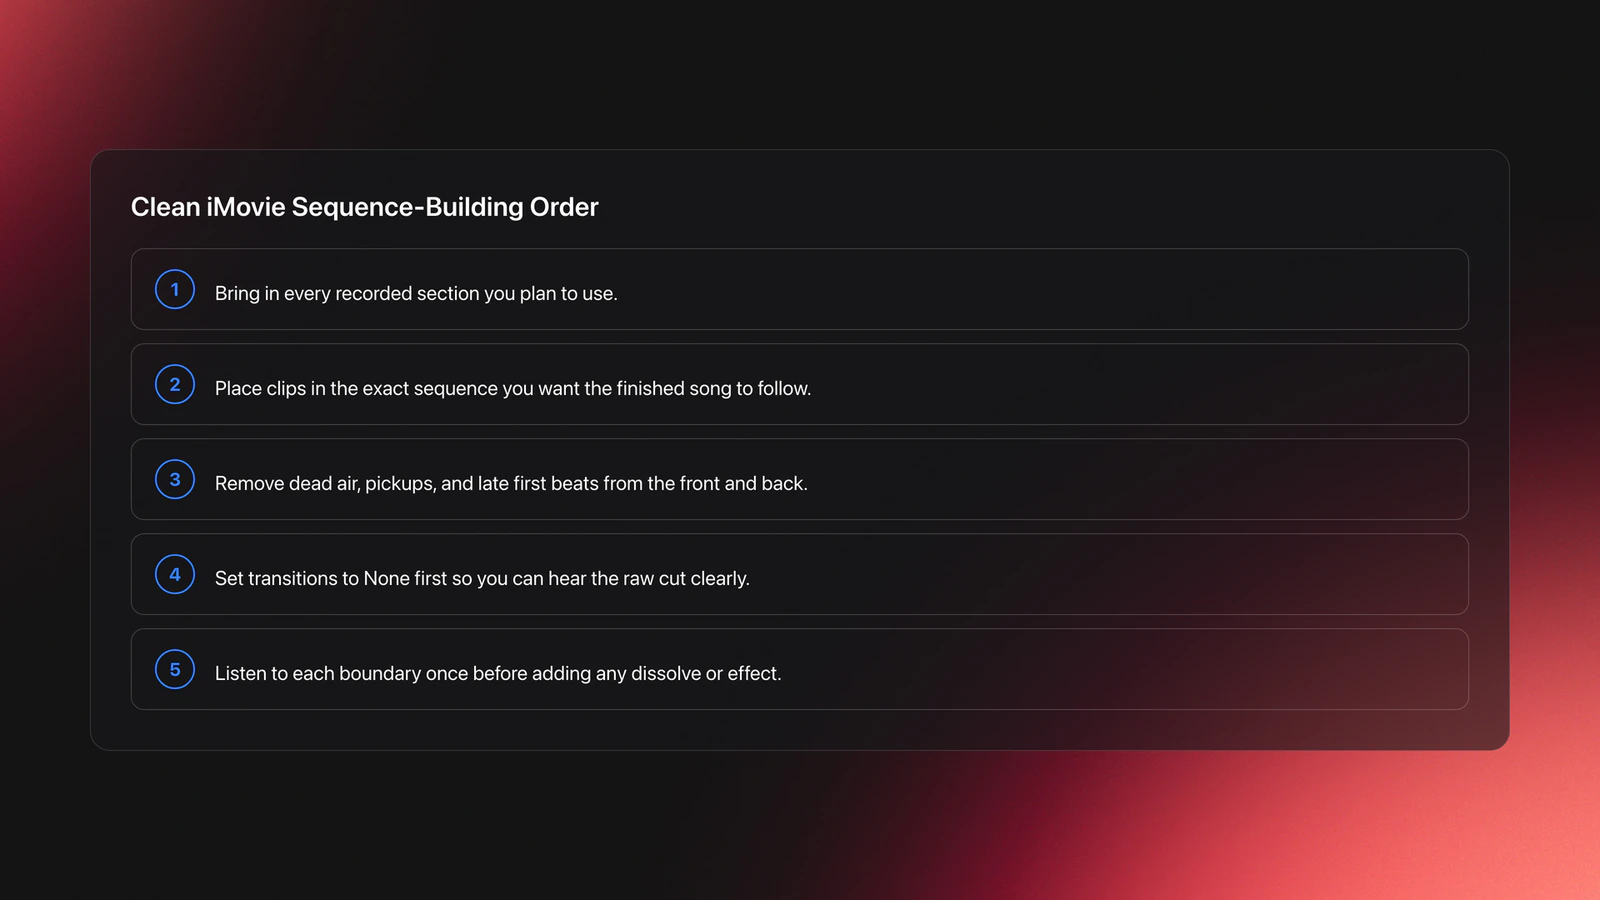
Here is the clean sequence-building process:
- Import every recorded clip.
- Place the clips in your final order.
- Trim the front and back of each clip.
- Set transitions to None at first.
- Listen to every boundary once without effects.
This is where many people think they are editing audio, but they are really checking decisions. The timeline just shows whether your timestamp choices were good.
Worked example one. Say Clip A runs 24 seconds and Clip B runs 19 seconds. After importing, you notice Clip A still has two dead seconds at the start and one spoken pickup at the end. Trim those three seconds away before you try any dissolve. The raw cut may already sound better.
Worked example two. Clip B sounds fine alone, but when it follows Clip A the first beat feels late. Slide the trim point on Clip B forward by half a second to one second. That tiny move often fixes what people wrongly try to solve with a transition.
Validation Check
Build Smoother Transitions With Free iMovie Tools
This is the part most readers actually mean when they search how to merge two songs together. They do not just want one file. They want it to feel connected, without paying for anything.
There are two practical free transition options. First, use a dissolve. Second, insert a picture between songs and place a sound effect over it, such as a tape rewind.
Apple states that transitions in iMovie for iPhone are available in fixed durations of half a second, one second, one and a half seconds, or two seconds in its transition help documentation. That means you should not expect highly precise fade timing on mobile.
So choose the method based on the problem:
| Transition Need | Best Option | Why |
|---|---|---|
| Two clips already sound compatible | Dissolve | It softens the seam without calling attention to it |
| The songs clash in tempo or mood | Sound effect break | It creates a deliberate reset |
| You want a quick social-style edit | Hard cut or short dissolve | It keeps momentum |
| You are hiding a messy boundary | Re-trim first | Effects rarely fix a bad cut point |
Choose the transition based on the problem, not preference.
A dissolve works when the endings and beginnings already share enough texture. For example, an instrumental outro with light drums can dissolve into a soft intro without sounding forced.
A rewind effect works when you want contrast. If Song A ends with a big vocal chorus and Song B starts with a new groove, a stylized break tells the listener the jump is intentional.
To place a stylized break, insert a picture between clips, set the transitions on each side to None, add a sound effect over the picture, and keep the image duration consistent. That creates a neutral spacer. The point is not the exact picture. It is creating a fixed interruption point where the effect can live.
Worked example one. Song A ends at 1:12 with a sustained vocal. Song B starts with a dry kick and bassline. A dissolve will likely smear the vocal into the kick and sound messy. A short rewind or impact effect creates a cleaner break.
Worked example two. Song A ends with instrumental pads and Song B starts with a filtered intro. Here a one-second dissolve may sound natural because both clips have soft edges.
A common failure mode is trying to make every transition seamless. Sometimes the better result is a clearly edited switch. That is especially true when you are learning how to mix 3 songs together with very different styles.
You will know the transition works when it feels intentional on repeated listens. Not invisible. Intentional.
Fix the Volume Jump Between Songs
Here is the problem almost nobody warns you about: one song is louder than the next. You line up two clean sections, the cut is on the beat, and the second song still slams in or disappears because the two source tracks were mastered at different volumes. A perfectly timed edit still sounds broken if the level jumps.
This happens because every song is mixed and mastered independently. A loud pop chorus and a quiet acoustic verse can sit ten or more notches apart in perceived loudness, even at the same phone volume. The cut exposes that gap instantly.
In iMovie you can soften this without any paid tool. Select the louder clip and pull its clip volume down so it sits closer to the quieter one, then listen across the boundary again. Match by ear, not by the number. You are trying to make the second clip feel like a continuation, not a separate file.
A simple loudness-matching pass:
- Play the end of clip one straight into the start of clip two.
- If clip two jumps louder, lower its clip volume a little and replay.
- If clip two feels weak, raise it slightly or lower the clip before it.
- Repeat until neither side makes you reach for your phone's volume button.
Two more options help when the gap is stubborn. A short fade out into the next clip hides a small level change. And for whole files you have not edited yet, iPhone's Sound Check setting normalizes playback loudness across songs, according to Apple's sound quality settings for Music, though that affects playback rather than your exported file.
You will know levels are matched when you can listen through the full sequence once without ever touching the volume control. That single test catches most of what makes a free phone mix sound amateur.
When You Outgrow iMovie: GarageBand for Real Audio Control
If volume jumps, abrupt edits, or fade timing keep frustrating you, the next free step up is still on your iPhone: GarageBand. It is built for audio, not video, so it gives you finer control over levels, trimming, and where each section lands.
GarageBand also lets you combine multiple recorded sections into a single track. Apple documents that you can merge tracks into one audio file, which then exports as a single song, in its merge tracks guide for GarageBand on iPhone. That is closer to true audio assembly than stitching clips on a video timeline.
The tradeoff is a steeper learning curve. iMovie is faster for a quick social edit. GarageBand is worth the extra effort when you want precise volume matching, tighter trims, and an audio-first export. Both are free, so you can start in iMovie and move to GarageBand only when the simpler tool stops being enough.
How Do You Create a Seamless Mix on iPhone?
A seamless mix comes from section choice, phrase awareness, and restraint. You create it by cutting on stable musical points, trimming dead space, and using the lightest transition that still solves the problem.
In other words, seamless does not mean hidden. It means the listener is not distracted by the edit.
Start with phrases. If one section ends after a full musical thought and the next begins at the start of another phrase, the transition already has a better chance. Even without beatmatching, phrase-aligned cuts sound more musical.
Then listen for density. Do not transition from the busiest moment of one song into the busiest moment of another unless you want impact. Most clean edits move from dense to sparse, sparse to dense, or like to like.
Finally, keep the transition short. If the sections are compatible at their edges, a short dissolve is often enough. If they are not, stop trying to hide the difference and use a deliberate break.
Context matters too. A rougher, obvious transition can work in casual social content where energy matters more than polish. For something you want to feel finished, abrupt level changes and awkward phrase cuts stand out more. The method is the same, but your tolerance for rough edges changes.
Export and Save the Finished Mix
Once the sequence sounds right, export it. In iMovie on iPhone, Apple says you can share or export a project from the Projects browser using the Share button, then save or send the file through options like Files, Mail, or Messages in its export projects documentation.
Save to your camera roll first, then move the file to a computer, USB drive, email, cloud storage, or private upload as needed. That is a practical handoff.
Before exporting, do one final pass with this checklist:
- Every clip starts cleanly.
- No clip ends mid-word unless intentional.
- Transitions match the style of the cut.
- No notifications or accidental taps are audible.
- The sequence keeps energy from start to finish.
This is also a good point to name versions clearly. Use names like mix-v1, mix-v2-dissolve, or mix-v3-rewind. If you keep editing, version naming matters more than people expect, and it makes it easy to compare which transition choice you actually preferred.
Can I Merge Songs for Free on iPhone?
Yes, you can merge songs for free if your goal is a simple combined file and you already have the source audio or playable source videos. This method uses only free iPhone tools and manual editing, so there is no software cost at all.
Free does come with tradeoffs. You get fewer transition controls, less precise audio editing, and more manual capture work than dedicated desktop software would give you.
That is still enough for many use cases:
- Birthday or event song mashups
- Dance routine audio
- Short social edits
- Practice sequencing
It is less ideal when you need precise loudness control, beatmatching, stem work, or polished mastering. So yes, how to combine songs into one track can be solved for free on a phone. The question is whether free is enough for the result you need.
Common Mistakes When You Combine Songs
| Mistake | Why It Happens | How to Avoid |
|---|---|---|
| Choosing random sections | The editor picks favorite moments instead of clean musical boundaries | Mark exact start and end times before recording |
| Using transitions too early | Effects are used to hide bad trim points | Set transitions to None first and fix the raw cut |
| Recording with no buffer | The usable section starts before the recording settles | Capture one to two extra seconds on both sides |
| Forcing seamless blends | The songs differ too much in feel or structure | Use a deliberate break or sound effect instead |
| Exporting without a final listen | The project sounds fine in pieces but not as a full run | Listen start to finish once before export |
Most quality problems start before the export stage.
Where This Free iPhone Workflow Works Best
This workflow is best when speed and zero cost matter more than engineering depth. It fits short edits, personal remixes, dance cuts, and simple montage audio.
It is also good for learning by ear. You hear cause and effect fast. Change the trim point. Listen again. Swap a dissolve for a cut. Listen again. That fast loop is how many people build editing instinct. As someone who learned music by playing rather than reading about it, my one piece of advice is the same here: just do it, make the first rough version, and let your ears teach you the rest.
It works less well for polished audio-only production. Because you start from screen recordings and a video timeline, you have less control over loudness, EQ, timing, and source cleanliness than a full DAW or DJ editor would give you.
If you keep hitting those limits, that is not failure. It just means you have outgrown the free phone method, and a live DJ setup may be the next step. See how to mix two songs together when you are ready for decks.

Conclusion: Make the Edit Feel Intentional
If you want to know how to put songs together to make one song, the simplest working method is free and runs on your iPhone: choose clean sections by timestamp, capture them separately, arrange them in iMovie, and use only as much transition as the boundary needs. Most of the result comes from section choice and trimming, not effects.
- Pick sections with clean musical boundaries by timestamp.
- Check every cut with transitions turned off first.
- Use a dissolve for compatible edges and a stylized break for clashes.
Your next step is simple. Build one two-song version first. Do not start with five songs. When that sounds intentional, add a third song and repeat the same process. If you also want to improve the broader workflow around track prep and selection, related systems like how to prepare DJ sets, playlist organization for DJs, and harmonic mixing basics will make the editing decisions easier.
The visual way to organize your DJ library
Tag tracks by vibe. See everything at once. Export to any DJ software.
A visual system for organizing your DJ library.
Techniques Covered
Equipment & Software
Continue Your Learning Journey
Frequently Asked Questions

Hey, it's Ben Modigell 👋
I DJ and produce as so I so — downtempo, minimal, dub house, tech house, and techno (releases on Spotify and SoundCloud, links above). Everything I write here comes from my own gigs, studio sessions, and library cleanups: the rules I follow, the failure modes I've actually hit, and the workflow I use when nobody's watching. If a technique didn't earn its place in my own sets, it doesn't make it into a tutorial.