Audio Fading
Audio fading is the controlled reduction or increase of track volume to create smoother starts, endings, and DJ transitions.
Audio Fading Tutorials

How to Put Songs Together to Make One Song
Audio Fading is the simplest way to make one track leave cleanly while another enters with control. In DJ use, audio fading means raising or lowering volume gradually with a channel fader or crossfader so the change feels intentional instead of abrupt. If you want smoother transitions, better flow, and fewer messy overlaps, Audio Fading is one of the first techniques to learn.
For beginners, audio fading unlocks confidence. You stop relying on luck and start shaping how energy moves across a mix. It also builds habits that support build solid beat matching control, cleaner timing, and better phrasing later.
In practice, audio fading looks simple but teaches several core DJ skills at once: level control, phrase awareness, listening discipline, and restraint. Most instructors treat it as a foundation because a good fade can carry a full transition, especially when the tracks already fit in tempo and mood.
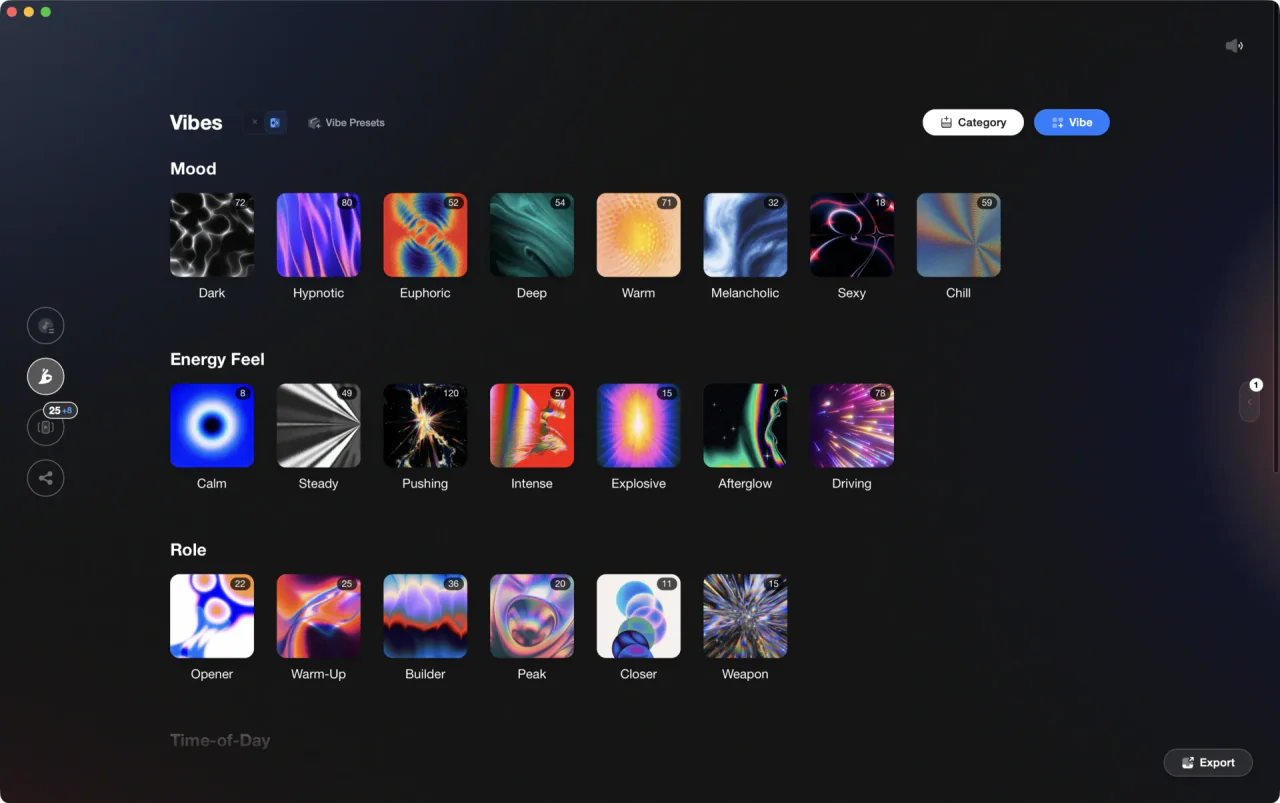
The visual way to organize your DJ library. Tag by vibe, export to any DJ app.
What Is Audio Fading?
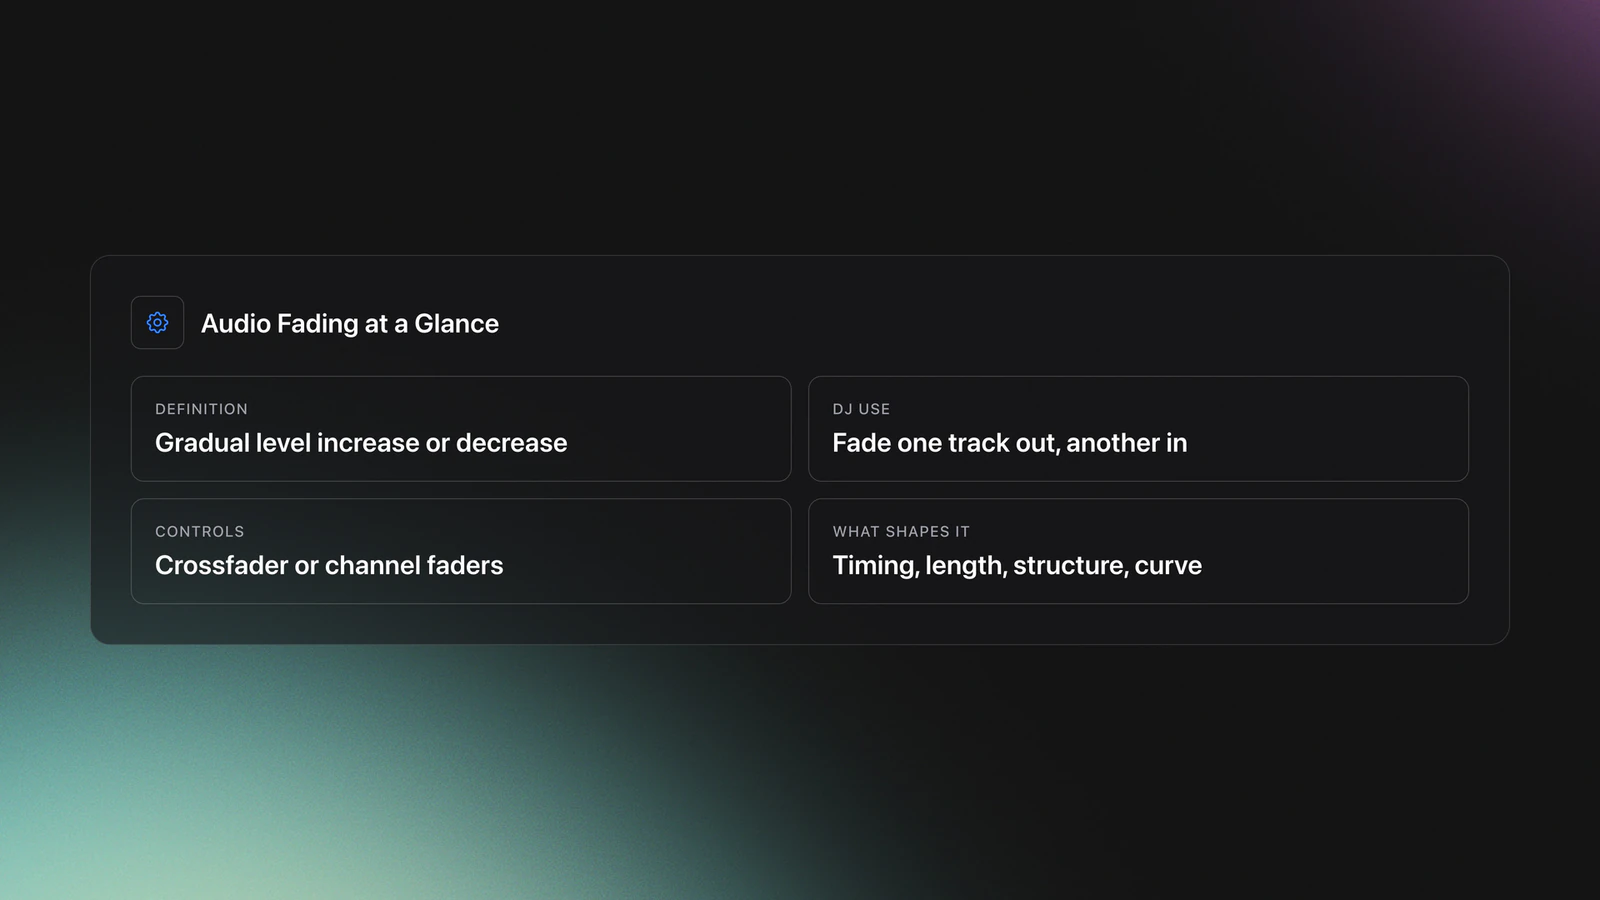
Audio fading is the gradual increase or decrease of a track's level over time. In DJ mixing, it usually means fading one source out while another fades in, either with channel faders or a crossfader, to create a smooth changeover between songs.
The core idea is simple: volume changes shape the listener's attention. A fade-in introduces the next record without shock. A fade-out removes the current record without a hard stop.
That basic definition is consistent across general audio practice and DJ workflow. Standard references describe fades as gradual level changes, and DJ-focused explanations describe crossfading as blending two songs gently so they do not clash.
On a DJ mixer, you can fade with the horizontal crossfader or with vertical channel faders. Manufacturers also note that if you are mixing with the crossfader, both channel faders are typically left at the top so the crossfader controls the blend.
This is why Audio Fading is a technique, not just a movement. The result depends on timing, fade length, track structure, and fader curve.
Why Audio Fading Matters
Audio Fading matters because it gives you control over transitions before you add anything more advanced. If your fades are clean, your mixes already sound more deliberate.
It also solves common beginner problems. Tracks do not slam into each other. Endings feel less awkward. Vocals, drums, and drops have more room to breathe.
- It smooths track changes without effects.
- It teaches level control and timing.
- It reduces harsh or cluttered overlaps.
- It prepares you for EQ and phrase-based mixing.
- It works in nearly every DJ genre.
For house and techno, longer fades often support patient transitions. For hip-hop and open-format sets, shorter fades can keep energy moving. The principle stays the same. You control attention by controlling level.
Equipment for Audio Fading
You only need basic DJ gear to practice Audio Fading. A mixer or controller with two channels, working headphones, and tracks with clear intros and outros are enough to build the skill.
The most important hardware concept is understanding what each fader does. Channel faders control the volume of each individual channel. The crossfader blends between assigned channels. Master level is different and should not be used as a performance fade control.
Software settings matter too. Serato and similar platforms let you adjust the crossfader curve, which changes how quickly the incoming track becomes audible. Slow curves support gradual blends. Fast curves favor cuts and scratch-style movement.
If you are unsure which control to use, start with channel faders. They force you to think more clearly about each deck's level. Then test the crossfader once you understand the timing of a fade.
How to Do Audio Fading
To do Audio Fading well, start the incoming track in time, then raise its level while lowering the outgoing track at a matching pace. The goal is not just movement. The goal is a controlled handoff that respects phrasing, energy, and frequency space.
| Step | Action | Key Point |
|---|---|---|
| 1 | Cue the incoming track | Start on a phrase boundary |
| 2 | Match tempo or use compatible groove | Avoid rhythm drift |
| 3 | Begin with low incoming level | Leave space for the current track |
| 4 | Raise one track as the other drops | Keep the handoff intentional |
| 5 | Finish before sections clash | Respect intros, outros, and vocals |
Start by listening to the outgoing track's structure. Is it in an outro, a break, or a busy chorus? The cleaner the section, the easier the fade. This is where learn phrase alignment for cleaner mix timing becomes important.
Bring the next track in quietly. Let the listener sense a change before they fully hear it. A common mistake is fading too quickly and exposing a second kick, vocal, or bassline before the mix is ready.
As the new track becomes clear, lower the old one at a related pace. Long transitions need patience. Short transitions need conviction. In both cases, avoid random fader movement.
If both tracks have heavy low end, simple volume fading may still sound crowded. That is often the point where DJs move on to add EQ mixing after simple fades, using bass reduction on the incoming or outgoing track to prevent mud.
Use your ears more than the screen. Good audio fading is heard as continuity, not noticed as technique.

Fade Timing and Phrasing
Fade timing works best when it follows musical phrasing. DJs commonly mix in blocks of 4, 8, 16, or 32 beats so the outgoing song changes section as the incoming song changes section too.
This matters more than perfect hand movement. A badly timed fade can sound wrong even if the level change is smooth. A well-timed fade often sounds natural even when the movement itself is simple.
Use intros and outros first. Those sections usually leave more space for overlap. Busy verses and full choruses are harder because vocals and dense drums compete for attention.
A useful checkpoint is this: can you hold the overlap for 16 bars without obvious clash or panic? If yes, your fade timing is improving.
Practice Routine for Audio Fading
The fastest way to improve Audio Fading is with short, repeatable drills. Through daily 15-minute practice sessions over several years, I found that repeating one transition ten times teaches control faster than recording a long mix and hoping the skill appears.
Start with two tracks that have similar BPM, simple intros, and no dominant vocals. Practice one clean fade-in and fade-out pattern until your hands stop overreacting.
Keep a small practice crate organized by intro length, outro length, and energy level. In Vibes, a structure like Intro-Friendly, Vocal Outro, and High Energy can make repeat drills easier because you are comparing similar transition material instead of hunting through a chaotic library.
From there, increase difficulty one variable at a time. Add vocals. Use tracks with denser percussion. Shorten the fade window. Then test whether the control still holds.
Most practitioners can build usable Audio Fading in 1 to 2 weeks with daily work. Making it feel invisible in a live set usually takes longer because real transitions involve track choice, nerves, room sound, and energy management.
Common Mistakes in Audio Fading
Most Audio Fading mistakes come from rushing, poor timing, or fading without listening to the arrangement. The fix is usually simpler than people expect.
| Mistake | Why It Happens | Fix |
|---|---|---|
| Fade starts too loud | Incoming track is pushed up before space exists | Start lower and reveal the track gradually |
| Fade lasts too long | DJ keeps both tracks active past the useful overlap | End the transition before phrases clash |
| Volume dips in the middle | Curve setting or hand movement is uneven | Check curve type and rehearse a steady motion |
| Mix sounds muddy | Two basslines overlap during the fade | Shorten the overlap or add bass management |
Why do most beginners struggle here? Because Audio Fading feels easy enough to improvise. But uncontrolled fades expose every weak habit: bad cueing, weak phrase counting, and uncertain gain judgment.
If your fades feel messy, simplify the music. Pick cleaner tracks. Use shorter overlap. Practice on intros and outros only. Then rebuild complexity.
Troubleshooting Fade Problems
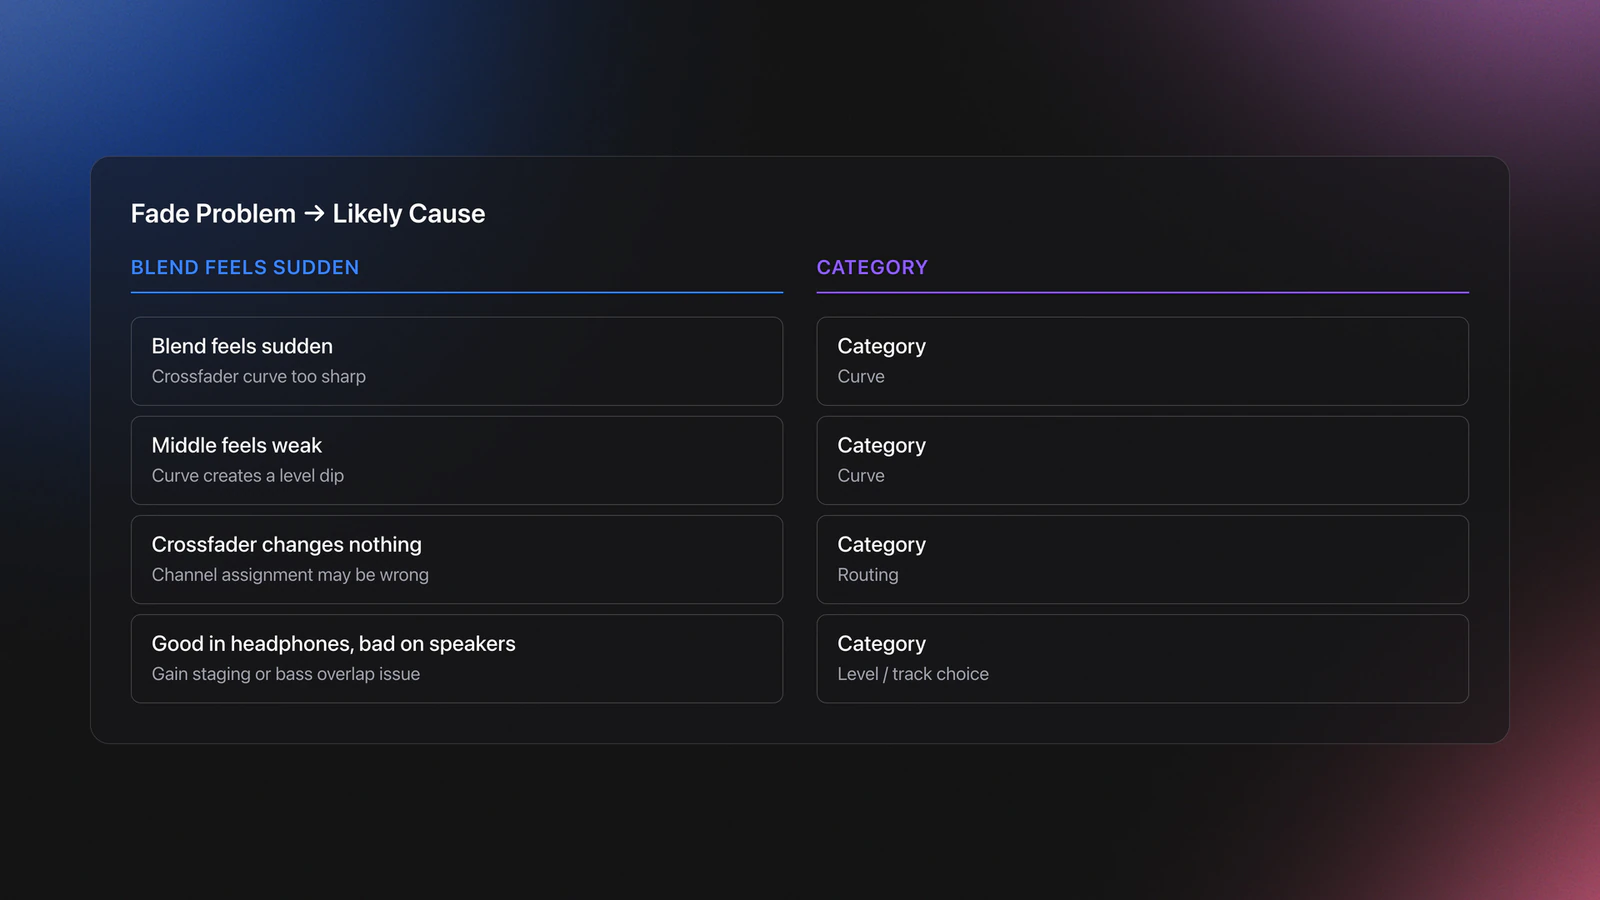
If your fade does not sound smooth, diagnose the exact problem instead of practicing blindly. Most issues fall into one of four categories: timing, curve, level, or track choice.
If the blend feels sudden, your crossfader curve may be too sharp. If the middle of the transition feels weak, the curve may create a level dip. Some software offers linear and power curve options, and they behave differently around the center.
If moving the crossfader changes nothing, check channel assignment first. On many mixers, each channel must be assigned to the correct crossfader side, or the control is effectively bypassed.
If the fade sounds fine in headphones but bad on speakers, review gain staging and low-end overlap. A crowded bass region often feels much worse in the room than in cue.
Where Audio Fading Leads Next
Once Audio Fading feels stable, the next step is not to abandon it. The next step is to build on it. Better DJs still use simple fades all the time because the basic technique works.
From here, expand in three directions. Improve timing with learn phrase alignment for cleaner mix timing. Improve blend quality with add EQ mixing after simple fades. Improve transition security with build solid beat matching control.
That progression matters because advanced transitions are usually combinations of simple moves done well. A clean fade at the right moment often beats a flashy transition with poor control.
Key Takeaways
Audio Fading is the foundation of smooth DJ transitions. It teaches you how to control level, manage overlap, and move between records without breaking the flow of a set.
Focus on these points first:
- Start fades on phrase boundaries, not random beats.
- Use slower, steadier hand movement than you think you need.
- Practice with simple track pairs before adding vocals or dense bass.
Your next session should focus on one pair of tracks, one fade length, and ten clean repetitions. Once that feels controlled, add phrasing and EQ detail. That is where simple technique starts turning into real DJ fluency.
The visual way to organize your DJ library
Tag tracks by vibe. See everything at once. Export to any DJ software.
A visual system for organizing your DJ library.
Frequently Asked Questions

Hey, it's Ben Modigell 👋
I DJ and produce as so I so — downtempo, minimal, dub house, tech house, and techno (releases on Spotify and SoundCloud, links above). Everything I write here comes from my own gigs, studio sessions, and library cleanups: the rules I follow, the failure modes I've actually hit, and the workflow I use when nobody's watching. If a technique didn't earn its place in my own sets, it doesn't make it into a tutorial.