Screen Recording
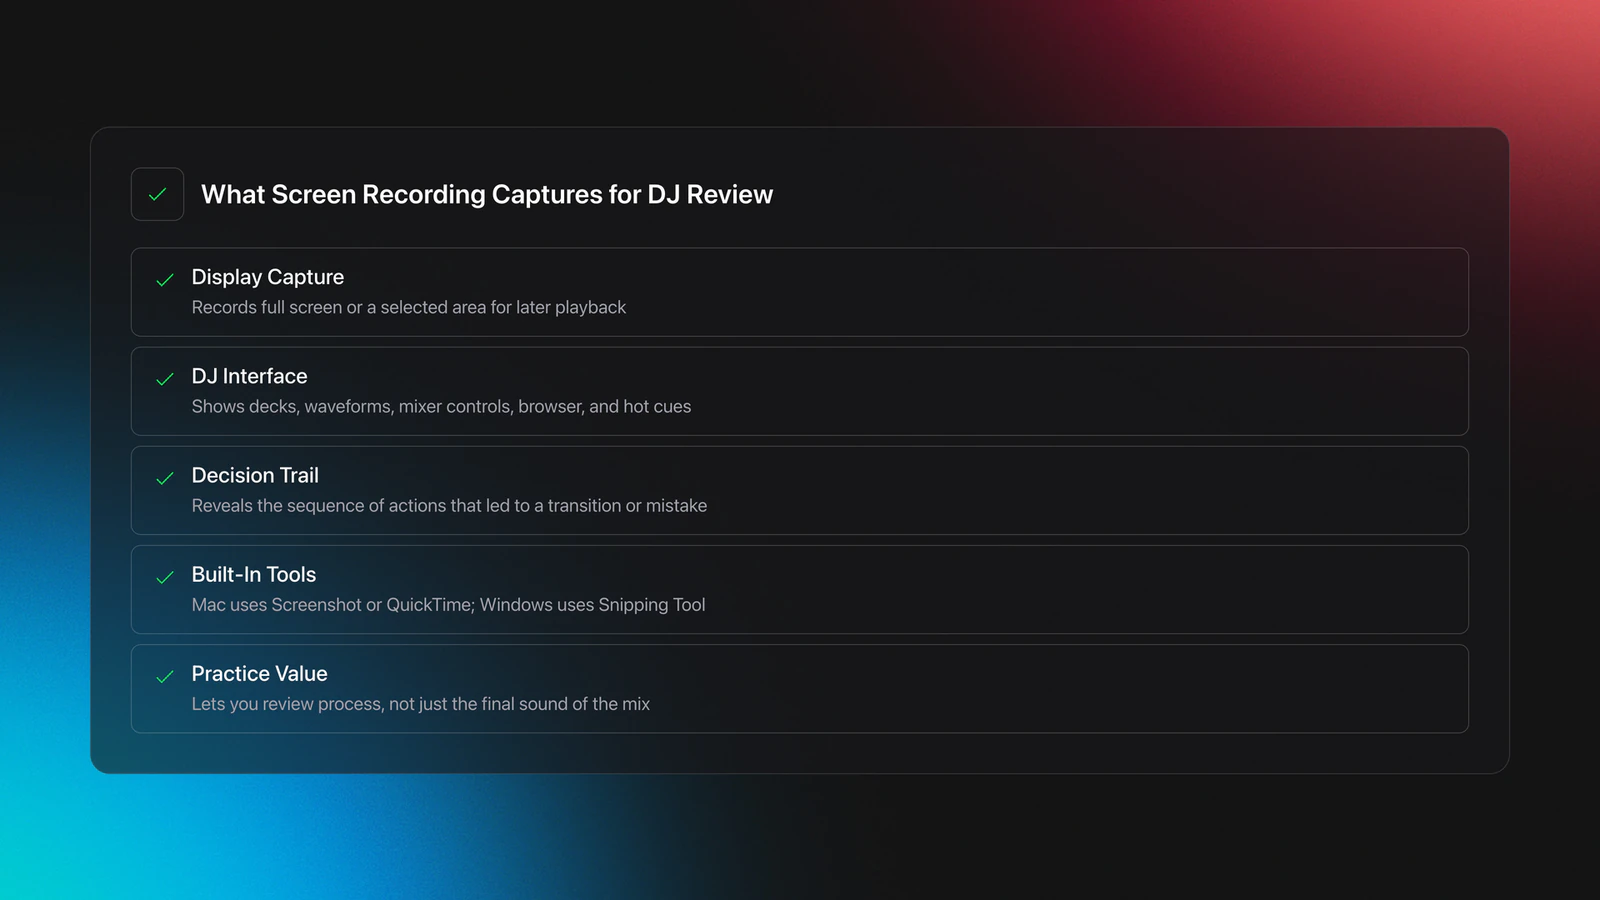
Screen recording helps DJs capture software movement, waveforms, and decisions so they can review technique with more detail than audio alone.
Screen Recording Tutorials
How to Put Songs Together to Make One Song
Screen Recording is the practice of capturing your DJ software display while you mix, rehearse, or explain a transition. For DJs, screen recording matters because it shows more than sound alone. You can see waveform movement, cue timing, browser choices, and hesitation points. That makes screen recording one of the fastest ways to diagnose weak transitions and repeat strong ones.
If you already record audio but still cannot tell why a mix drifted or felt rushed, this technique fills the gap. A screen capture reveals what your hands decided, when you loaded the next track, and whether you entered on the right phrase. In practice, that makes review more objective and much easier to repeat.
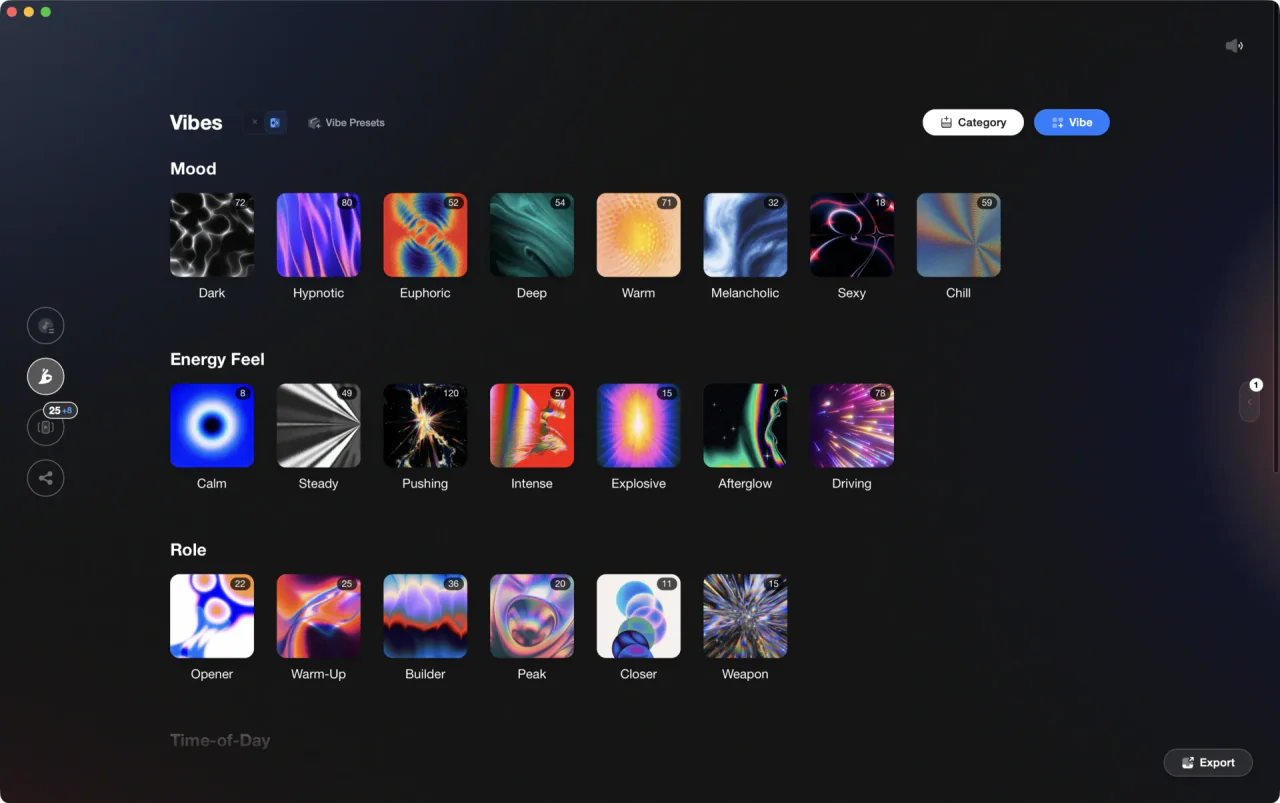
The visual way to organize your DJ library. Tag by vibe, export to any DJ app.
What Is Screen Recording?
Screen recording is a video capture of your computer display, either full screen or a selected area, saved for later playback. On Mac, Apple’s built-in Screenshot and QuickTime tools can record the whole screen or a chosen portion, and on Windows, Snipping Tool can record a video snip from the screen. Apple screen recording guide and Microsoft Snipping Tool recording guide outline the basic workflow.
In DJ practice, the technique is less about content creation and more about feedback. You use screen recording to capture waveforms, transport controls, hot cues, playlist navigation, and sometimes your audio meters.
This means you can review not just the result, but the sequence of decisions that led to it. That is why screen recording works so well with skills like master beat matching fundamentals and improve phrase alignment timing.
Why DJs Use Screen Recording
DJs use screen recording to make mistakes visible. Audio tells you that a transition felt off. Video of the screen often tells you why.
Educational DJ resources consistently recommend recording practice and critiquing it later because live mixing hides many small errors in the moment. Digital DJ Tips set critique guide and Crossfader DJ filming guide both point to recording as a practical way to review transitions and clearly show what is happening in the software.
- See late track loads before they become rushed transitions.
- Check whether hot cues and loops were triggered at the right phrase.
- Spot browser indecision that breaks flow.
- Review waveform overlap during blends, cuts, and exits.
- Share exact moments with a coach or practice partner.
How to Use Screen Recording for DJ Practice
The best way to use screen recording is to keep it simple and repeatable. Record the same part of your software each time, capture clean audio, and review short sessions instead of marathon takes.
Start by choosing what you need to see. For most DJs, that is the decks, waveforms, mixer section, and browser. A full-screen capture works, but a cropped recording is often clearer because it removes distractions.
Next, decide whether built-in tools are enough. On Mac, Screenshot or QuickTime is usually enough for basic visual review. On Windows, Snipping Tool handles short screen clips. If you need flexible layouts, separate sources, or better control of formats and audio routing, OBS recording output guide is the stronger option.
Before you hit record, turn off notifications and close unrelated windows. Apple also notes that screen and system audio access is controlled in Privacy & Security settings on Mac, which matters if your recorder cannot see the screen or capture sound.
Then run a one-minute test. Check three things only: can you see the waveform area clearly, is the audio clean, and does the file save where you expect. OBS specifically recommends testing before a full session, and its guide recommends MKV for safer recording because an interrupted stop is less likely to corrupt the file.
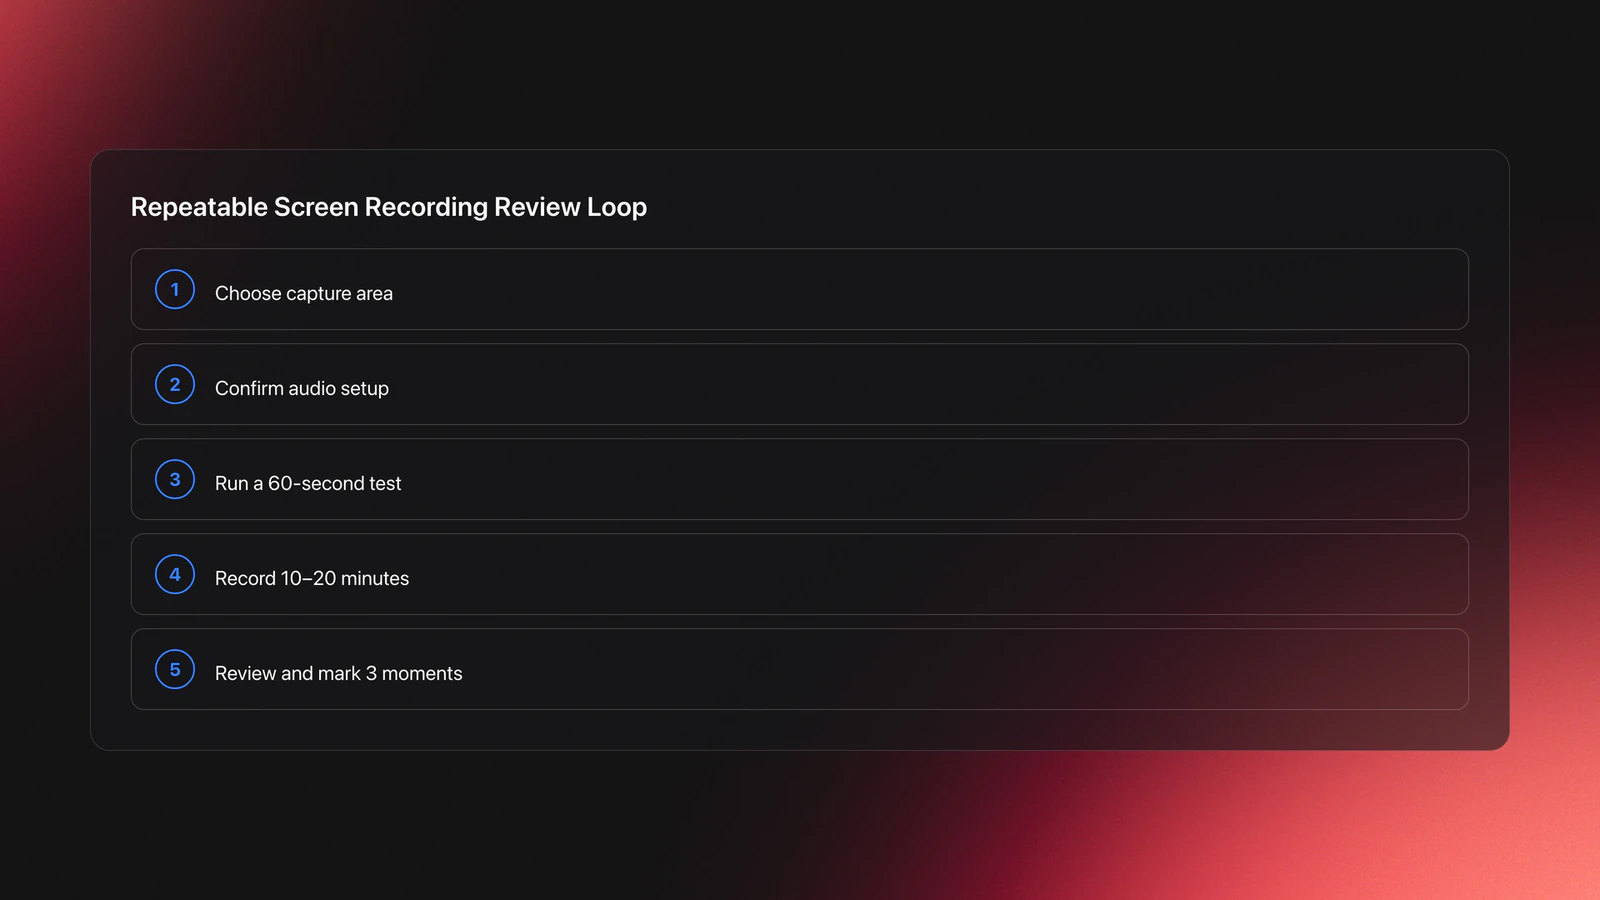
| Step | Action | Key Point |
|---|---|---|
| 1 | Choose full screen or crop to decks and mixer | Only record what helps review |
| 2 | Confirm audio source and meters | Silent video is useless for mix critique |
| 3 | Run a 60-second test | Catch sync, visibility, and save-path issues early |
| 4 | Record a focused 10–20 minute practice set | Short sessions are easier to review |
| 5 | Watch back and mark 3 moments | Identify one timing win and two fixes |
The result is a repeatable review loop. Record, watch, mark errors, and try again with the same tracks.
What Good Screen Recordings Should Capture
A useful screen recording captures the decisions behind the mix, not just the mix itself. That usually means deck waveforms, transport position, EQ or filter movement, and track browsing.
If your software layout is crowded, prioritize the elements that answer performance questions. For beat-focused review, decks and phase movement matter most. For selection-focused review, the browser and playlist area matter more.
This is where the technique becomes more specific. You are not trying to document everything. You are trying to make one skill visible enough to improve.
For example, if you are working on learn harmonic mixing decisions, the recording should show key information and browse choices. If you are fixing late transitions, you need clear phrase markers and deck position.
Practice Drills for Screen Recording
Practice screen recording as part of your normal DJ work, not as a separate technical hobby. The goal is to make review effortless enough that you actually do it every week.
Through daily 15-minute practice sessions over several years, I found that short, repeatable reviews improve faster than occasional long recordings. You notice more, stay less defensive, and can test a fix the same day.
Begin with one transition pair. Record yourself mixing the same two tracks three times. On playback, pause at the entry, midpoint, and exit. Note whether your timing changed because of listening, looking, or browsing.
Next, run a five-transition mini set from a small crate. This is where organized material helps. If you store practice tracks by energy, mix type, or common BPM range inside Vibes, you can rebuild the same drill set quickly without hunting through your full library.
After that, add one constraint per session. Practice only long blends, only quick cuts, or only phrase-perfect entries. A screen recording becomes far more useful when each session tests one idea.
Most instructors recommend reviewing with a pen, notes app, or timestamp list. Do not just watch passively. Write down one thing to keep, one thing to stop, and one thing to test next.
Equipment and Software Choices
You do not need advanced gear to start screen recording. Built-in tools are enough for basic review, especially if your goal is simply to see waveform timing and browser behavior.
Mac users can record with Screenshot or QuickTime. Apple documents recording the full screen or a selected portion, plus microphone options and save locations. Windows users can use Snipping Tool to record a video snip with the keyboard shortcut Windows + Shift + R, according to Microsoft support.
OBS becomes useful when you want more control. Its official guide covers recording path, output format, quality options, advanced audio track choices, and encoder settings. For DJs, that matters when you want a stable local recording and cleaner separation between music, mic, and system sources.
Optional gear helps when your practice setup is more serious. An external interface can make audio routing more predictable. A separate microphone helps if you narrate your own decision-making during review. Extra storage helps if you keep weekly archives.
Common Mistakes With Screen Recording
Most screen recording problems are not creative. They are setup mistakes that make the review impossible or misleading.
| Mistake | Why It Happens | Solution |
|---|---|---|
| Recording the whole desktop | Important controls look too small on playback | Crop to decks, mixer, and browser only |
| No clean audio captured | Wrong source or routing was selected | Run a one-minute test and watch the meters |
| Reviewing hour-long sessions | Too much footage creates vague feedback | Record 10–20 minute focused drills |
| Watching without notes | Errors feel familiar but stay unmeasured | Mark timestamps and assign one action to each |
Another common issue is mismatch between what you hear live and what the file captures. OBS community guidance often points users to sample-rate consistency and basic test recordings first when audio crackle or missing sound appears.
Privacy is the other overlooked problem. Notifications, file names, playlists, and messages can all end up in the recording. Turn them off before you start.
Troubleshooting Screen Recording for DJs
If your screen recording is blurry, the capture area is usually too large for the detail you need. Reduce the recorded area or increase output quality before assuming the technique is not useful.
If there is no sound, test with a simple one-deck playback before a full mix. That isolates whether the problem is your DJ software, the recorder, or the audio route.
If the computer struggles during recording, lower the recording demands before changing your whole workflow. OBS notes that higher quality presets and separate encoders use more system resources, so stability matters more than maximum quality for practice.
For long-term improvement, save recordings in a consistent structure. A simple folder system by date, BPM range, or drill type works. If you already organize tracks and test sets inside Vibes, mirror that structure in your recorded review folders so each session stays tied to the exact practice material.
When Screen Recording Helps Most
Screen recording helps most when the problem is visual, timing-based, or decision-based. It is especially effective for beat matching, phrase alignment, cue timing, loop exits, and track loading habits.
It is less useful for purely tactile skills, such as fader feel or platter touch, unless you pair it with an overhead camera. In other words, use it where the software view explains the mistake.
For many DJs, the sweet spot is combining audio recording, screen capture, and a short written debrief. That gives you result, evidence, and next action in one workflow.
Wrap-Up
Screen recording turns vague practice into visible evidence. Instead of guessing why a transition felt weak, you can see the waveform timing, browsing delay, and cue choices that caused it. That makes correction faster and much easier to repeat.
Key takeaways:
- Record short, focused sessions instead of full-length practice marathons.
- Capture only the software areas that answer your review question.
- Use notes and measurable checkpoints so each recording leads to one clear fix.
Start with one 10-minute practice set this week, then review only transition timing. Once that becomes routine, move next into master beat matching fundamentals or improve phrase alignment timing.
The visual way to organize your DJ library
Tag tracks by vibe. See everything at once. Export to any DJ software.
A visual system for organizing your DJ library.
Frequently Asked Questions

Hey, it's Ben Modigell 👋
I DJ and produce as so I so — downtempo, minimal, dub house, tech house, and techno (releases on Spotify and SoundCloud, links above). Everything I write here comes from my own gigs, studio sessions, and library cleanups: the rules I follow, the failure modes I've actually hit, and the workflow I use when nobody's watching. If a technique didn't earn its place in my own sets, it doesn't make it into a tutorial.