Filter Frequency Automation
Filter frequency automation changes a filter’s cutoff point over time to shape tension, motion, and transitions in tracks or practice edits.
Filter Frequency Automation Tutorials
Classic House Music: Key Tracks and Style
Filter frequency automation is the practice of moving a filter’s cutoff point over time so a sound opens, closes, thins out, or builds tension. If you want cleaner transitions, more movement in loops, or stronger breakdowns, filter frequency automation is one of the fastest skills to learn.
In practical terms, filter frequency automation lets you shape energy without rewriting the whole arrangement. A gradual low-pass opening can make a static pad feel alive. A high-pass sweep can clear low-end weight before a drop. Educational sources from Ableton, Logic Pro, iZotope, and Attack Magazine all treat automation and filter cutoff as core tools for dynamic control and tone shaping in modern music workflows.
For DJs and producers, the value is simple. You hear where a section needs movement, then draw or record that movement with purpose. Once the timing becomes musical, the technique stops feeling like an effect and starts feeling like arrangement control.
The visual way to organize your DJ library. Tag by vibe, export to any DJ app.
What Is Filter Frequency Automation?
Filter frequency automation changes the cutoff frequency of a low-pass, high-pass, band-pass, or similar filter over time. The result is controlled tonal movement, from subtle brightness shifts to obvious sweeps and tension ramps.
Official documentation describes cutoff frequency as the point where a filter starts attenuating part of the spectrum. In a low-pass filter, frequencies above the cutoff are reduced. In a high-pass filter, frequencies below it are reduced. Automation defines how that cutoff value changes across time in the arrangement.
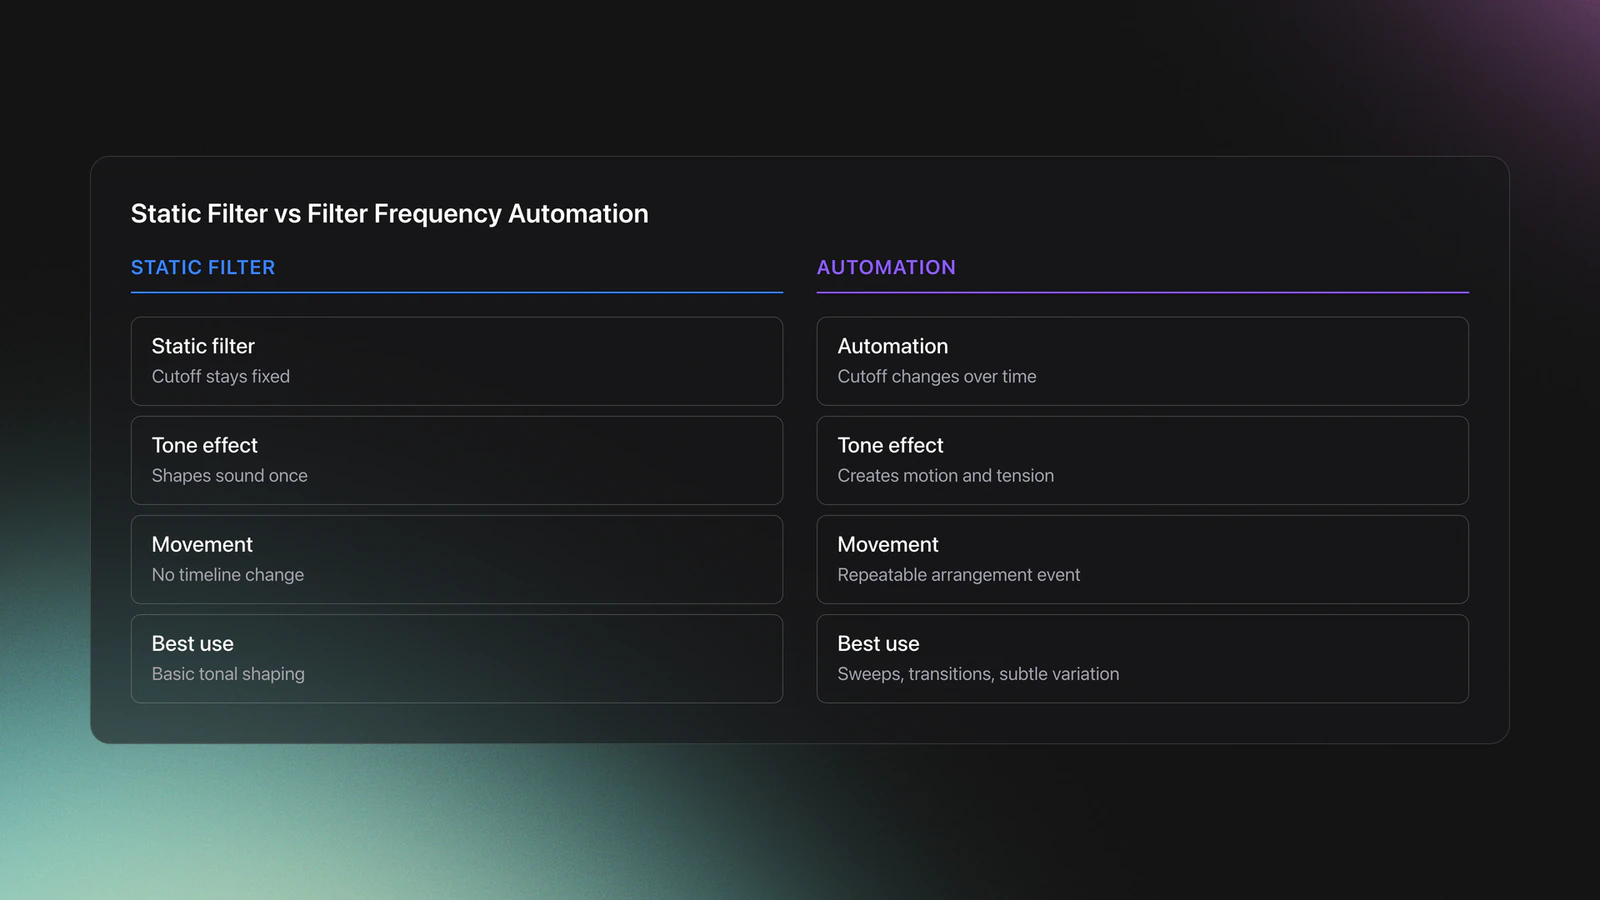
That distinction matters. A static filter setting shapes tone once. Filter frequency automation shapes tone as a performance or arrangement event. Ableton’s automation documentation also separates automation from modulation, which helps when you want repeatable, timeline-based movement rather than free-running variation.
Most people first hear this as a sweep. But the better use is often smaller. Tiny cutoff moves can stop repetition from going stale, make transitions feel intentional, and create space before a vocal or groove change.
If you are still building fundamentals, start with learn EQ mixing fundamentals and develop phrase matching control. Those skills make automation decisions more musical.
Why Use Filter Frequency Automation
The main benefit of filter frequency automation is controlled contrast. You can reduce information, then bring it back at the right moment, which makes sections feel bigger without adding more tracks.
It also solves a common workflow problem. Loops often sound good for eight bars, then feel flat. iZotope’s educational guide points to filter automation as a practical way to keep repetition interesting, especially in loop-based music.
- Create tension before a drop or phrase change.
- Clear low end before transitions.
- Make repeated parts evolve without new layers.
- Highlight vocals, stabs, or fills.
- Add DJ-style motion to edits and practice tools.
The result is not just excitement. It is clarity. When the cutoff move matches the phrase length, the listener understands where the track is heading before the next section lands.
Filter Frequency Automation Setup
A workable setup is simple: load a filter, choose the right mode, set a safe resonance level, and reveal the automation lane for cutoff. Ableton and Logic both support drawn or recorded automation for device parameters, including filter cutoff.
For most practice, start with a low-pass or high-pass filter. Low-pass automation is useful when you want a muffled-to-open buildup. High-pass automation is useful when you want to remove weight before a breakdown or transition.
Keep resonance moderate at first. Logic’s filter documentation notes that high resonance emphasizes frequencies around the cutoff, and very high values can become self-oscillating in some designs. That can sound exciting, but it also makes level spikes and harshness more likely.
Use neutral monitoring and leave headroom. If you are boosting resonance and automating quickly, trim the input level before the filter. That gives you room to hear the movement instead of just hearing overload.
| Choice | Best For | Starting Point |
|---|---|---|
| Low-pass | Opening a sound during builds | Cutoff low, resonance low to medium |
| High-pass | Clearing lows before drops or transitions | Cutoff low, automate upward gradually |
| Band-pass | Narrow, focused movement effects | Use sparingly, watch resonance |
How to Apply the Technique
To apply filter frequency automation well, tie the motion to phrase length, not just to the effect itself. A four, eight, or sixteen bar move usually feels musical because it lines up with how dance music sections resolve.
Start by choosing one target sound. Pads, chords, percussion groups, risers, and full drum buses all work. Avoid automating everything at once. One clear movement usually reads better than three competing sweeps.
Pick the direction next. If you want a section to feel like it is emerging, automate a low-pass cutoff upward. If you want to strip weight before impact, automate a high-pass cutoff upward. Attack Magazine’s filter fill tutorial shows both ideas in arrangement-focused contexts.
Then set the curve shape. Linear moves are predictable. Exponential-feeling curves often sound more natural because more of the audible change happens near the end. This is where it clicks. The shape matters as much as the start and end values.
Now match it to the phrase. Count bars. If your next section lands at bar 33, finish the move exactly there. This is why DJs who already understand structure often pick up filter frequency automation quickly.
Finally, listen in context. A sweep that sounds dramatic in solo may disappear in the mix, or it may be far too obvious. Adjust while the full arrangement plays.
Educational references like the Ableton automation manual, Ableton automation and modulation guide, and Logic Pro AutoFilter overview are useful if you need exact software steps for recording or drawing envelopes.

Practice Routine
A strong practice plan isolates one motion at a time. Through daily 15-minute practice sessions over several years, I found that short repetition with one source sound builds better automation control than marathon sessions with full arrangements.
Start with one loop and one filter. Practice an eight-bar low-pass opening, then an eight-bar high-pass clearing move. Repeat each five times. Your goal is not novelty. Your goal is control.
Next, record the move by hand with a knob or fader. Then draw the same move with the mouse. Compare them. Hand recording often gives more feel. Drawn automation often gives better precision. You need both.
Then practice rescue edits. Take a sweep that sounds too steep, too resonant, or late by half a bar. Fix it without rebuilding the entire lane. That editing skill matters in real sessions.
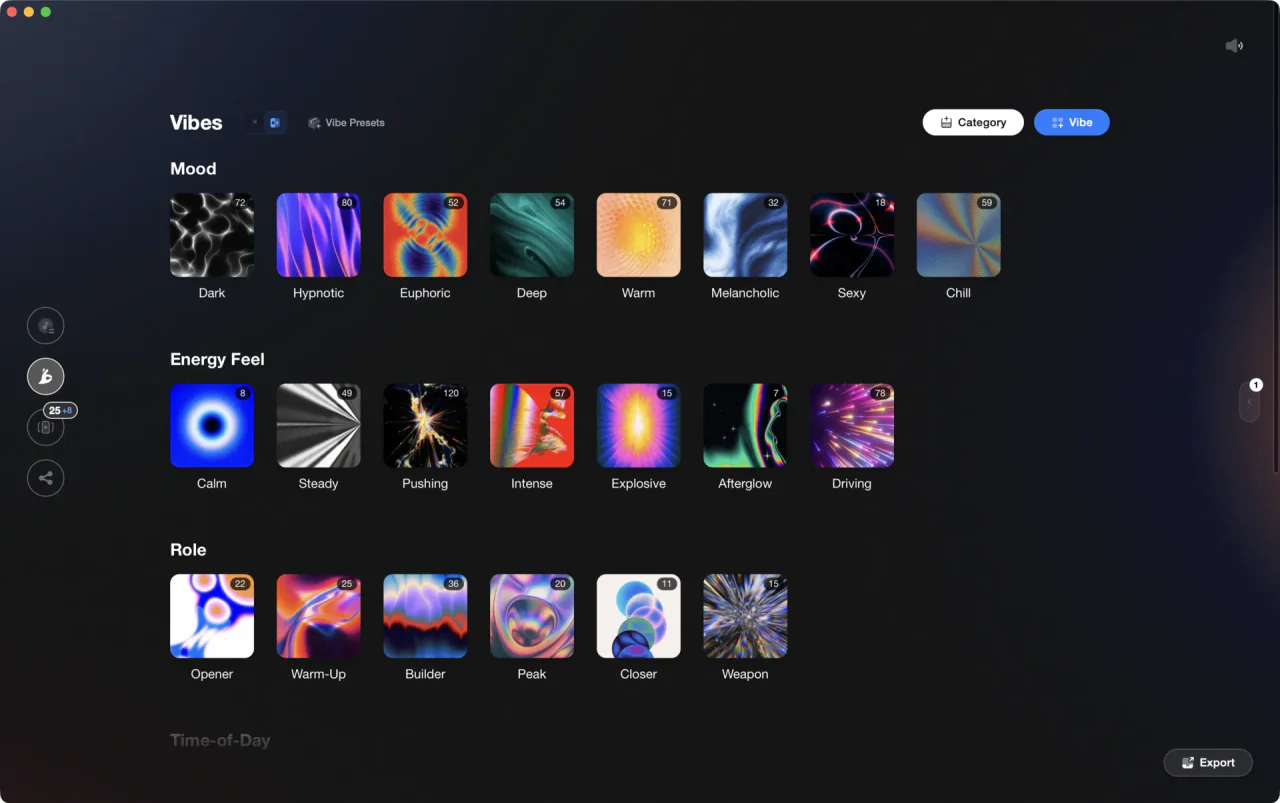
If you keep reference edits for practice, organize them by use case. In Vibes, you could tag examples by buildup, breakdown, vocal space, or low-end reduction so you can compare similar automation moves quickly during short practice blocks.
Most practitioners can hear obvious improvement after one to two weeks if they practice four or five short sessions per week. The measurable shift is timing. Your sweeps start landing with the phrase instead of floating around it.
Real-World Uses
In real music, filter frequency automation shows up in more places than obvious dance sweeps. It can soften a pad under a vocal, push a percussion loop backward, or build a transition edit that feels custom even when the source loop is simple.
For DJ preparation, the most useful version is often subtle. A short high-pass automation move on an outgoing edit can reduce low-end overlap before the next track enters. Combined with use harmonic mixing for smoother energy changes, this creates cleaner, more confident transitions.
In production, it is often an arrangement tool first and a special effect second. iZotope explicitly frames filter automation as a way to add movement to repetition, while Attack Magazine shows how filter fills can intensify breakdowns, drums, and master transitions.
That means the technique scales well. You can use it for one tiny phrase adjustment or for a full section lift.
Common Mistakes
Most mistakes in filter frequency automation come from timing, not technology. Beginners often draw a huge sweep, but the better question is whether the move arrives at the right musical moment.
| Mistake | Why It Happens | Fix |
|---|---|---|
| Sweep ends too early | No phrase counting | Anchor the final point to the section change |
| Resonance sounds harsh | Trying to add excitement with boost alone | Lower resonance and trim input level |
| Everything is automated | Chasing drama in every layer | Choose one priority source per section |
| Move feels unnatural | Wrong curve shape | Test gentler ramps and later acceleration |
Another common issue is using the wrong filter mode. If you want a lift, a low-pass opening usually reads as added brightness. If you want to clear room, a high-pass move is often the better choice.
The final mistake is ignoring level changes. Resonance and cutoff shifts can alter perceived loudness, so compare bypassed and active sections at matched listening levels.
Troubleshooting Filter Frequency Automation
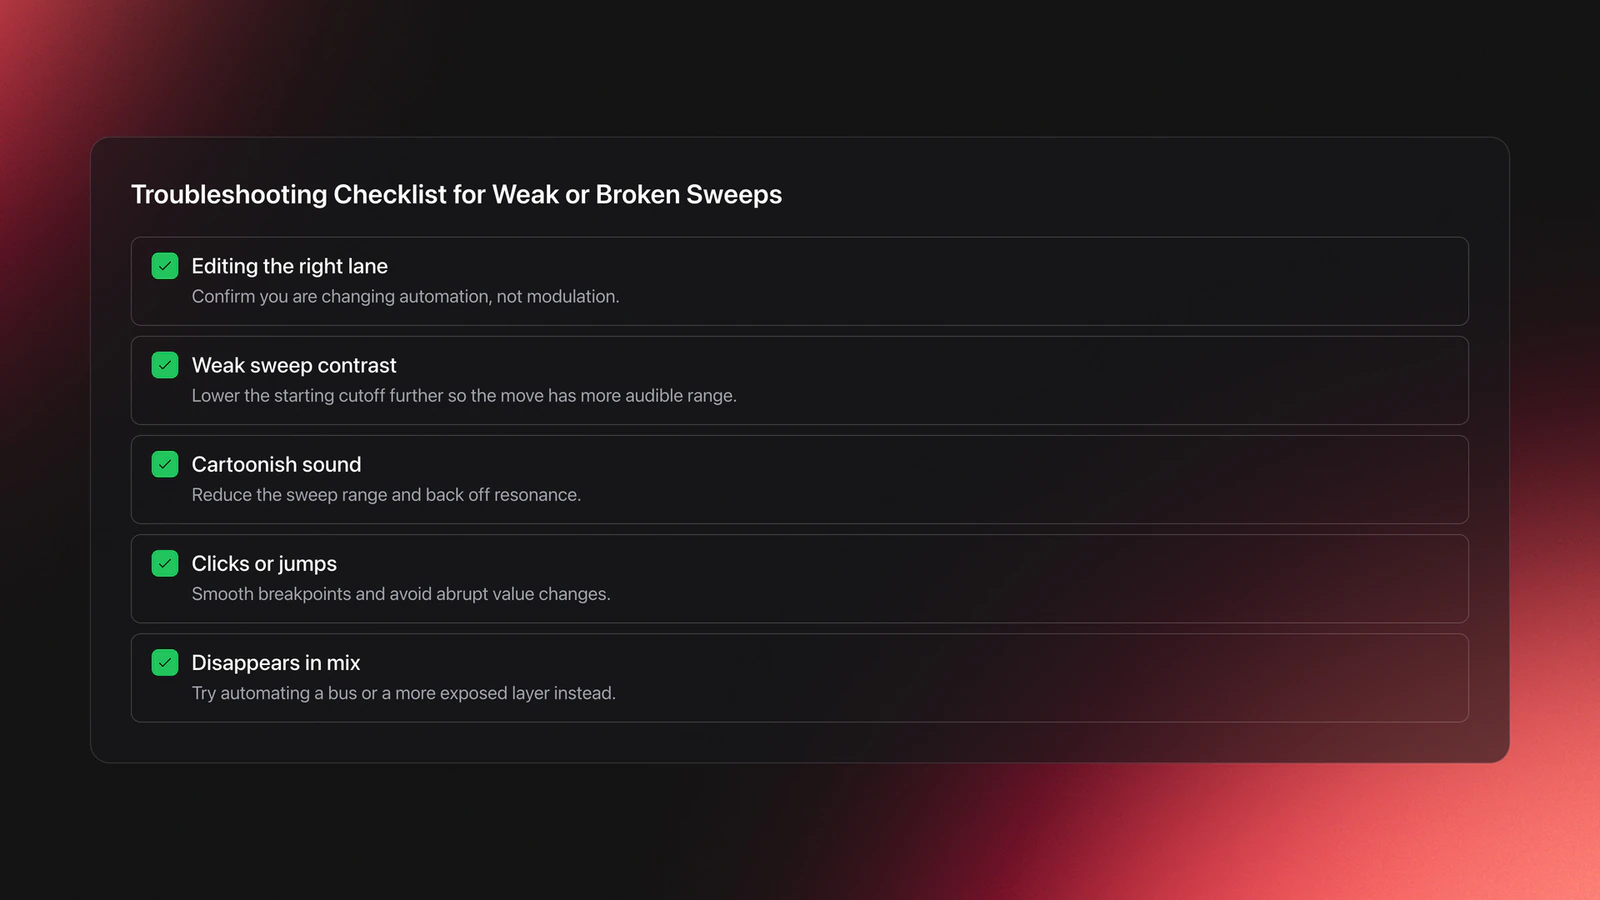
If your automation is not working, first check whether you are editing automation or modulation. Ableton’s documentation distinguishes them clearly, and mixing them up is a common reason a cutoff move does not behave as expected.
If the sweep sounds weak, lower the starting cutoff more than you think. Many beginners begin too open, so the move has little contrast. If the sweep sounds cartoonish, shorten the range and reduce resonance.
If it clicks or jumps, inspect breakpoints and curve transitions. Sudden value jumps can create audible artifacts, especially on bright material. Smooth those points or start the move slightly earlier.
If the move works in solo but not in the mix, automate a bus or a more exposed layer. In practice, the right source often matters more than the perfect curve.
Progress Check
You are moving beyond beginner control when your filter frequency automation becomes predictable. You should be able to hear the endpoint before it arrives and place that endpoint exactly on the section change.
Use these checkpoints. Can you complete an eight-bar low-pass rise without level shock? Can you create a four-bar high-pass clearing move that keeps the groove intact? Can you correct a late sweep in under one minute?
If yes, the next step is context. Start combining the technique with advanced transition programming ideas so automation supports the whole mix, not just one lane.
Key Takeaways
Filter frequency automation is a small technique with a large payoff. It gives you motion, contrast, and cleaner section control without adding more musical clutter.
Three ideas matter most. First, tie every move to phrase length. Second, use moderate resonance until your ear is reliable. Third, practice short, repeatable drills until the timing feels natural.
Start with one eight-bar sweep on one source sound. Then repeat it until the result is consistent. From there, combine it with structure, EQ judgment, and transition design.
The visual way to organize your DJ library
Tag tracks by vibe. See everything at once. Export to any DJ software.
A visual system for organizing your DJ library.
Frequently Asked Questions

Hey, it's Ben Modigell 👋
I DJ and produce as so I so — downtempo, minimal, dub house, tech house, and techno (releases on Spotify and SoundCloud, links above). Everything I write here comes from my own gigs, studio sessions, and library cleanups: the rules I follow, the failure modes I've actually hit, and the workflow I use when nobody's watching. If a technique didn't earn its place in my own sets, it doesn't make it into a tutorial.