Reverb Layering
Reverb layering combines two or more carefully filtered reverbs to create depth, clarity, and emotional space without washing out the mix.
Reverb Layering Tutorials

Progressive House Music: How It Works
Reverb Layering is the practice of combining two or more reverbs so a sound feels deep, wide, and intentional instead of blurry. If your mixes feel flat when dry but messy when wet, Reverb Layering is often the missing skill. Done well, it helps lead sounds stay present while background elements feel larger and more immersive.
This technique matters because one reverb rarely does every job well. A short room can add glue, while a plate or hall can add shine or scale. Reverb Layering lets you split those roles on purpose, which is why it appears so often in modern electronic, pop, and atmospheric mixing.
For DJs and electronic performers, the payoff is practical. Your transitions feel more cinematic, vocal edits sit better, and pads or percussion can occupy different depths without fighting each other. In other words, you stop adding reverb just to hear space and start shaping space as part of arrangement.
The visual way to organize your DJ library. Tag by vibe, export to any DJ app.
What Is Reverb Layering?
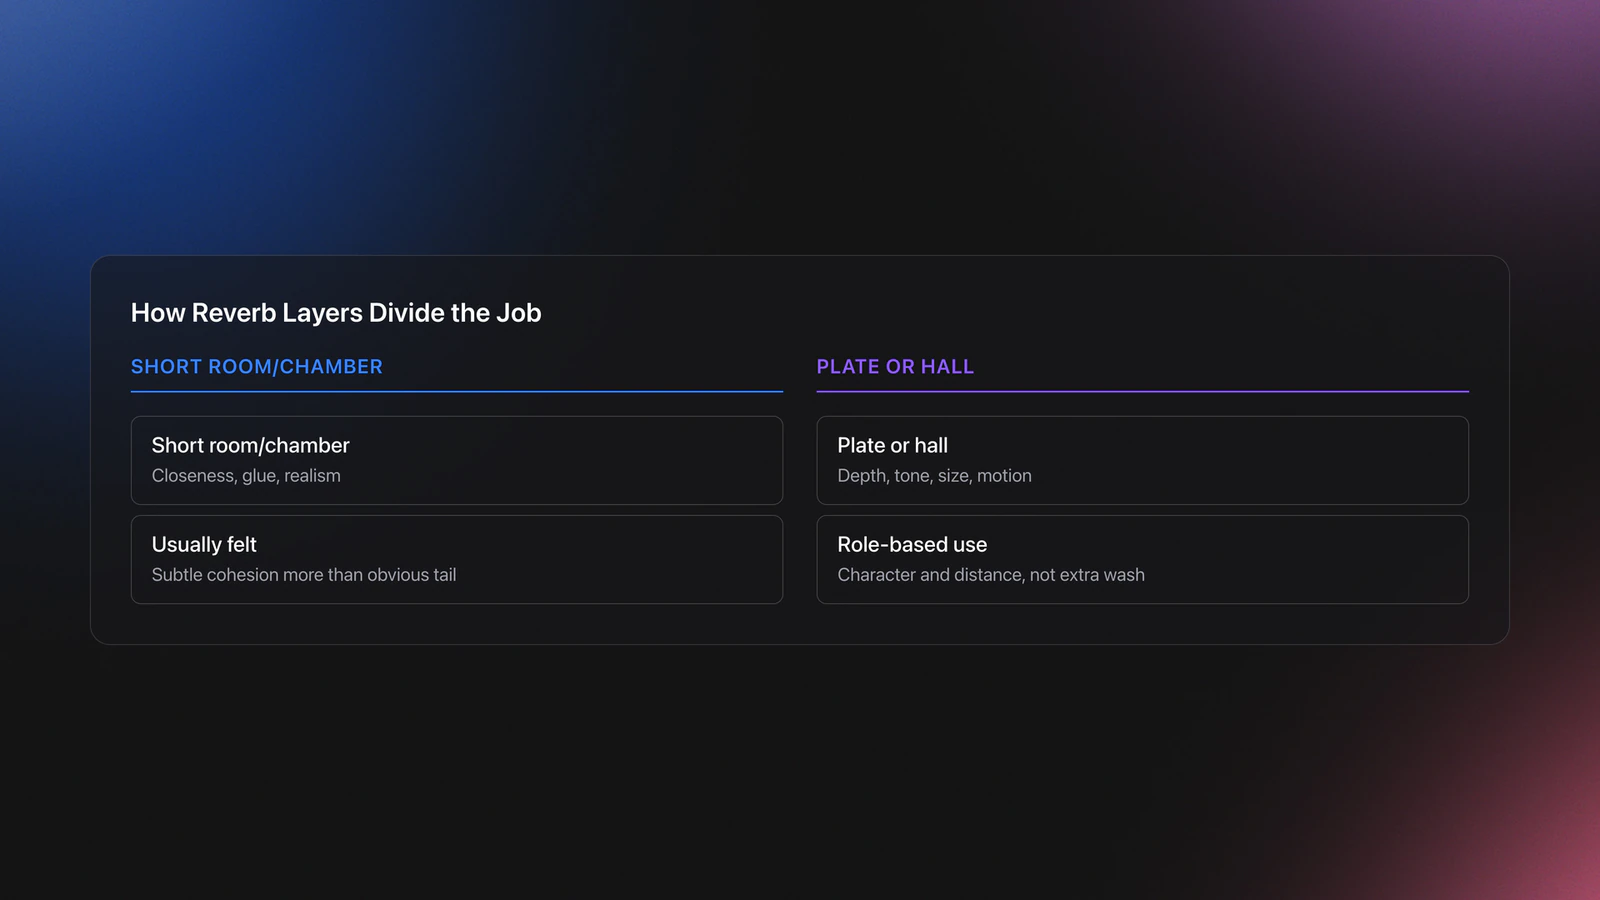
Reverb Layering means stacking multiple reverbs with different jobs, such as a short room for closeness and a longer plate or hall for depth. The goal is not more wash. The goal is a controlled spatial hierarchy where each reverb adds a different sense of distance, tone, or motion.
Educational sources describe the core idea in similar ways. Different reverb types create different impressions of space, and mixers often combine them to place elements at different depths rather than routing everything into one effect. The most useful combinations are usually short plus long, neutral plus character, or glue plus drama.
A short room or chamber often creates realism and cohesion. A plate adds density and brightness. A hall adds size and tail. Sweetwater's overview of reverb types and Mastering.com's reverb layering breakdown both support this role-based approach rather than a one-plugin-for-everything mindset.
The mistake is thinking layered reverbs should all be audible on their own. Usually, one layer is felt more than heard. That is what keeps the result polished.
Why Reverb Layering Works
Reverb Layering works because depth is not one control. It comes from timing, tone, density, and contrast between dry sound and tail. A single reverb can do some of that, but layered reverbs let you separate those functions and adjust them independently.
For example, pre-delay can preserve the attack of a vocal or synth while the longer reverb blooms after it. Ableton's reverb tutorial highlights how pre-delay helps a lead stand out, while iZotope explains that pre-delay and decay can be set to fit the song's rhythm. That makes layered spaces feel musical instead of random.
Filtering matters just as much. iZotope recommends EQ before and after reverb to reduce mud and harsh buildup. When you layer reverbs, that advice becomes even more important because each tail adds cumulative low-mid energy.
The result is a mix that can feel front-to-back, not just left-to-right. That is why layered reverb often sounds more expensive even when each individual setting is subtle.
Equipment and Setup
You do not need premium plugins to learn this. You need two reliable reverbs, basic filtering, and a way to compare wet and dry levels. Most modern DAWs already cover that.
A practical setup is two send effects. Put a short room or chamber on one return, then a longer plate or hall on another. Keep both 100% wet on sends. This follows common mixer workflow because separate returns make EQ, automation, and balance easier than piling every decision into one insert.
Use high-pass and low-pass filters on the returns, or learn to use EQ mixing to clean reverb returns before you chase more complex tricks. Filtering the input and the output often matters more than swapping plugins.
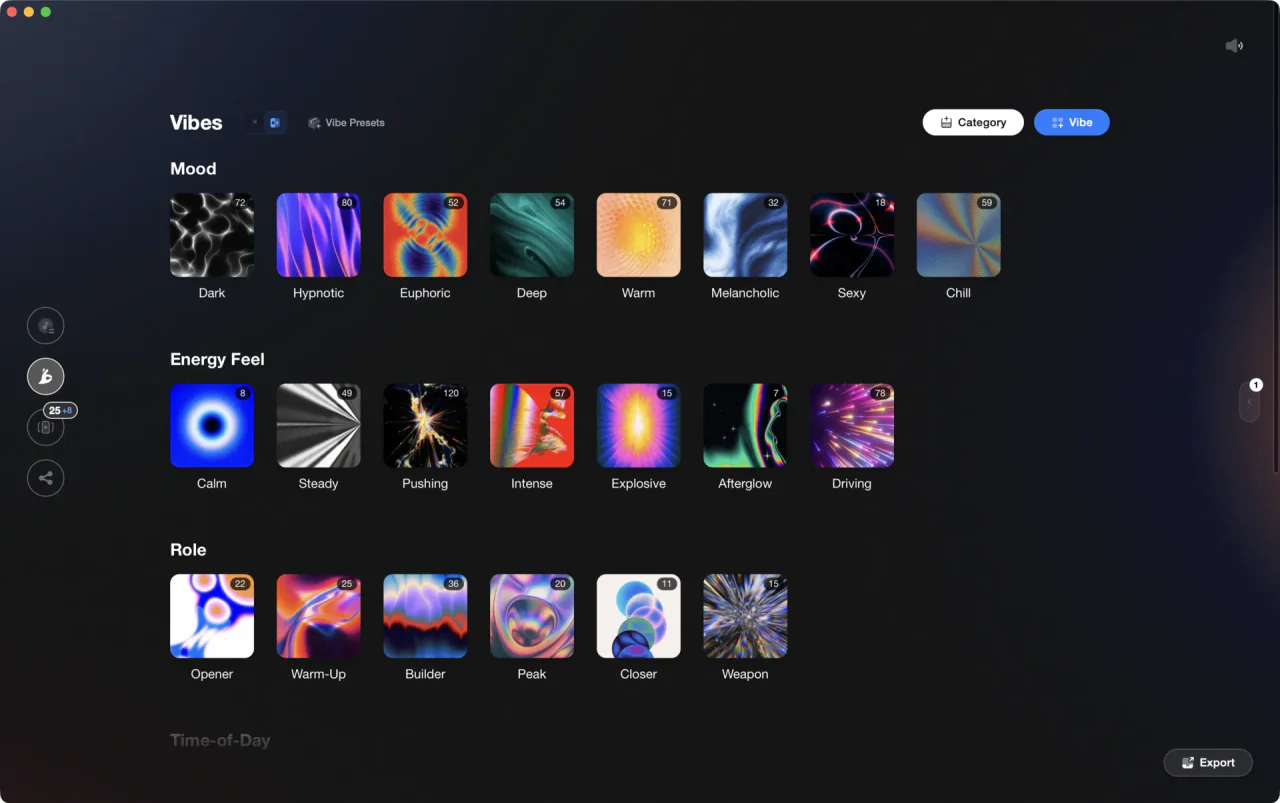
If you are building drills around DJ edits, acapellas, transitions, and percussion loops, an organized practice library helps. In Vibes, you can separate dry references, short-space examples, and long-tail examples into clear categories so you hear what each layer contributes instead of guessing.
How to Build Reverb Layering
Build Reverb Layering in stages. Start with one short reverb that adds cohesion. Then add one longer reverb that adds tone or distance. If both layers are trying to do the same job, the mix usually turns cloudy.
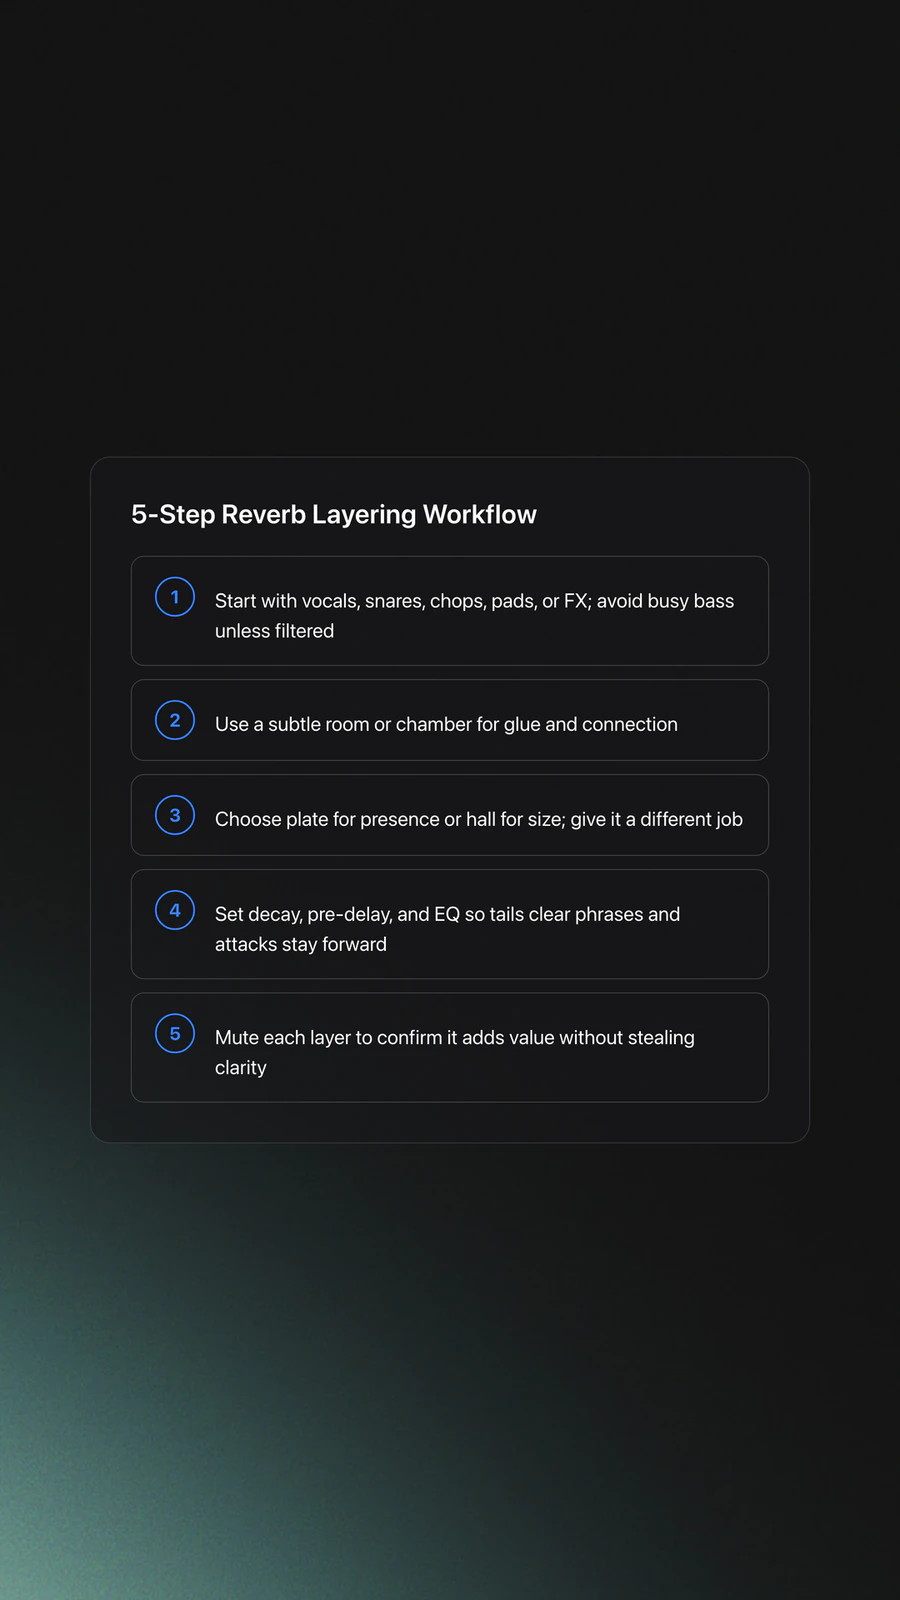
First, choose the source. Leads, vocal chops, snares, percussion groups, pads, and FX throws are common starting points. Busy bass parts are usually poor candidates unless the low end is heavily filtered.
Second, dial the short reverb. Use a room or chamber with short decay. Keep it subtle. This layer should make the source feel connected to the mix, not obviously reverberant.
Third, add the long layer. A plate often adds brightness and density without pushing the source too far back. A hall often adds scale and emotional tail. Pro Audio Files notes that mixers may use multiple reverb types on one element when each serves a different purpose.
Fourth, set timing from the song outward. Let tails clear before the next important phrase or hit when possible. This is especially useful on vocals, snares, and rhythmic synths. If the tail overlaps every transient, the mix starts sounding slower than the actual tempo.
Fifth, create separation with pre-delay and EQ. Use more pre-delay on the long layer than the short one so the source stays forward. Cut lows aggressively on both returns and tame harsh high bands if sibilance or cymbals trigger splashy tails.
Finally, test in context. Mute each layer one at a time. If removing one changes nothing, it is not doing useful work. If removing one suddenly restores clarity, the layer is too loud or too full-range.
| Layer | Typical Job | Good Starting Move |
|---|---|---|
| Short room | Glue and realism | Keep decay short and filter lows |
| Plate | Presence and brightness | Add moderate pre-delay to preserve attack |
| Hall | Size and emotion | Time the decay to the track tempo |
If your edit or transition still feels loose, tighten phrase alignment before adding big tails. Reverb exaggerates timing problems. It does not hide them.
Common Mistakes in Reverb Layering
Most Reverb Layering problems come from overlap, not from the idea itself. When every layer has long decay, wide bandwidth, and similar timing, the ear loses the dry source.
| Mistake | Why It Happens | Fix |
|---|---|---|
| Both reverbs are long | Each layer fights for the same depth role | Keep one short and supportive |
| Too much low-mid buildup | Returns carry unnecessary energy around 200–500 Hz | High-pass the sends or returns and trim muddy bands |
| No pre-delay on the long layer | The tail masks the transient immediately | Add enough pre-delay for the dry attack to speak first |
| Every sound uses every layer | The mix loses contrast and distance cues | Assign layers selectively by function |
Another common issue is plugin chasing. iZotope points out that engineers often reach for EQ or more processing when the real issue is choosing the wrong reverb type or timing. Change the role first, then process.
Beginners also tend to solo reverbs too much. That can help with setup, but it can also lead to oversized tails that only sound impressive in isolation. Always make the final call inside the full mix.
Practice Drills for Reverb Layering
Practice Reverb Layering with short, repeatable drills. Through daily 15-minute practice sessions over several years, I found that focused A/B drills build faster judgment than marathon tweaking. The skill is less about memorizing settings and more about hearing what each layer contributes.
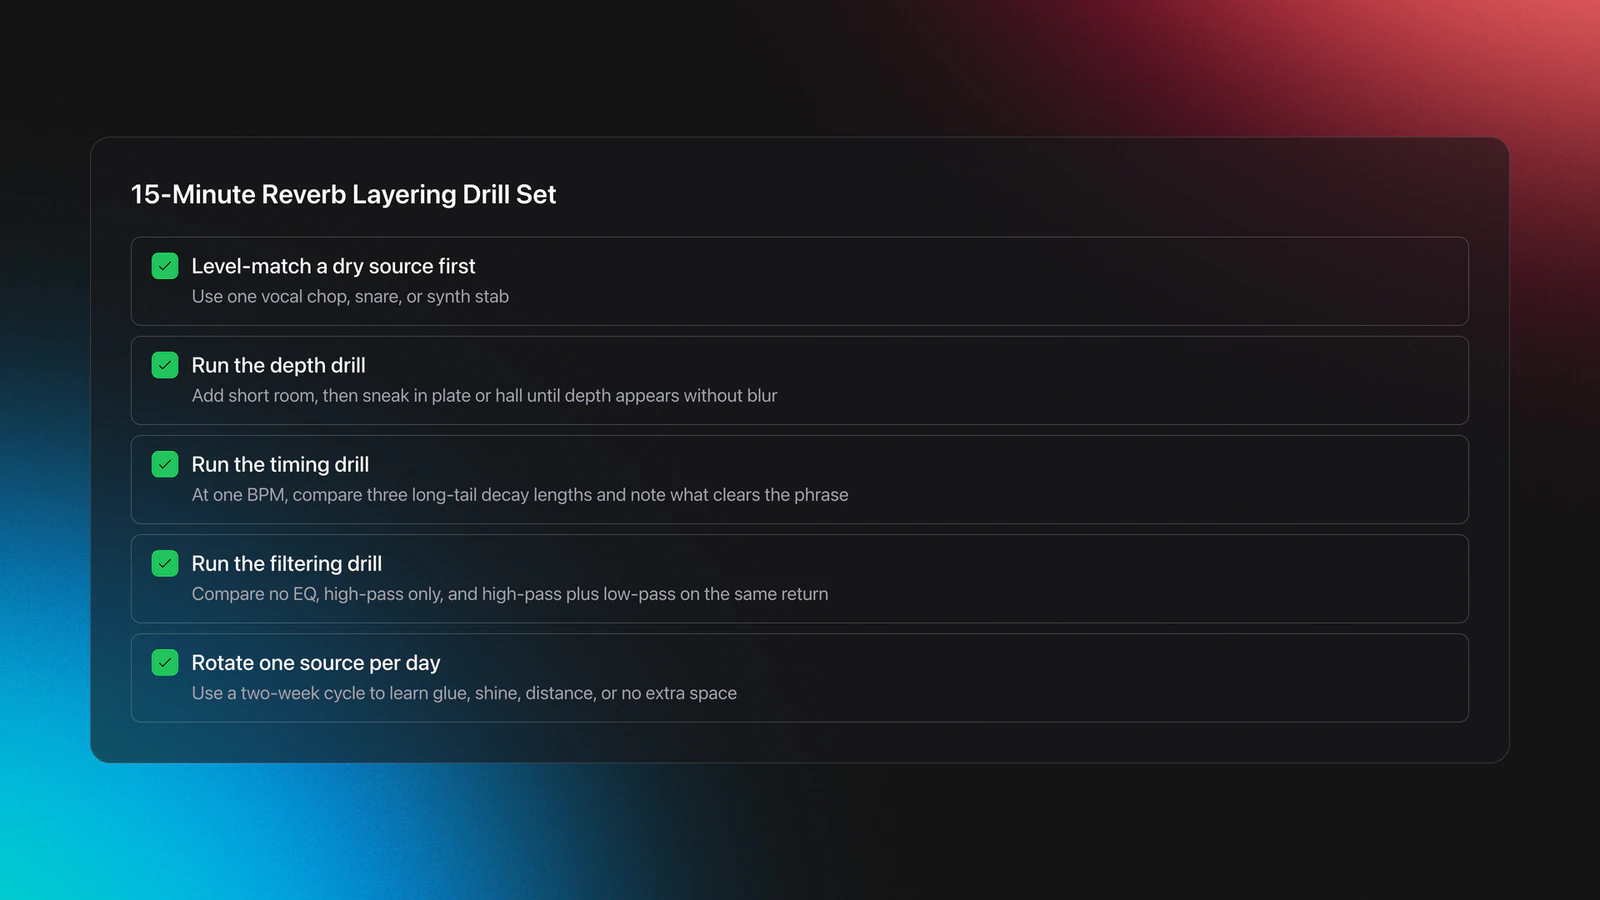
Start with one dry vocal chop, snare, or synth stab. Add only a short room. Match level. Then add a plate or hall and lower it until the effect almost disappears. Bring it up slowly until the part gains depth but not blur.
Next, run a timing drill. At one fixed BPM, test three decay lengths on the long reverb. Keep notes on which one clears before the next phrase and which one masks it. This teaches you to hear rhythm inside ambience.
Then run a filtering drill. Duplicate the same return three times and compare no EQ, high-pass only, and high-pass plus low-pass. The difference is often bigger than changing presets.
A useful progression cycle is one source per day for two weeks. Day 1 can be snare. Day 2 can be vocal chop. Day 3 can be pad. By the end, you will start hearing whether a sound needs glue, shine, distance, or no extra space at all.
If you want more contrast with less wash, explore delay throws for cleaner spatial contrast. Delay often solves the exact problem people try to fix with too much reverb.
Troubleshooting Reverb Layering
If Reverb Layering sounds muddy, mute the longest layer first. That is the fastest test. If clarity returns immediately, shorten the decay, filter more aggressively, or reduce send level.
If the layered sound feels distant instead of rich, the short layer may be too quiet. Bring up the short room slightly so the source regains proximity. Then reset the long layer lower than you think.
If the tail sounds disconnected, timing is usually off. iZotope and Pro Audio Files both suggest treating reverb timing in relation to tempo, phrasing, or the next transient rather than choosing arbitrary numbers.
If the source gets sharp or harsh after adding plate, tame the top end on the return rather than dulling the dry source. That keeps clarity while controlling splash.
If you keep turning up the volume to judge tails, stop and reset your monitoring. WHO safe listening guidance recommends keeping personal listening volume below 60% of maximum where possible and limiting time at higher levels. Reverb decisions get worse when your ears are tired.
Examples and Best Uses
A short room plus a plate is one of the most reliable combinations for vocals, claps, and synth leads. The room keeps the source believable. The plate adds polish.
A room plus hall works well for pads, spoken textures, and ambient transitions. The room anchors the source while the hall pushes it outward. This is especially effective in melodic house, ambient techno, and cinematic DJ edits.
A plate plus hall can work on feature moments, but it is easier to overdo. Use it when you want a clearly stylized effect rather than invisible support.
For layered percussion, stay conservative. One short glue reverb is often enough, with a second longer layer only on selected hits or fills. Contrast is what makes the larger moments land.
Reverb Layering Summary
Reverb Layering is really a decision-making skill. You are assigning separate jobs to separate spaces, then balancing them so the mix feels deeper without losing focus. The technique rewards restraint more than complexity.
Keep these takeaways in mind:
- Use one short reverb for glue and one longer reverb for size or emotion.
- Filter and time each layer so it supports the groove instead of masking it.
- Practice with one source at a time until you can hear each layer's job clearly.
Your next step is simple. Build one short room return and one long plate or hall return, then test them on a single vocal, clap, or synth stab for 15 minutes a day. From there, branch into delay throws for cleaner spatial contrast or prerequisite cleanup work like use EQ mixing to clean reverb returns.
The visual way to organize your DJ library
Tag tracks by vibe. See everything at once. Export to any DJ software.
A visual system for organizing your DJ library.
Frequently Asked Questions

Hey, it's Ben Modigell 👋
I DJ and produce as so I so — downtempo, minimal, dub house, tech house, and techno (releases on Spotify and SoundCloud, links above). Everything I write here comes from my own gigs, studio sessions, and library cleanups: the rules I follow, the failure modes I've actually hit, and the workflow I use when nobody's watching. If a technique didn't earn its place in my own sets, it doesn't make it into a tutorial.