Scale Effect (Ableton Live)
The Scale effect in Ableton Live remaps incoming MIDI notes to a chosen scale so you can write and perform melodic parts with fewer out-of-key notes.
Scale Effect (Ableton Live) Tutorials

House Music Explained
The Scale Effect (Ableton Live) is a MIDI device that remaps incoming notes to a chosen scale, helping you write melodies and chords with fewer wrong notes. If you can play simple shapes but struggle to stay in key, Scale Effect (Ableton Live) gives you a faster way to sketch ideas, test modes, and perform with more confidence.
This technique matters because it lowers the cost of experimentation. You can focus on rhythm, phrasing, and feel while the mapping system handles much of the pitch correction. That makes it useful for producers, live performers, and DJs moving deeper into melodic set building.
Used well, Scale Effect (Ableton Live) is not a shortcut that replaces theory. It is a musical constraint tool. It helps you hear how scales behave in context, build muscle memory around shapes, and move faster before you build DJ-friendly key and scale basics in more depth.
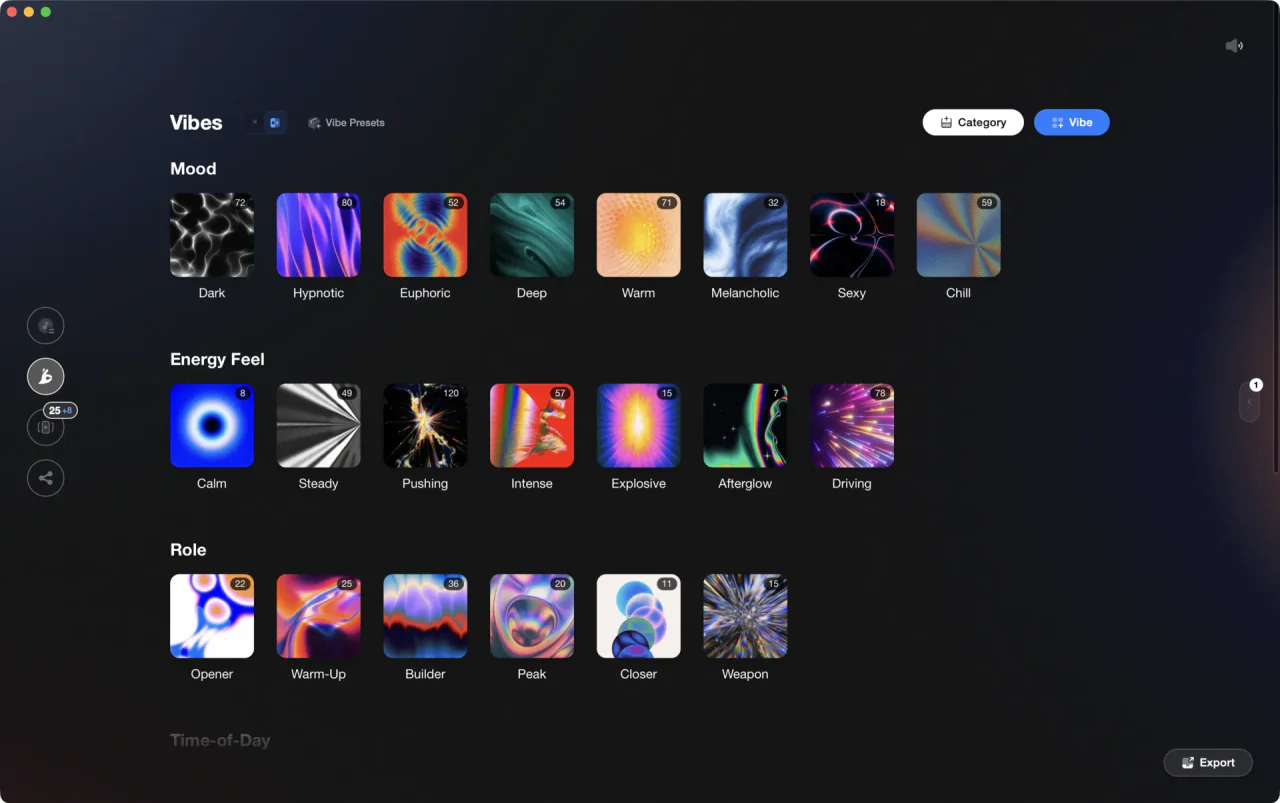
The visual way to organize your DJ library. Tag by vibe, export to any DJ app.
What Is Scale Effect?
Scale Effect (Ableton Live) is a MIDI pitch-mapping device that assigns each incoming note to an outgoing note on a 12-by-12 scale map. In practice, it lets you force played or programmed notes into a selected scale, transpose the result, limit the active note range, and build custom note mappings.
According to the Ableton Live MIDI Effect Reference, the device maps incoming note values on the X-axis to outgoing note values on the Y-axis, with controls for Base, Transpose, Fold, Range, and Lowest.
That means Scale is broader than a simple key lock. You can correct notes, remove notes entirely, create unusual mappings, or restrict the effect to one part of the keyboard. The result is part safety net, part composition tool.
/diagram-0.webp)
Why Use Scale Effect
The main reason to use Scale Effect (Ableton Live) is speed. It keeps you moving when you have rhythm ideas, chord shapes, or live performance patterns but do not want to stop and audit every note.
- Stay in key while improvising on pads or keys.
- Test scales and modes without redrawing MIDI clips.
- Turn simple white-key patterns into more complex harmonic material.
- Constrain generative tools like Arpeggiator or Random.
- Build live sets that are more forgiving under pressure.
Ableton's classroom lesson on the Scale device frames it as a fast way to hear how different scales sound, while the Ableton guide to chords, basslines, and MIDI effects shows how it helps keep ideas in scale during chord and bassline writing.
Scale Effect Setup
To set up Scale Effect (Ableton Live), load it before your instrument on a MIDI track, choose a scale preset, set the root with Base, then play a simple pattern and listen to how the output changes. Start with one-note lines before trying chords.
A clean beginner setup is simple. Create a MIDI track, load a synth or sampler, drag Scale from Live's MIDI Effects, and play only white keys. Then switch presets and roots to hear how one physical pattern creates different harmonic results.
If you want a quick mental model, Base defines the root reference, while Transpose shifts the mapped result up or down by semitones. This is where it helps to learn MIDI transposition workflows, because transposition changes key center while the map still controls which note relationships stay available.
Fold is useful when the mapped note would jump too far from the original pitch. Ableton explains that Fold brings notes back if their offset exceeds six semitones, which keeps lines tighter and often more playable.
Range and Lowest are easy to overlook. Together they define where the mapping is active. Outside that range, incoming notes pass through unchanged. If the device LED flashes, some notes are not being processed.
| Step | Action | Why It Matters |
|---|---|---|
| 1 | Load Scale before your instrument | The device must process MIDI before sound generation |
| 2 | Choose a scale preset | Gives you a usable note map immediately |
| 3 | Set Base to the song root | Aligns the mapping with your key center |
| 4 | Play a simple pattern | Lets you hear the mapping clearly |
| 5 | Adjust Fold, Range, and Lowest | Controls note spread and active keyboard zone |
/diagram-1.webp)
How To Use It Musically
The best way to use Scale Effect (Ableton Live) musically is to treat it as a constrained performance surface. Pick one scale, play small rhythmic ideas, then listen for contour, tension, and repetition instead of chasing every possible note.
Start with melodies. Play a one-bar pattern using just three or four adjacent keys. Because the device remaps pitch, the pattern will usually sound more coherent than the raw input. This makes it easier to judge rhythm and phrasing first.
Next, try chord shapes. MusicTech's Scale MIDI device tutorial and Ableton's own educational material both point toward using Scale as a creative route into new melodic and harmonic ideas, not just error correction.
Then combine it with other MIDI effects. Put Chord after Scale for fixed interval stacks, or push patterns further with arpeggiator techniques after the mapping stage so the generated notes stay harmonically tighter.
In Live 12, scale awareness extends beyond the classic device. The Ableton Keys and Scales in Live 12 FAQ notes that clips can also show or set scale context, and some scale-aware devices can follow the current scale. That makes the Scale effect part of a larger pitch workflow, not an isolated trick.
For DJs building edits, intros, or melodic tools, this connects well to track selection logic. If you already connect scale choices to harmonic mixing, you can use Scale to sketch transitions, tension loops, or custom lead lines that fit the harmonic lane of your set.
Practice Drills
A useful practice routine is short and repeatable. Through daily 15-minute practice sessions over several years, I found that tight drills with one scale and one tempo build faster control than long sessions with constant preset switching.
Start with a single root and one preset for a full week. Use a metronome or drum loop. Keep the task narrow. Your goal is not theory mastery in one session. Your goal is predictable note choice under time pressure.
If you collect reference loops and practice clips, one organized folder helps. In a library tool like Vibes, you can group tracks or sketches by key, mood, and function so each Scale drill starts with the right harmonic context instead of random browsing.
A good checkpoint after two weeks is simple: can you record a 16-bar melodic phrase in one scale, transpose it to a new root, and still keep the contour musical? If yes, the device is starting to become part of your ear, not just your screen.
Creative Applications
Scale Effect becomes more powerful when you stop using it only as protection from wrong notes. The deeper use is pattern translation. One input shape can generate different moods, colors, and phrase identities depending on the mapping.
Try building one clip from repeated white-key patterns, then duplicate the track and change the scale preset on each copy. You will hear how the same rhythm feels stable, tense, dark, or open depending on the scale structure.
Another useful move is keyboard zoning. Set Range and Lowest so the lower register stays untouched while the upper register is mapped. This lets you keep root notes stable and make the top end more exploratory.
You can also use deleted notes on the map as a performance filter. If a note is removed from the scale map, it will not play. That creates intentional gaps, which can tighten phrases and stop busy lines from filling every beat.
/diagram-2.webp)
Common Mistakes
Most problems with Scale Effect (Ableton Live) come from wrong expectations. The device does not teach phrasing, rhythm, or voice leading for you. It only remaps pitch.
| Mistake | Why It Happens | Fix |
|---|---|---|
| Using the wrong Base note | The map is correct but rooted to the wrong key | Match Base to the track key before judging the result |
| Forgetting Range and Lowest | Some notes bypass the device | Check the active note zone and watch for the flashing LED |
| Depending on Scale to fix weak ideas | Pitch is corrected but rhythm and contour stay weak | Practice short motifs and phrase endings separately |
| Adding too many MIDI devices at once | It becomes hard to hear what each device changes | Learn Scale alone, then add Chord or Arpeggiator later |
Another common issue is recording MIDI and assuming the clip itself has changed. Often the device is changing what you hear in playback, not rewriting the original note data unless you deliberately capture or resample the processed output.
Troubleshooting Scale Effect
If Scale Effect seems broken, check the signal path first. Make sure it sits on a MIDI track before the instrument, confirm the track is armed or receiving MIDI, and verify that your active note range is not excluding the notes you are playing.
If notes still sound wrong, inspect the root. A major scale preset with the wrong Base note can sound consistently off even though the device is working exactly as designed.
If the melody feels jumpy, switch Fold on and simplify the pattern. Wide remaps can sound correct in theory but awkward in practice. Fold often makes the line feel more like something a player would naturally choose.
If the result is too safe, loosen the constraint. Try a more colorful mode, a narrower keyboard zone, or a second track with a different mapping. Constraint helps, but too much uniformity can flatten the musical story.
Equipment and Workflow
You do not need much to use Scale Effect well. A laptop and Ableton Live are enough. A MIDI keyboard or pad controller makes the technique faster to internalize, but even the computer keyboard works for basic drills.
Push users get an extra layer of value because scale-oriented playing surfaces already support interval shapes well. MusicTech's coverage of Push workflows highlights how fixed shapes across a scale grid can open rhythmic and harmonic exploration.
For performance use, prepare a few mapped presets in advance. Name them clearly by root and mode. That saves decision time. It also reduces the chance of loading the wrong map during a live moment.
Key Takeaways
Scale Effect (Ableton Live) helps you move from random note entry to controlled melodic writing. It is most useful when you treat it as a listening and pattern tool, not a replacement for ear training or theory.
Focus on three habits first. Set the correct root. Practice one scale long enough to hear its behavior. Then apply the device in real musical context instead of abstract button testing.
- Use Scale to control pitch, not to solve every musical problem.
- Learn Base, Fold, Range, and Lowest before stacking more devices.
- Practice short daily drills, then apply the results to real clips and set ideas.
Your next step is simple. Build one short melodic exercise in a single key today, then repeat it tomorrow with a new root. After that, add chord mapping or arpeggiation and compare what changes.
The visual way to organize your DJ library
Tag tracks by vibe. See everything at once. Export to any DJ software.
A visual system for organizing your DJ library.
Frequently Asked Questions

Hey, it's Ben Modigell 👋
I DJ and produce as so I so — downtempo, minimal, dub house, tech house, and techno (releases on Spotify and SoundCloud, links above). Everything I write here comes from my own gigs, studio sessions, and library cleanups: the rules I follow, the failure modes I've actually hit, and the workflow I use when nobody's watching. If a technique didn't earn its place in my own sets, it doesn't make it into a tutorial.