Frequency Masking
Frequency masking happens when overlapping sounds hide each other, reducing clarity and separation in a mix.
Frequency Masking Tutorials

Progressive House Music: How It Works
Frequency Masking is one of the fastest ways to make a mix sound muddy, crowded, or flat. If your vocal disappears when the synth enters, or your kick and bass blur into one shape, frequency masking is often the reason.
Learning frequency masking helps you hear where instruments compete instead of guessing with random EQ moves. Once you understand it, you can create cleaner low end, clearer vocals, and stronger separation without making the mix thin or unnatural.
This matters in every style, but especially in dense electronic, pop, hip-hop, and rock productions. In practice, frequency masking is less about memorizing frequency charts and more about hearing which sound should lead, which sound should support, and how to make both readable.
The visual way to organize your DJ library. Tag by vibe, export to any DJ app.
What Is Frequency Masking?
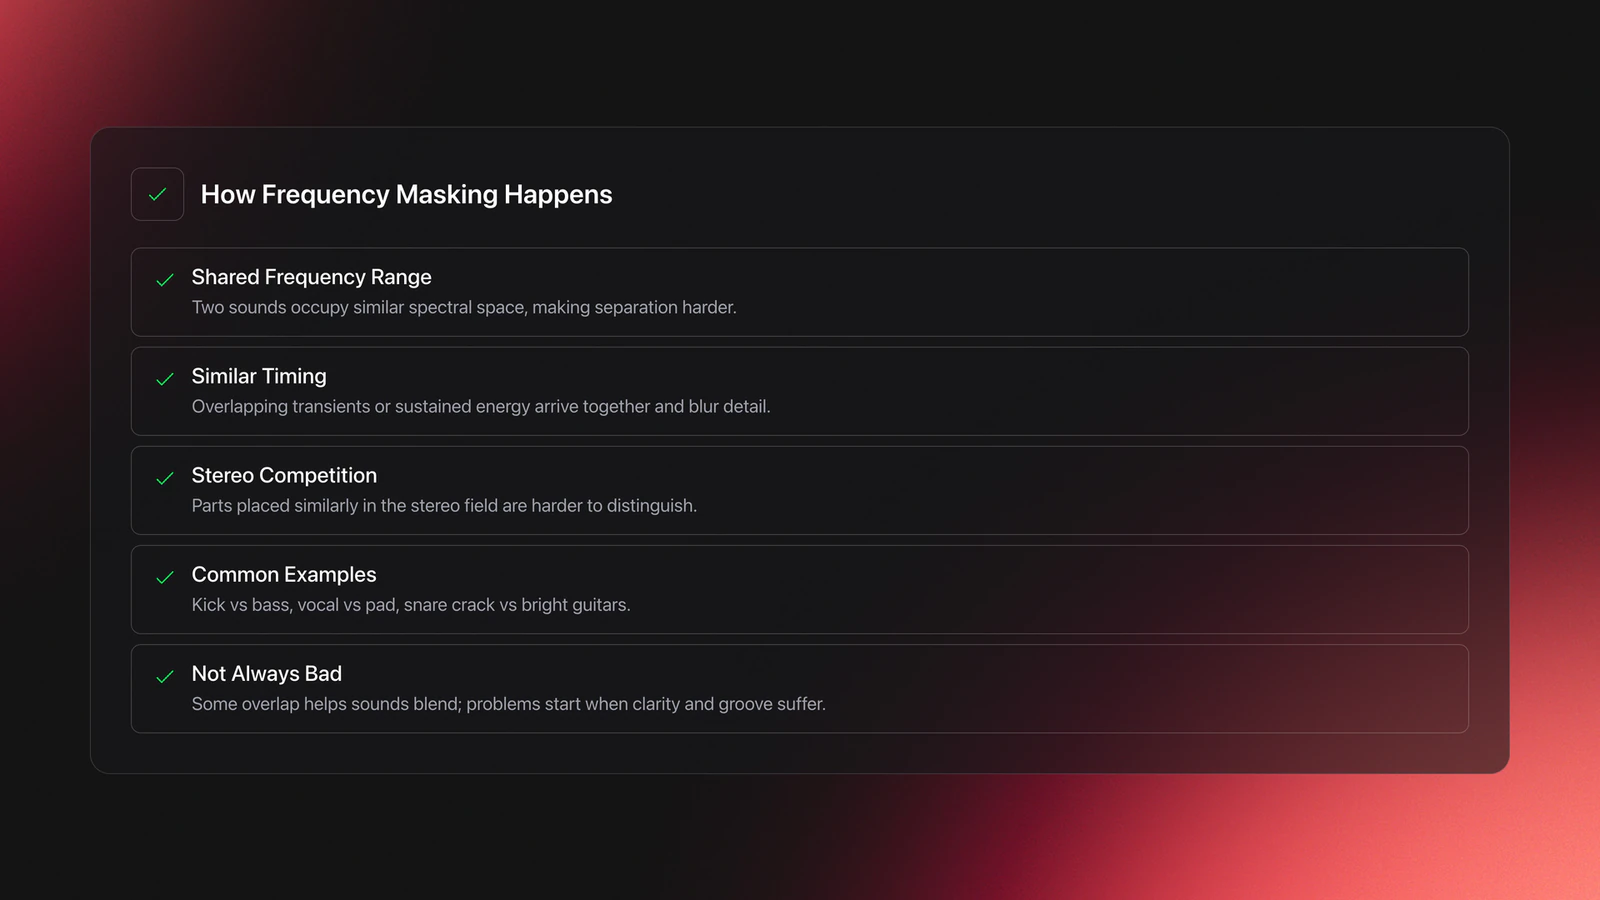
Frequency masking is an auditory effect where one sound makes another harder to hear because both occupy similar frequency ranges at the same time. Educational guides from iZotope describe it as overlapping energy that confuses perception and reduces clarity between parts.
In other words, two instruments can both be loud enough, but still feel unclear. The issue is not always volume alone. It is often shared spectral space, similar timing, and similar placement in the stereo field.
A kick and bass are a classic example. So are lead vocals and synth pads, or snare crack and bright guitars. When the important parts of each sound pile up in the same area, your ear stops separating them cleanly.
Not all masking is bad. Some overlap helps sounds blend. The problem starts when the overlap hides musical detail, weakens groove, or makes the listener work to identify what matters.
Why Frequency Masking Matters
Frequency masking matters because it affects clarity, punch, and focus more than many beginners expect. A mix can have good sounds and still feel amateur if the main elements keep covering each other.
The result is usually one of three problems. The mix sounds muddy. The lead element loses presence. Or you keep boosting EQ until the session turns harsh.
That is why experienced mixers usually solve masking with priorities, not just boosts. They decide which element owns a range at a given moment, then shape the supporting parts around it.
This also explains why arrangement choices matter. If two parts play in the same register with similar tone and rhythm, no plugin will fully fix the conflict. Sometimes the cleanest solution is changing the part itself.
- Identify the two sounds that feel unclear together.
- Decide which sound should lead in that moment.
- Check levels before reaching for EQ.
- Cut competing frequencies on the supporting part.
- Use panning or dynamics if EQ is not enough.
- Recheck the balance in the full mix.
Common Sources of Frequency Masking
Common masking pairs show up across almost every genre. iZotope’s educational material repeatedly points to kick and bass, vocals and guitars, vocals and synths, and overlapping midrange instruments as frequent trouble spots.
Low end masking often feels like mud or weak punch. Midrange masking usually hurts intelligibility. High-frequency masking can make cymbals, sibilance, and bright synth layers feel smeared instead of detailed.
| Masking Pair | What You Hear | Typical Fix |
|---|---|---|
| Kick and bass | Blurred punch, weak definition | Level balance, narrow EQ cuts, sidechain control |
| Vocal and synth pad | Words lose clarity | Cut pad mids, dynamic EQ, panning support |
| Snare and guitars | Snare loses crack | Reduce upper-mid buildup on guitars |
| Reverb and lead parts | Washed-out front element | EQ the reverb return, use pre-delay |
| Piano and vocal | Competing mids | Complementary EQ and arrangement spacing |
How to Reduce Frequency Masking
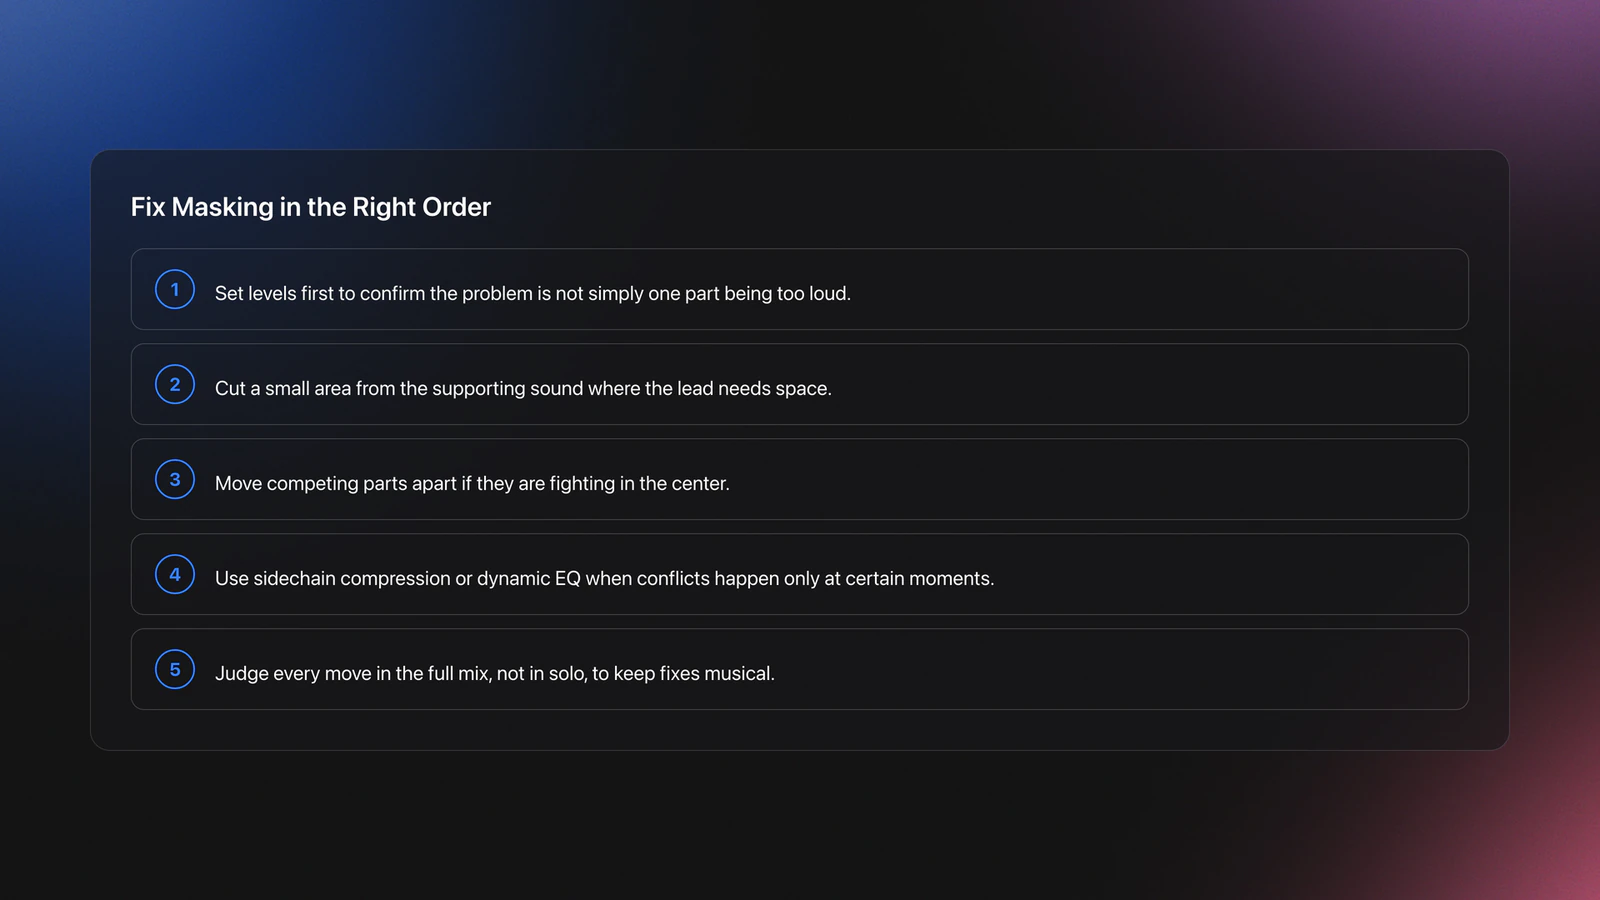
The best way to reduce frequency masking is to solve it in layers: balance first, then EQ, then stereo placement, then dynamics. That order keeps your moves musical and prevents overprocessing.
Start with levels. Several mixing guides note that masking is sometimes just a balance problem. If one source is too loud, it can overpower another even before you touch EQ.
Next, use subtractive EQ. Cut a small area from the supporting instrument where the lead element needs space. This is often more effective than boosting the lead, and it usually sounds more natural over time.
Then check stereo placement. If two parts fight in the center, moving one slightly outward can improve separation. If you need help with that decision-making, improve stereo placement with panning basics before reaching for more aggressive processing.
If the conflict only happens at certain moments, use dynamic tools. Use sidechain compression for moving space when one sound needs to duck another rhythmically, or move into dynamic EQ techniques when only a narrow band needs to get out of the way.
Finally, listen in context. Ableton’s tutorial material on reverb masking makes the same practical point many engineers repeat: a fix that sounds extreme in solo can be exactly right in the full arrangement.
Frequency Masking Tools and Methods
Several tools can reduce masking, but each one solves a different version of the problem. Choose the method based on why the clash happens, not on which plugin looks smartest.
Static EQ works best when the conflict is constant. Dynamic EQ or multiband compression helps when the overlap appears only during certain notes or phrases. Sidechain ducking works when one element should clearly step back while another speaks.
Panning helps when two parts share tone but do not need the same center position. Arrangement changes help when the conflict is built into the composition itself.
If your monitoring is inconsistent, even good tools will lead to bad choices. That is why a solid listening setup matters more than expensive processors. Start with reliable headphones or monitors and build stronger EQ decision-making from there.
Practice Drills for Frequency Masking
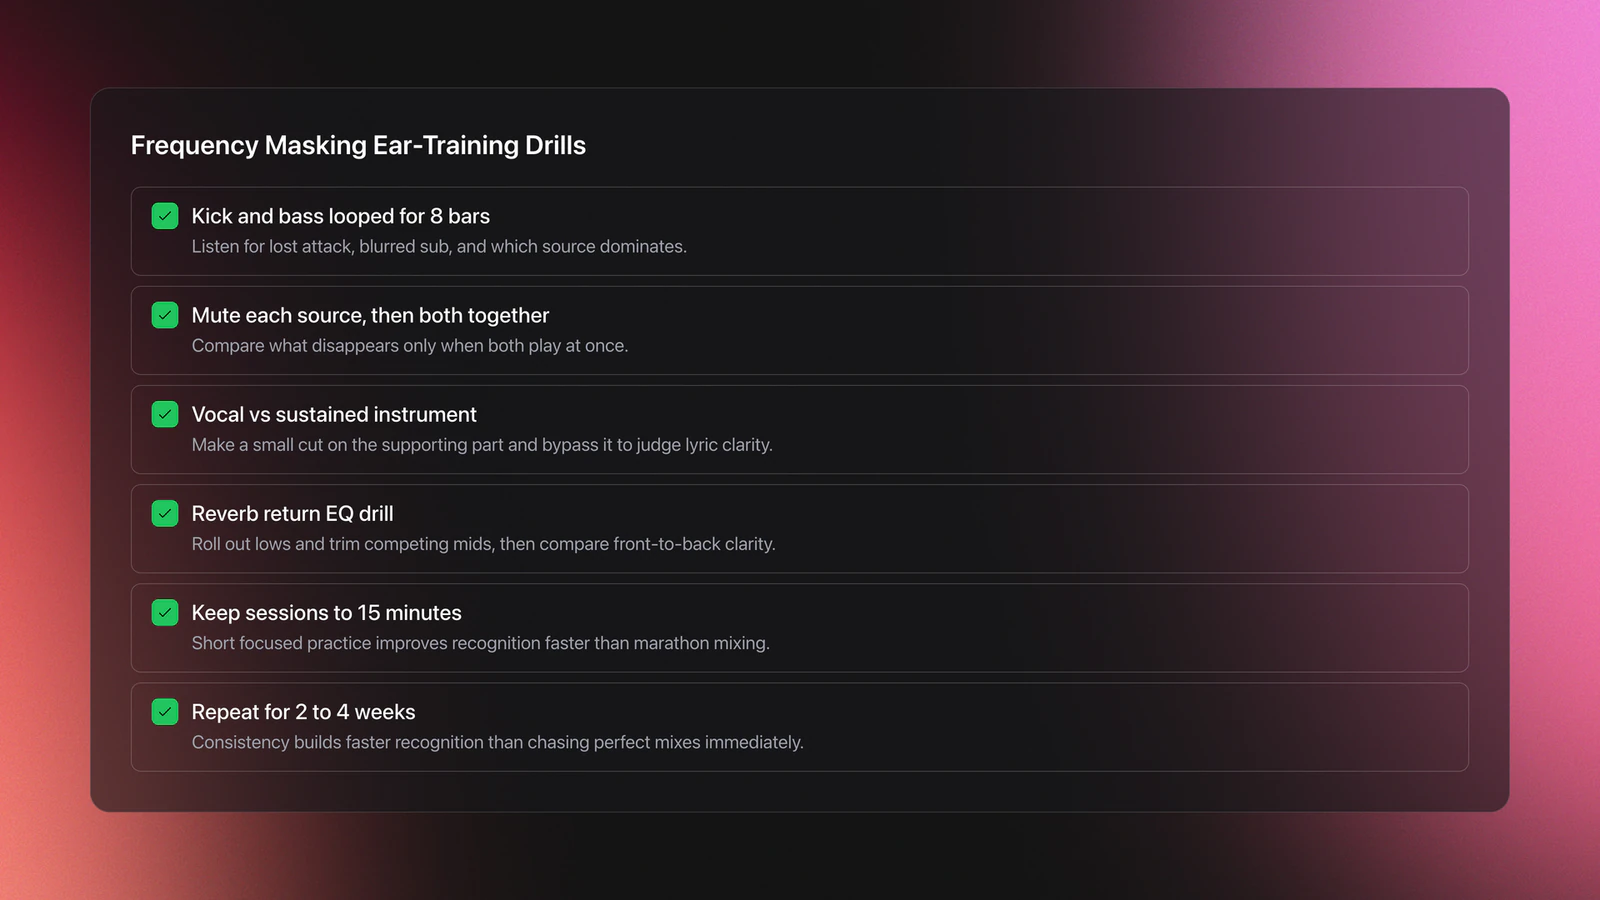
Practice works best when you isolate one masking problem at a time. Through daily 15-minute practice sessions over several years, I found that short comparison drills build faster recognition than marathon mix sessions.
Begin with kick and bass. Loop eight bars. Mute one, then the other, then both together. Listen for where the attack disappears, where the sub blurs, and whether one element always wins.
Next, load a vocal and a sustained instrument such as pad, piano, or guitar. Make one small cut on the supporting part, then bypass it every few seconds. The goal is not dramatic change. The goal is easier lyric intelligibility.
A third drill uses reverb returns. Ableton’s material highlights how EQ on a reverb send or return can reduce masking. Roll out low end and trim competing mids, then compare front-to-back clarity.
Keep each drill short and measurable. Two to four weeks of consistent cycles usually improve recognition more than chasing perfect mixes on day one.
Common Mistakes with Frequency Masking
Most frequency masking mistakes come from solving the symptom instead of the cause. Engineers often boost the buried sound, but that can make the whole mix sharper while the conflict stays in place.
Another common mistake is EQ in solo. Solo can help you locate an area, but the final move has to serve the mix. A cut that seems too strong alone may be perfect once everything is playing.
Many beginners also skip level staging. Before carving deep EQ holes, clean up level relationships with gain staging. If the balance is wrong, processing decisions become harder and less reliable.
| Mistake | Why It Happens | Better Move |
|---|---|---|
| Boosting the hidden track | Feels faster than cutting others | Cut the competing source first |
| Using wide EQ cuts everywhere | Trying to fix mud globally | Make smaller, purposeful cuts |
| Mixing only in solo | Details seem easier to hear | Check every move in full context |
| Ignoring arrangement clashes | Assuming plugins can solve all overlap | Change octave, voicing, or rhythm |
| Monitoring too loud | Loud playback flatters clarity | Work at moderate levels and take breaks |
Troubleshooting Frequency Masking
If your mix still feels crowded after EQ, ask a simpler question: are the parts too similar? Frequency masking often survives processing when the arrangement, rhythm, and register are nearly identical.
If the low end lacks definition, high-pass non-bass elements where appropriate and make sure kick and bass are not fighting for the same fundamental focus. If the vocal is unclear, inspect the 1 kHz to 5 kHz area on supporting instruments before boosting presence.
If the whole mix feels smeared after adding ambience, the reverb may be the masking source. EQ the return, shorten decay, or increase pre-delay so the dry signal stays forward.
If every fix makes the mix thin, you are probably removing too much from too many tracks. Frequency masking is solved by priority. One sound leads, others make room, but they still need body.
Equipment and Listening Setup
You do not need expensive gear to learn frequency masking, but you do need a listening chain you trust. A DAW, a parametric EQ, and a pair of honest headphones or monitors are enough to start hearing conflicts clearly.
Reference tracks help because they reset your ear. If your mix feels muddy, compare it with a professionally balanced track in a similar style at matched loudness. That makes masking easier to spot than guessing from memory.
Spectrum analyzers can help confirm what you hear, but they should not replace listening. Use them as a second opinion, not as the main judge.
For long-term progress, save small practice sessions built around specific clashes. Organized drill folders, instrument stems, and before-after versions make pattern recognition much faster over time.
How Long Does Frequency Masking Take to Learn?
Most practitioners can understand frequency masking in a few sessions, but hearing it quickly and fixing it cleanly usually takes one to three weeks of focused practice. Mastery takes longer because different instruments mask each other in different ways.
The fastest progress comes from repeatable drills, not random mixing. Work on the same few masking pairs until you can predict the problem before opening an EQ.
That is the real checkpoint. Once you hear the clash early, your decisions become smaller, faster, and more musical.
Key Takeaways
Frequency masking is really about clarity through priority. Once you can hear which element should lead and which should support, your EQ moves become smaller and your mixes become easier to trust.
Start simple. Fix level relationships first. Then use targeted EQ, stereo placement, or dynamic control only where the conflict remains.
- Balance often fixes more masking than beginners expect.
- Cut competing sources before boosting the buried element.
- Arrangement and register choices can solve problems plugins cannot.
Your next step is practical: choose one session, isolate one masking pair, and repeat the same drill daily for a week. After that, expand into move into dynamic EQ techniques or compare it with broader build stronger EQ decision-making skills.
The visual way to organize your DJ library
Tag tracks by vibe. See everything at once. Export to any DJ software.
A visual system for organizing your DJ library.

Frequently Asked Questions

Hey, it's Ben Modigell 👋
I DJ and produce as so I so — downtempo, minimal, dub house, tech house, and techno (releases on Spotify and SoundCloud, links above). Everything I write here comes from my own gigs, studio sessions, and library cleanups: the rules I follow, the failure modes I've actually hit, and the workflow I use when nobody's watching. If a technique didn't earn its place in my own sets, it doesn't make it into a tutorial.